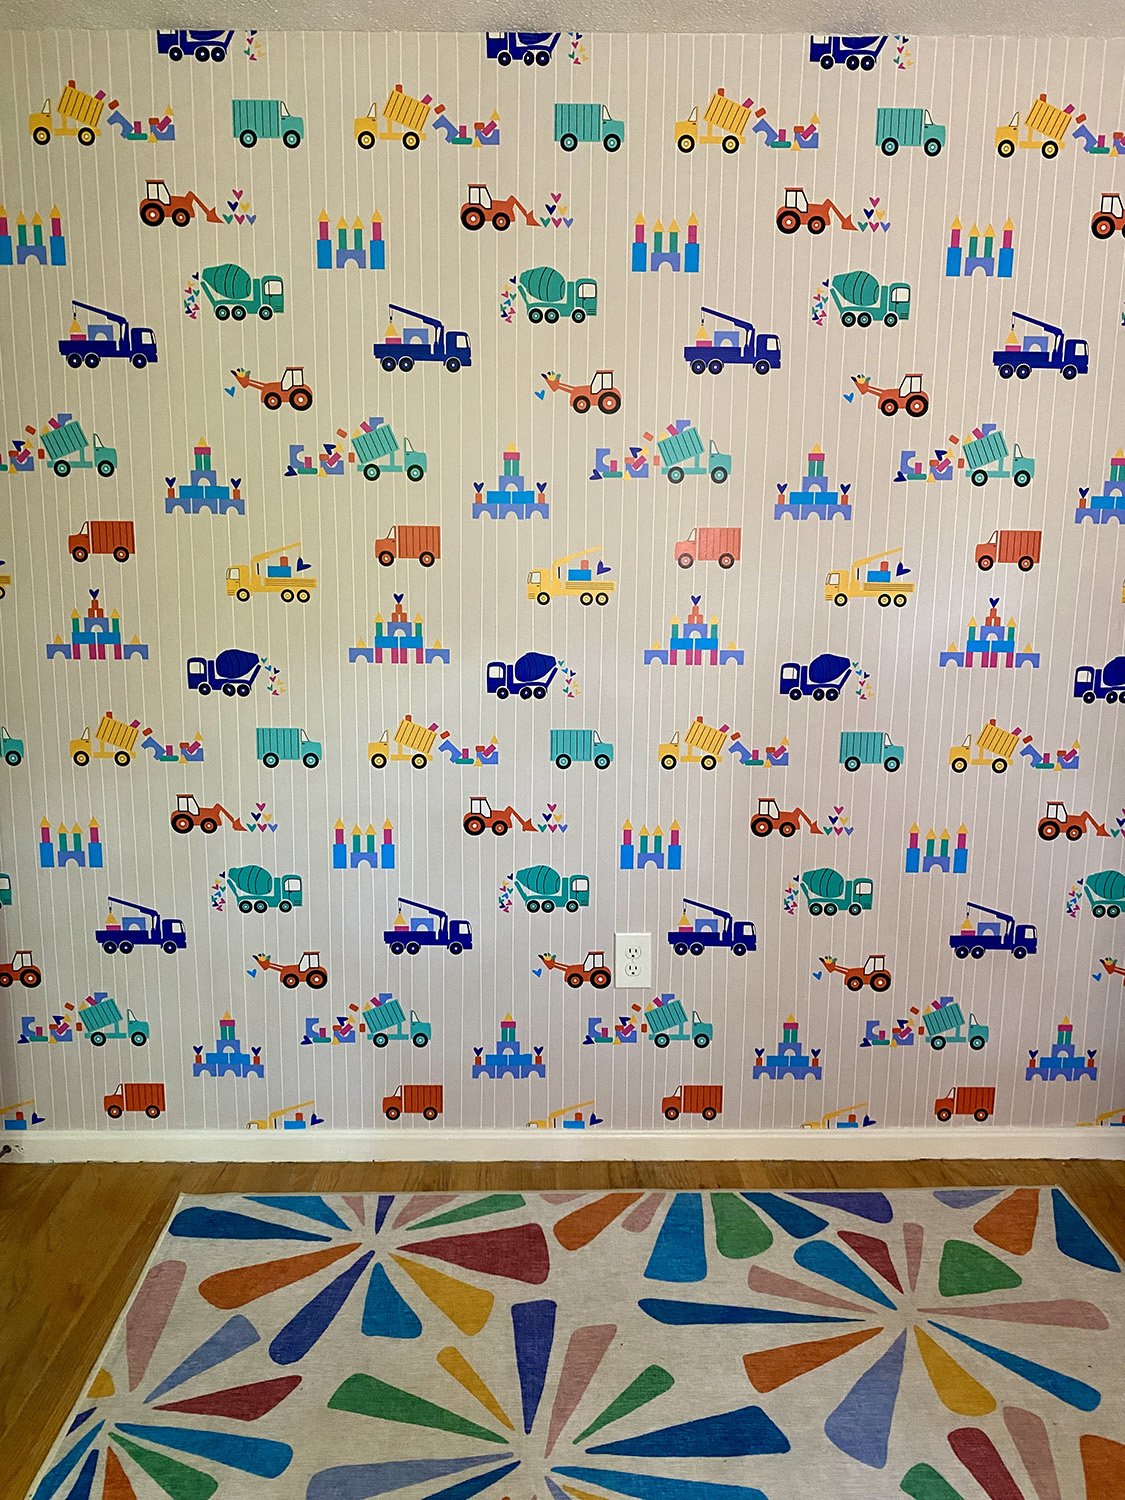
Recently we moved our three year old into his new room with a big boy bed! With help from Spoonflower I was able to hang custom wallpaper and buy a duvet and yardage of fabric with my designs to complete the bedding set. I purchased the rug from Ruggable and totally lucked out that the colors in this rug were an exact match to colors in my Moving Love Around collection I used in this room! I am happy I can easily wash this rug if necessary, which will happen considering a little boy is living in here =) The bed is from Ikea and can flip into a bunk bed when he is a little bit older, a most amazing design from Ikea! The tent is from Etsy and was made in Canada and the painting was made by my son.
Monoprinting at Sanctuary Arts
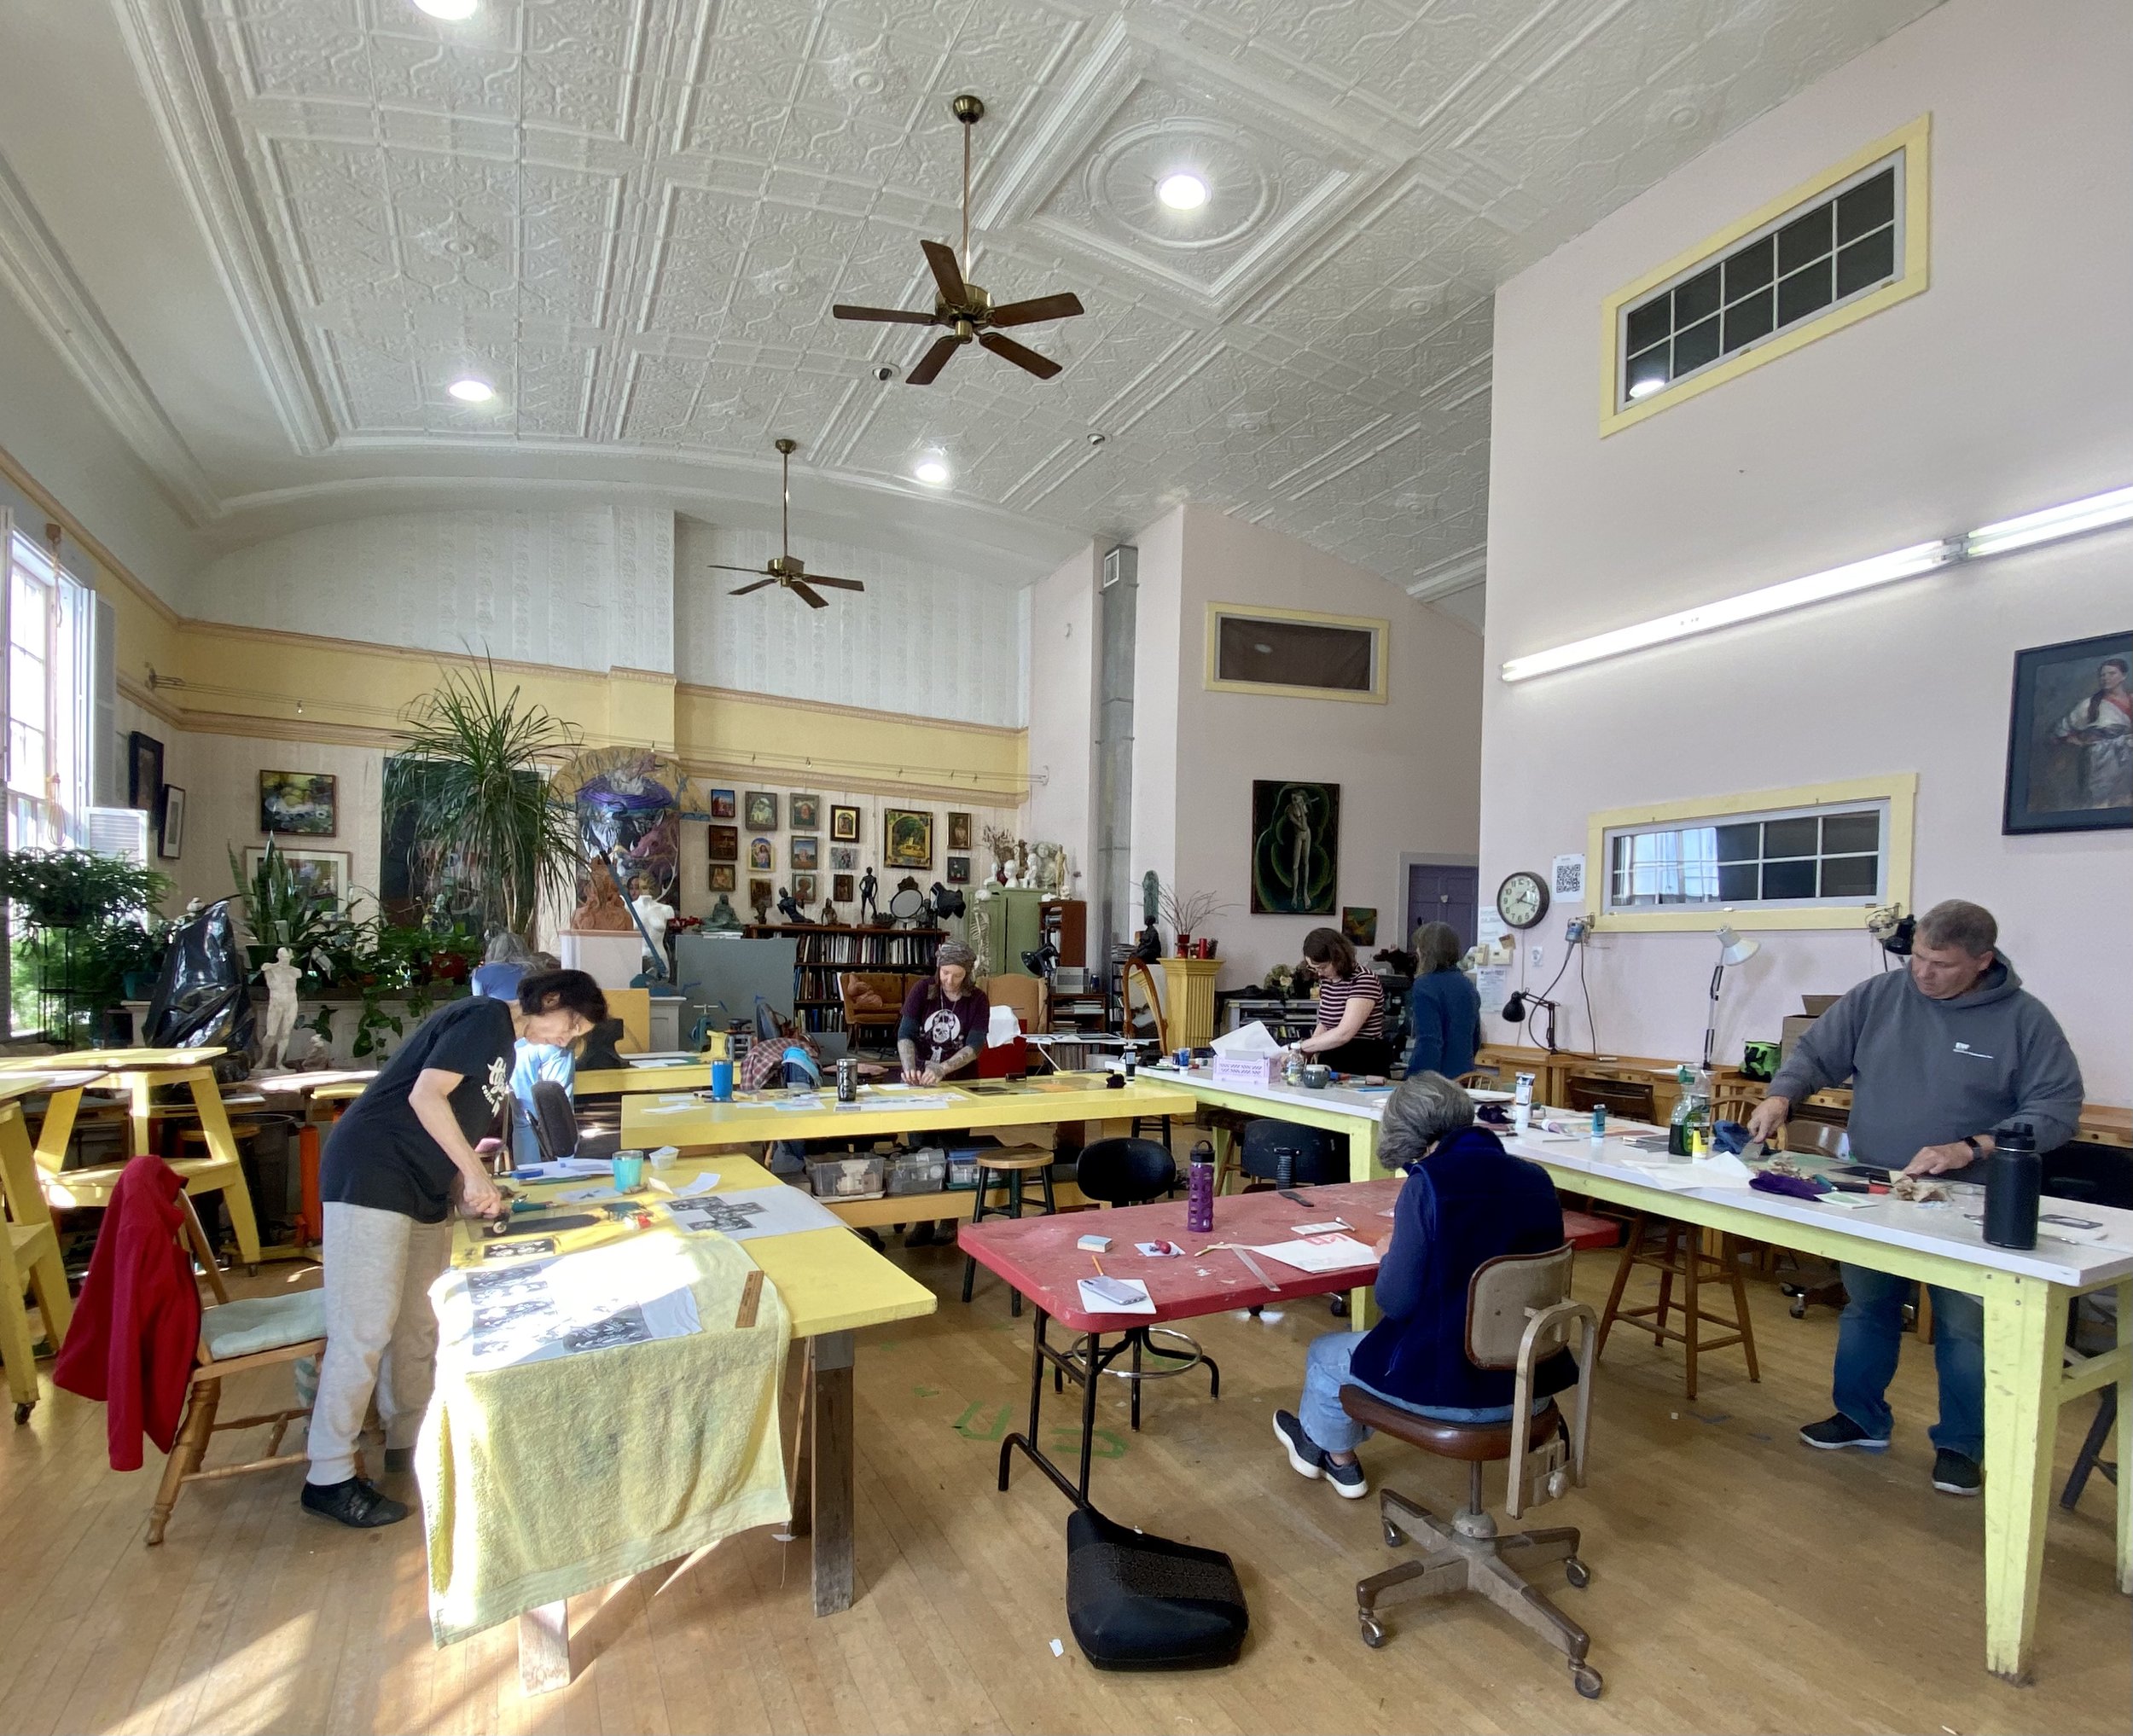
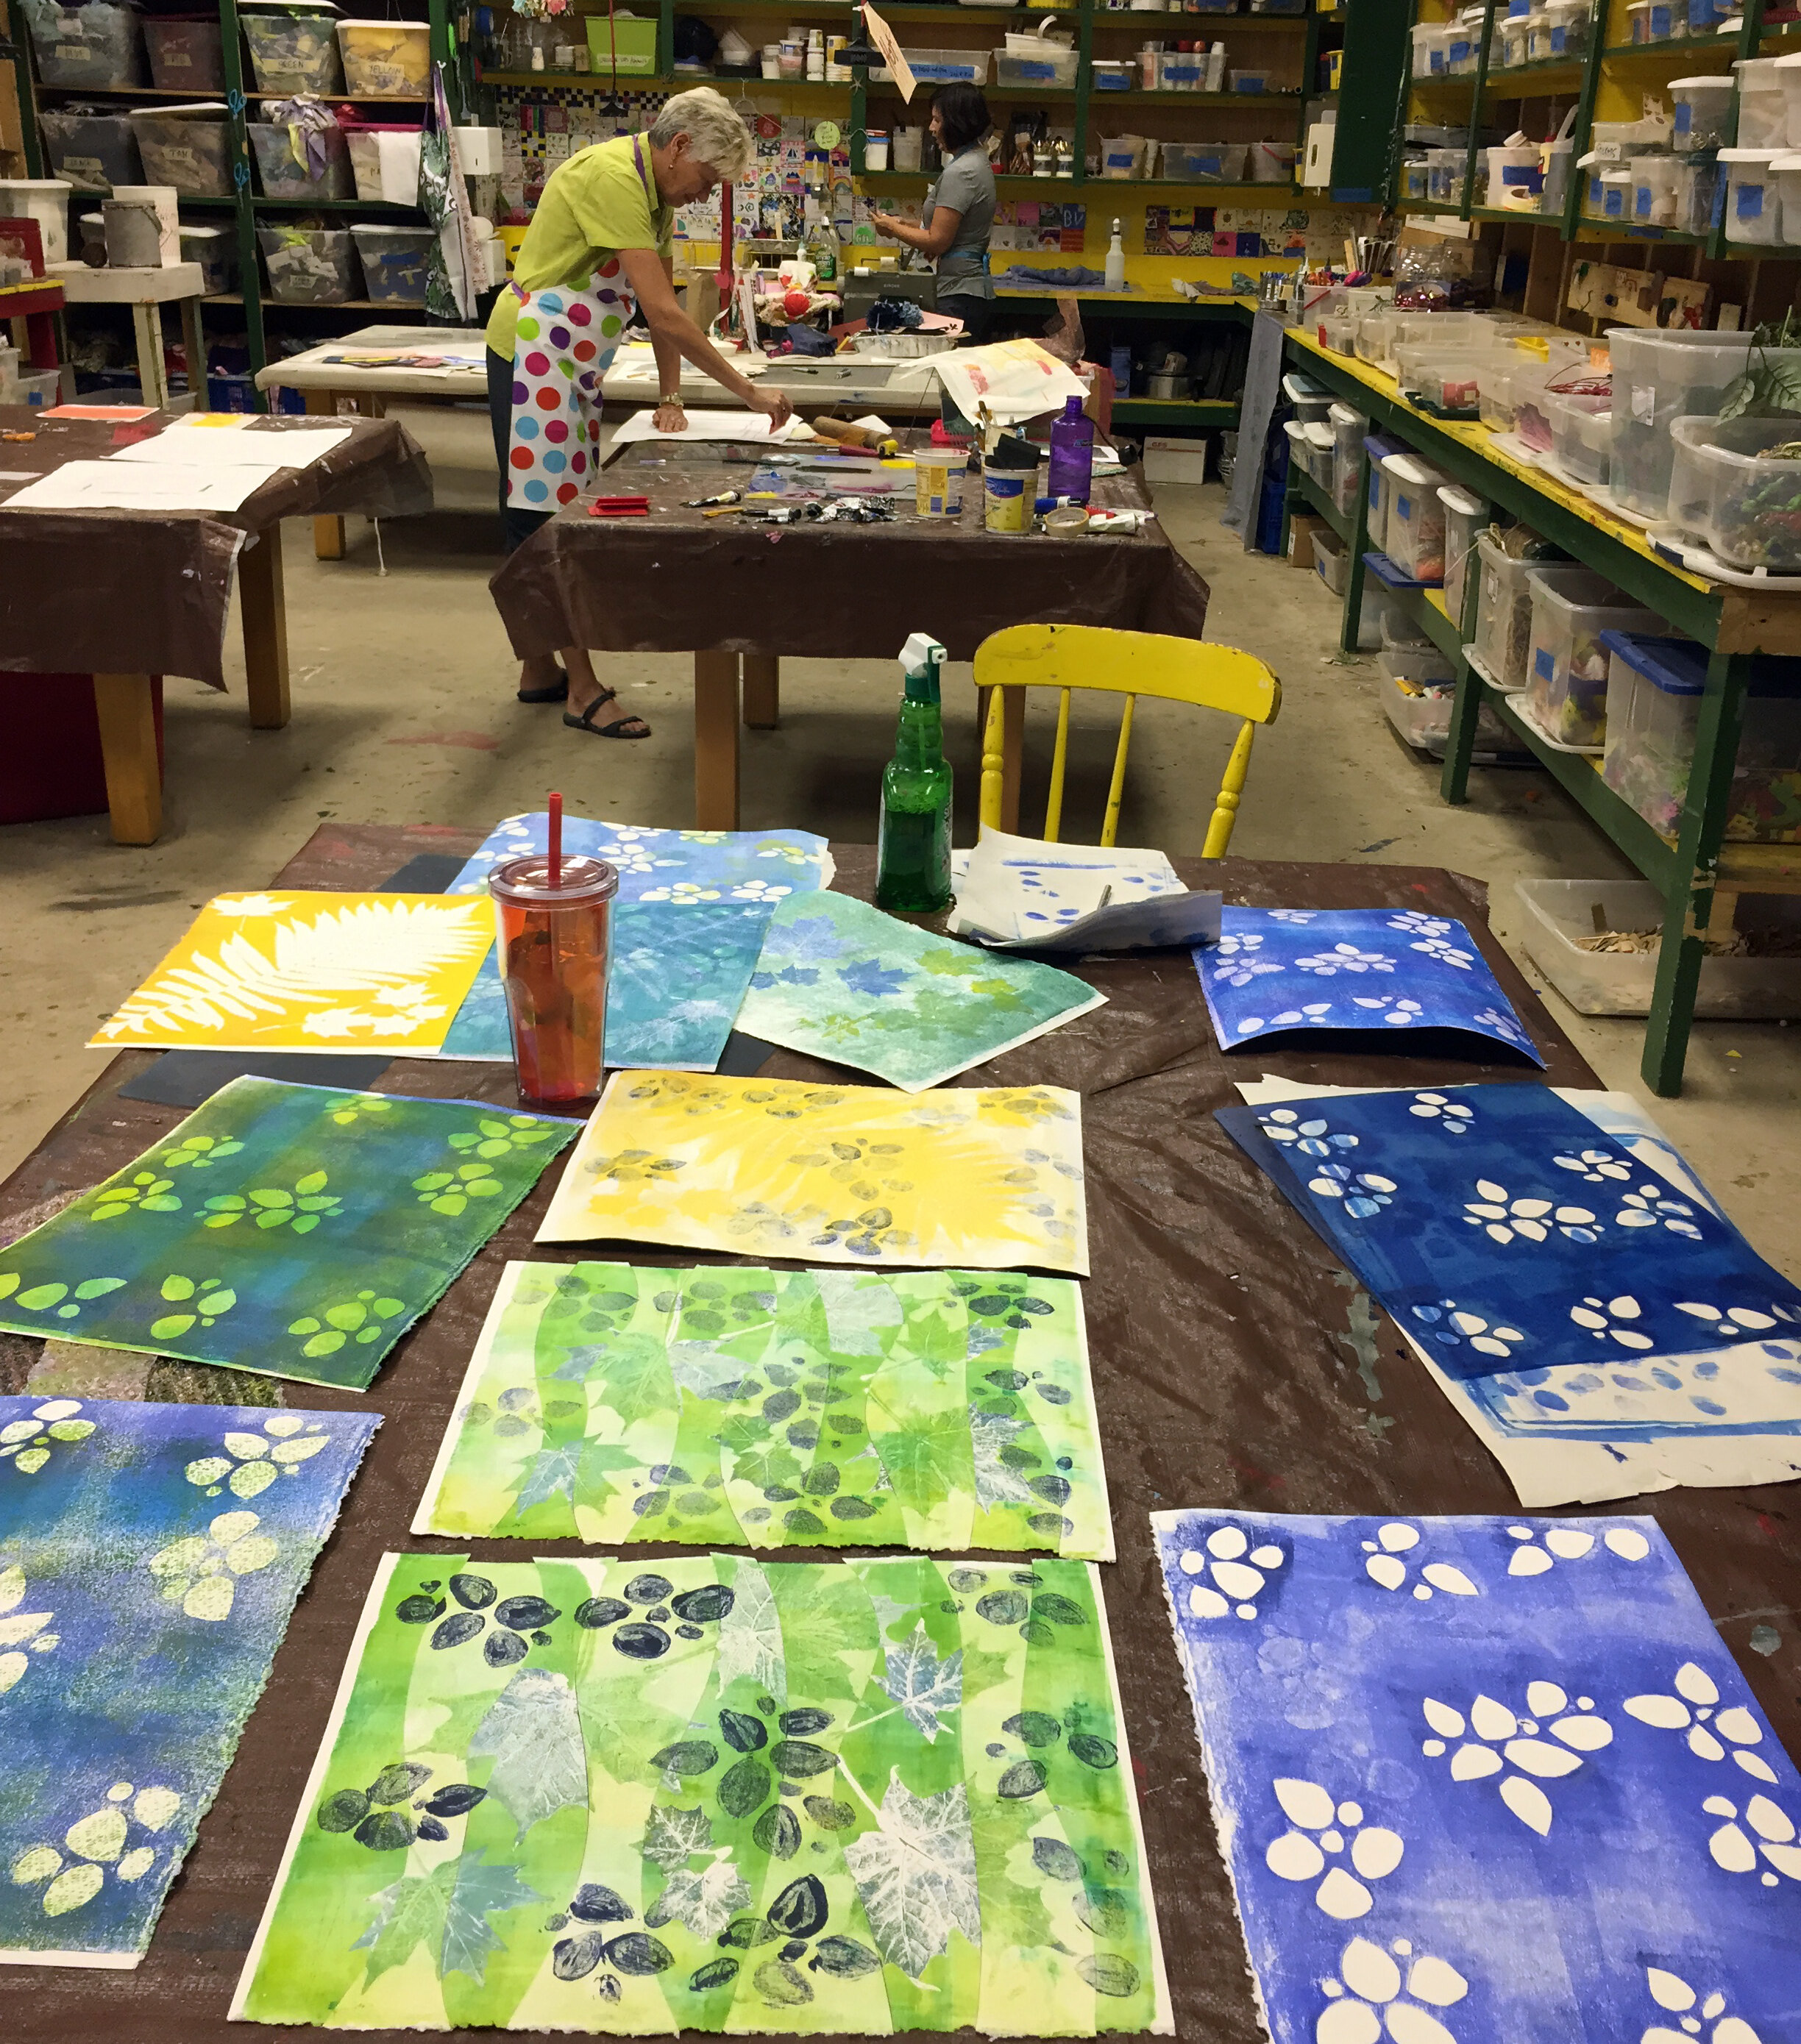
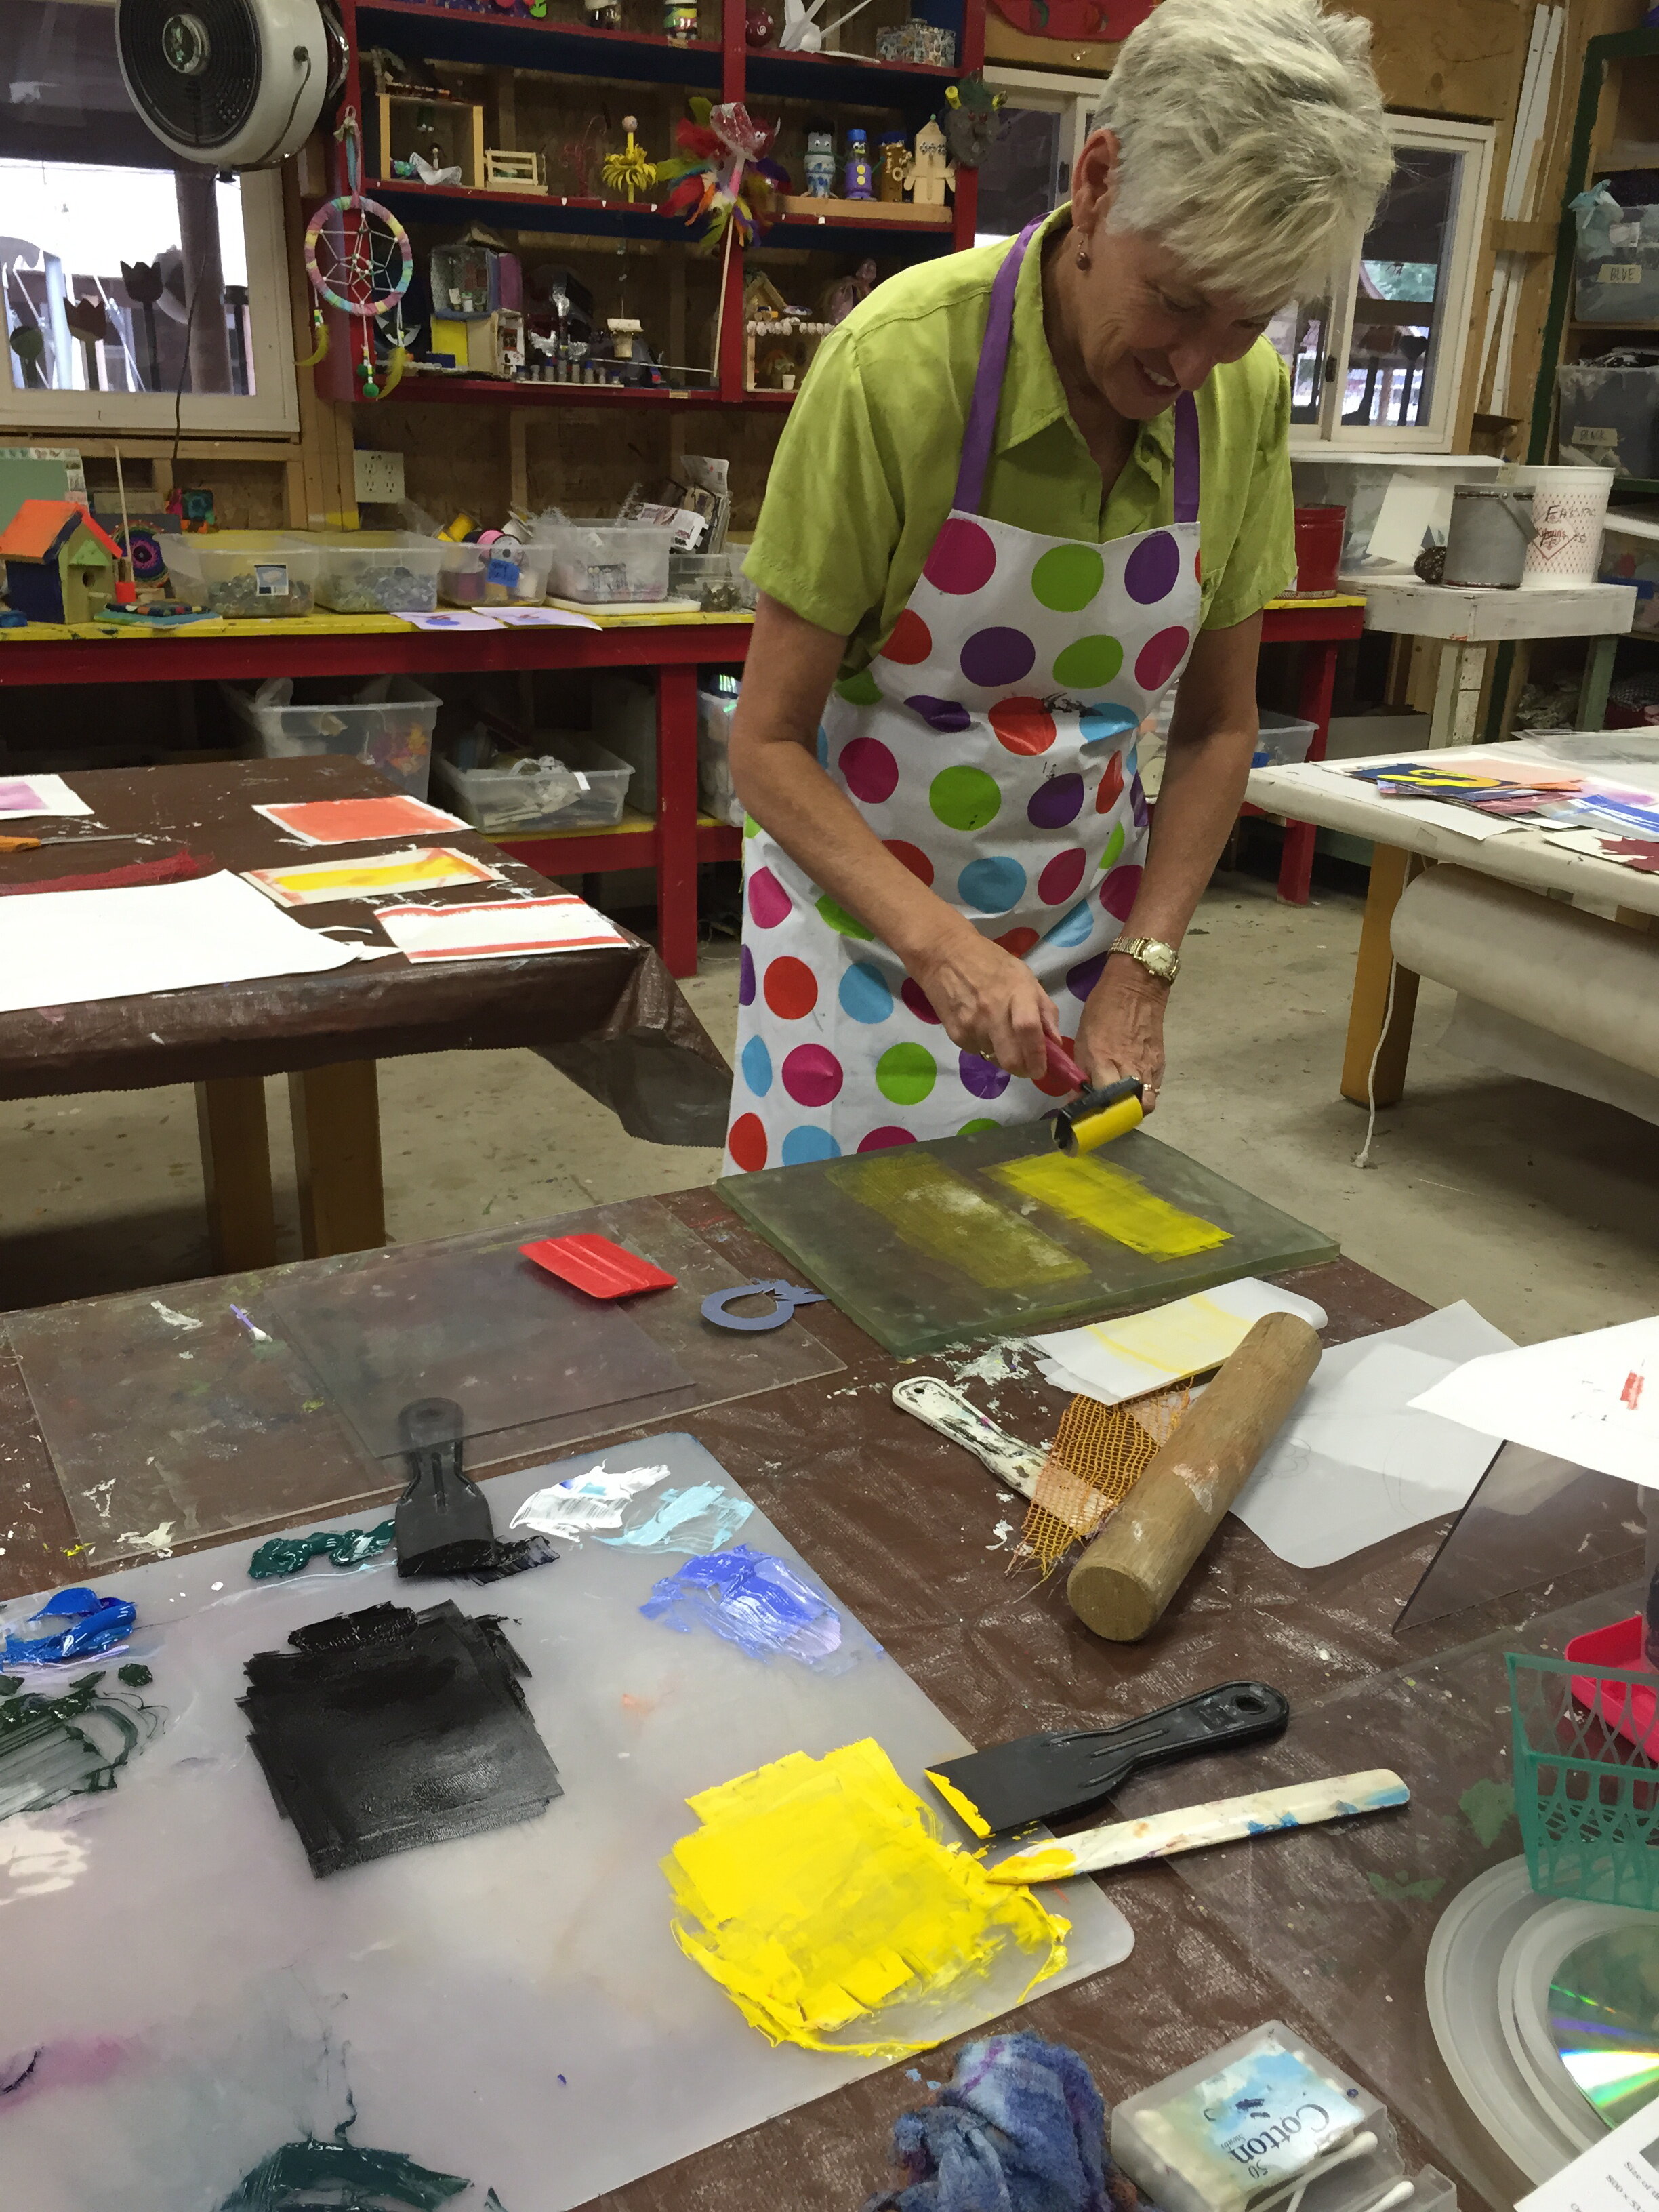
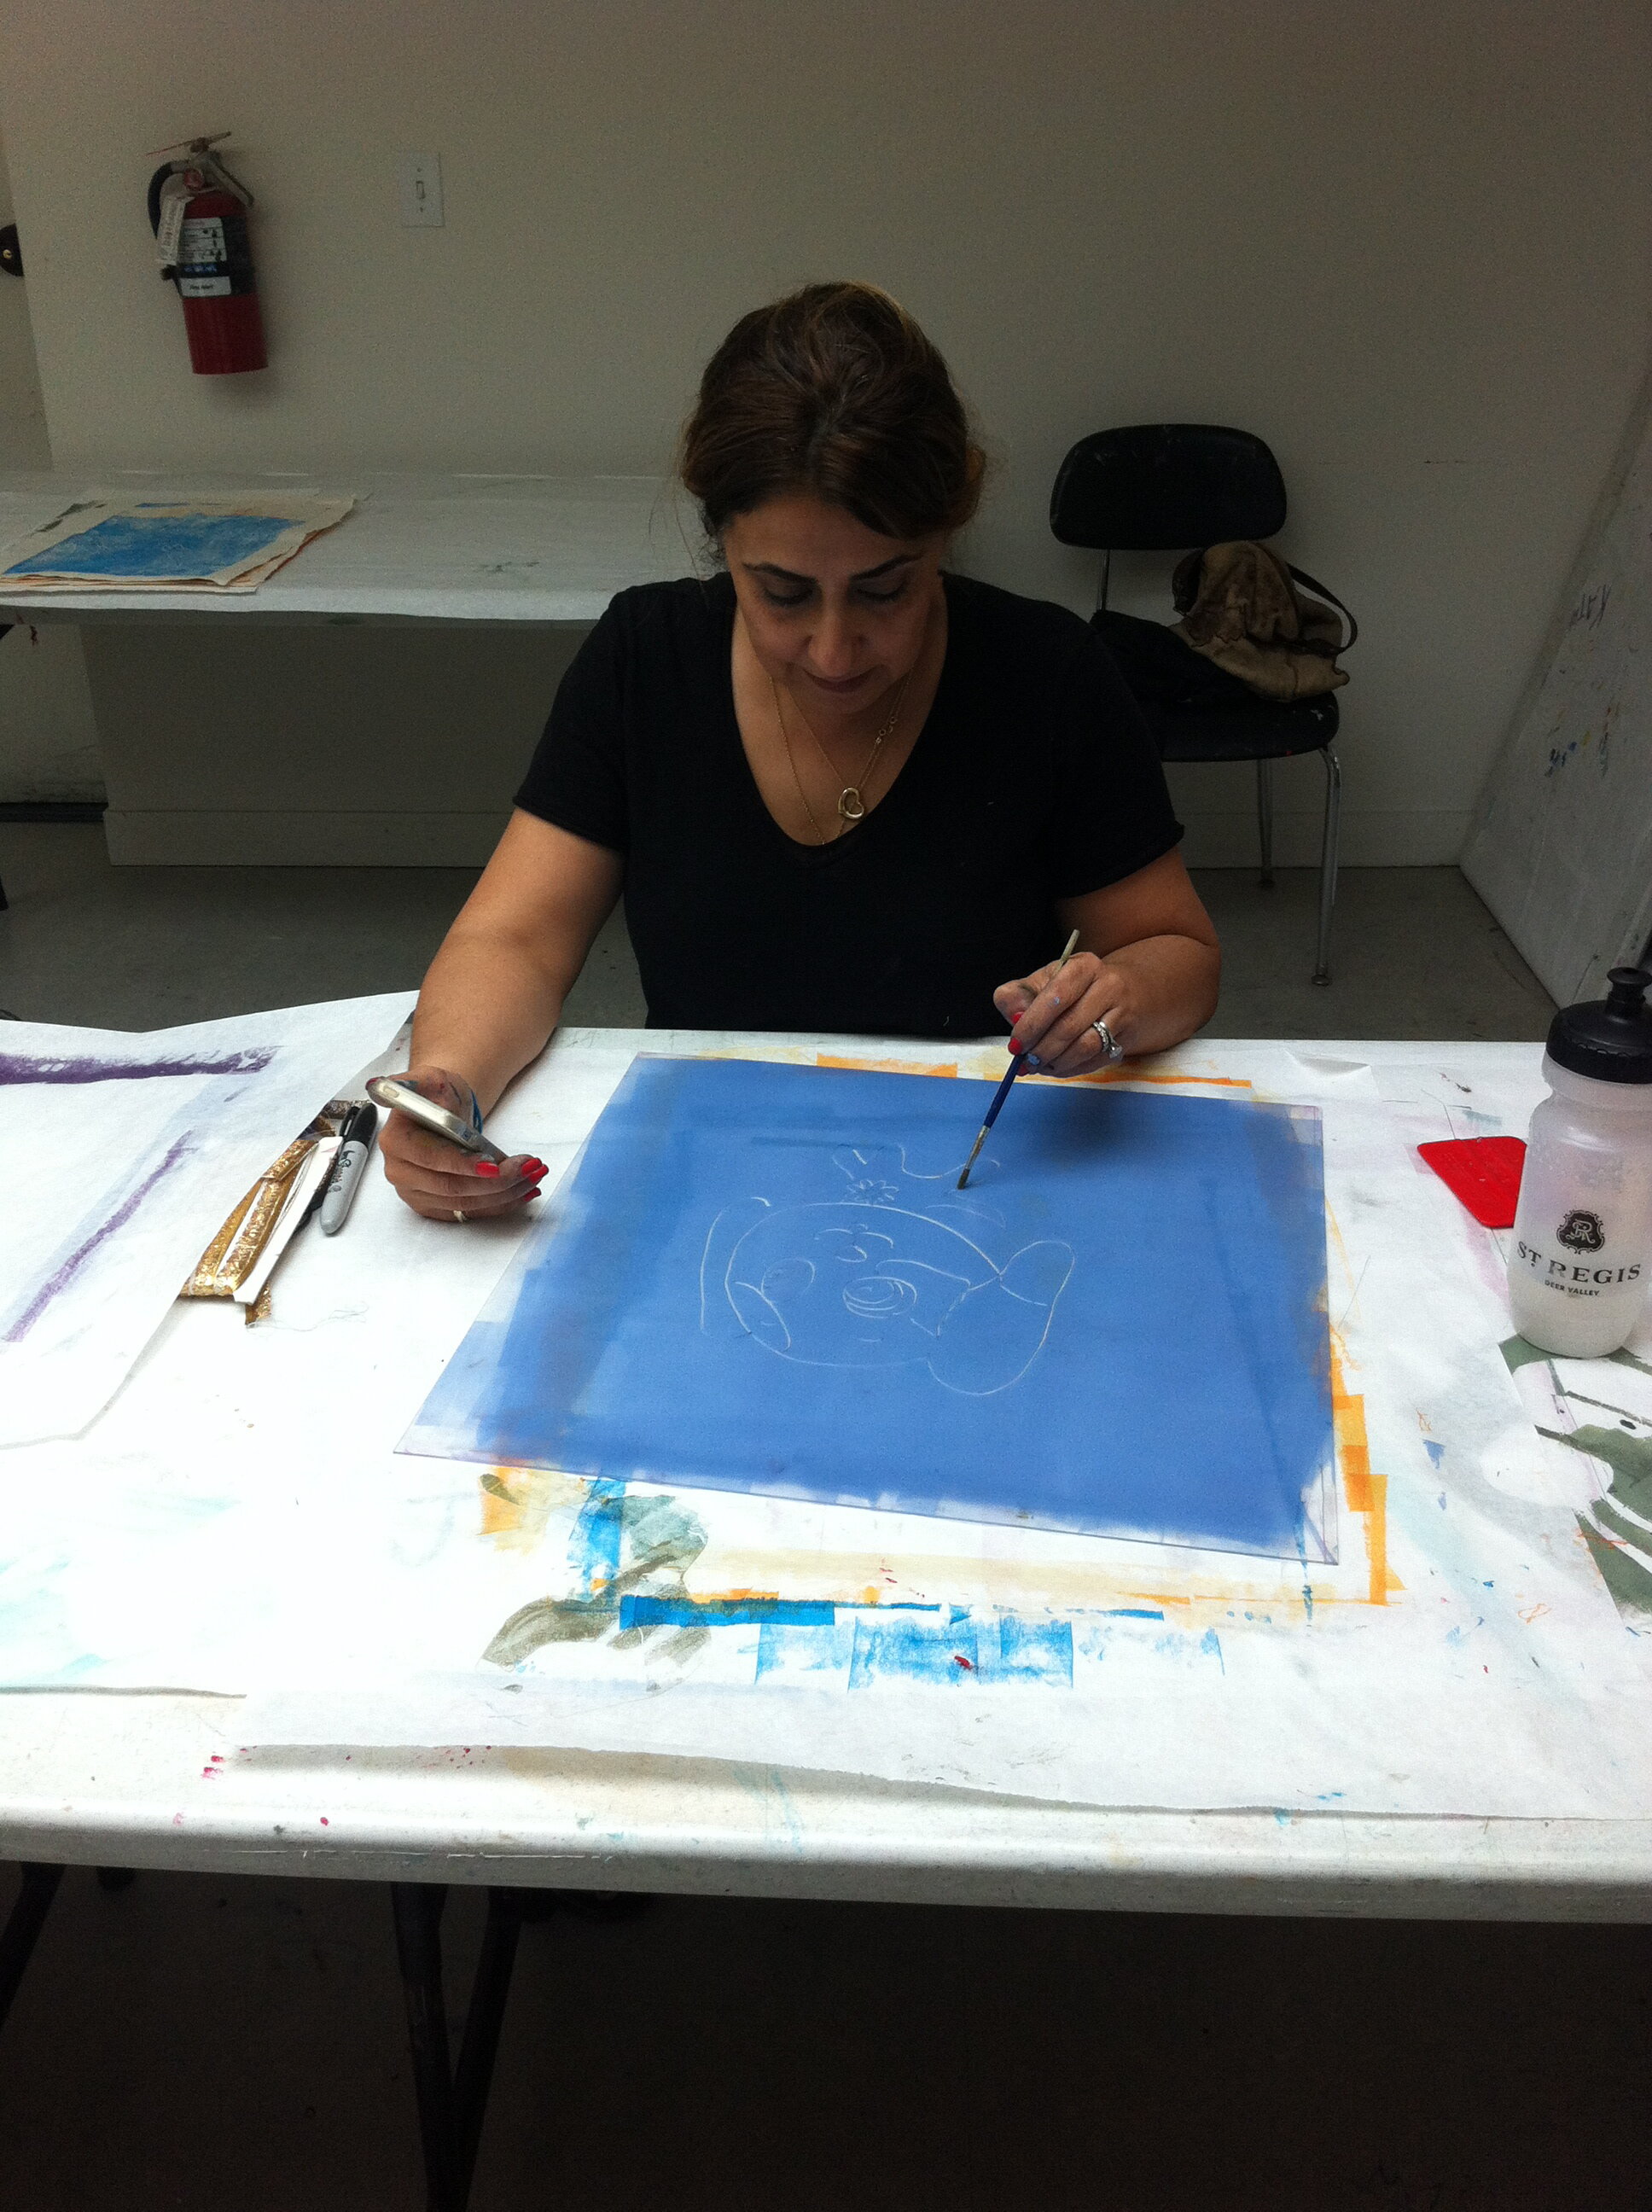
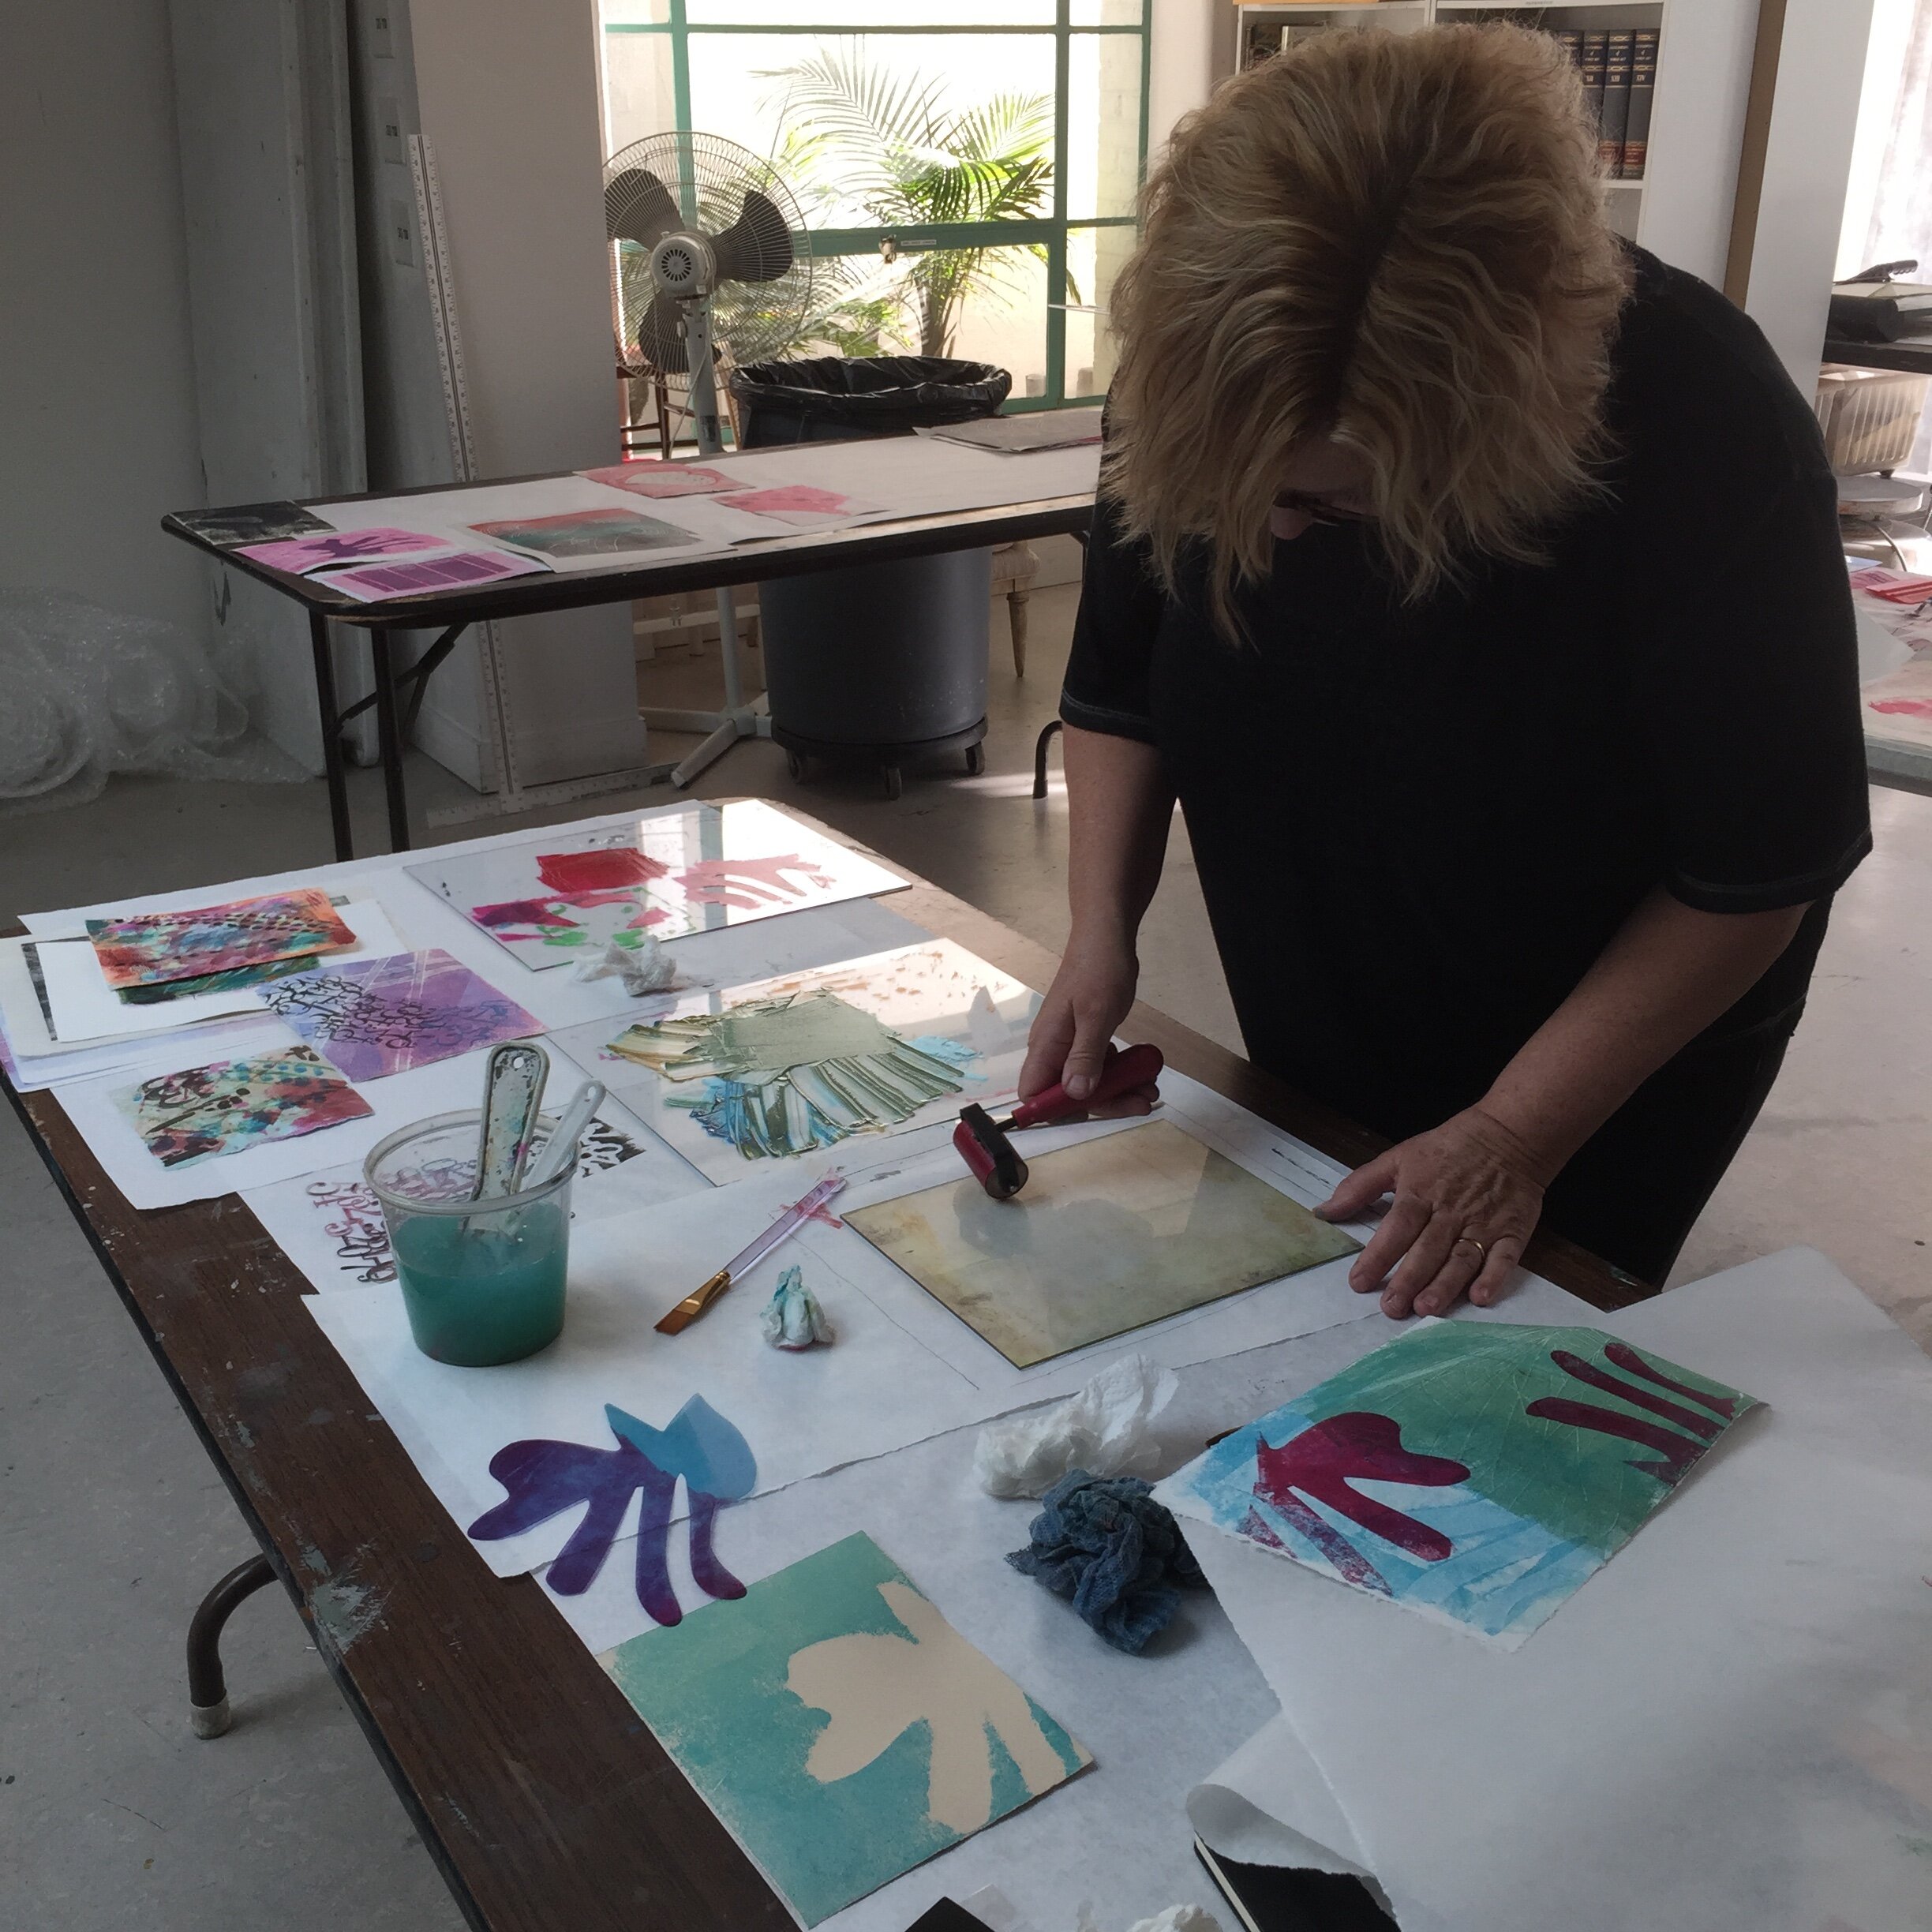
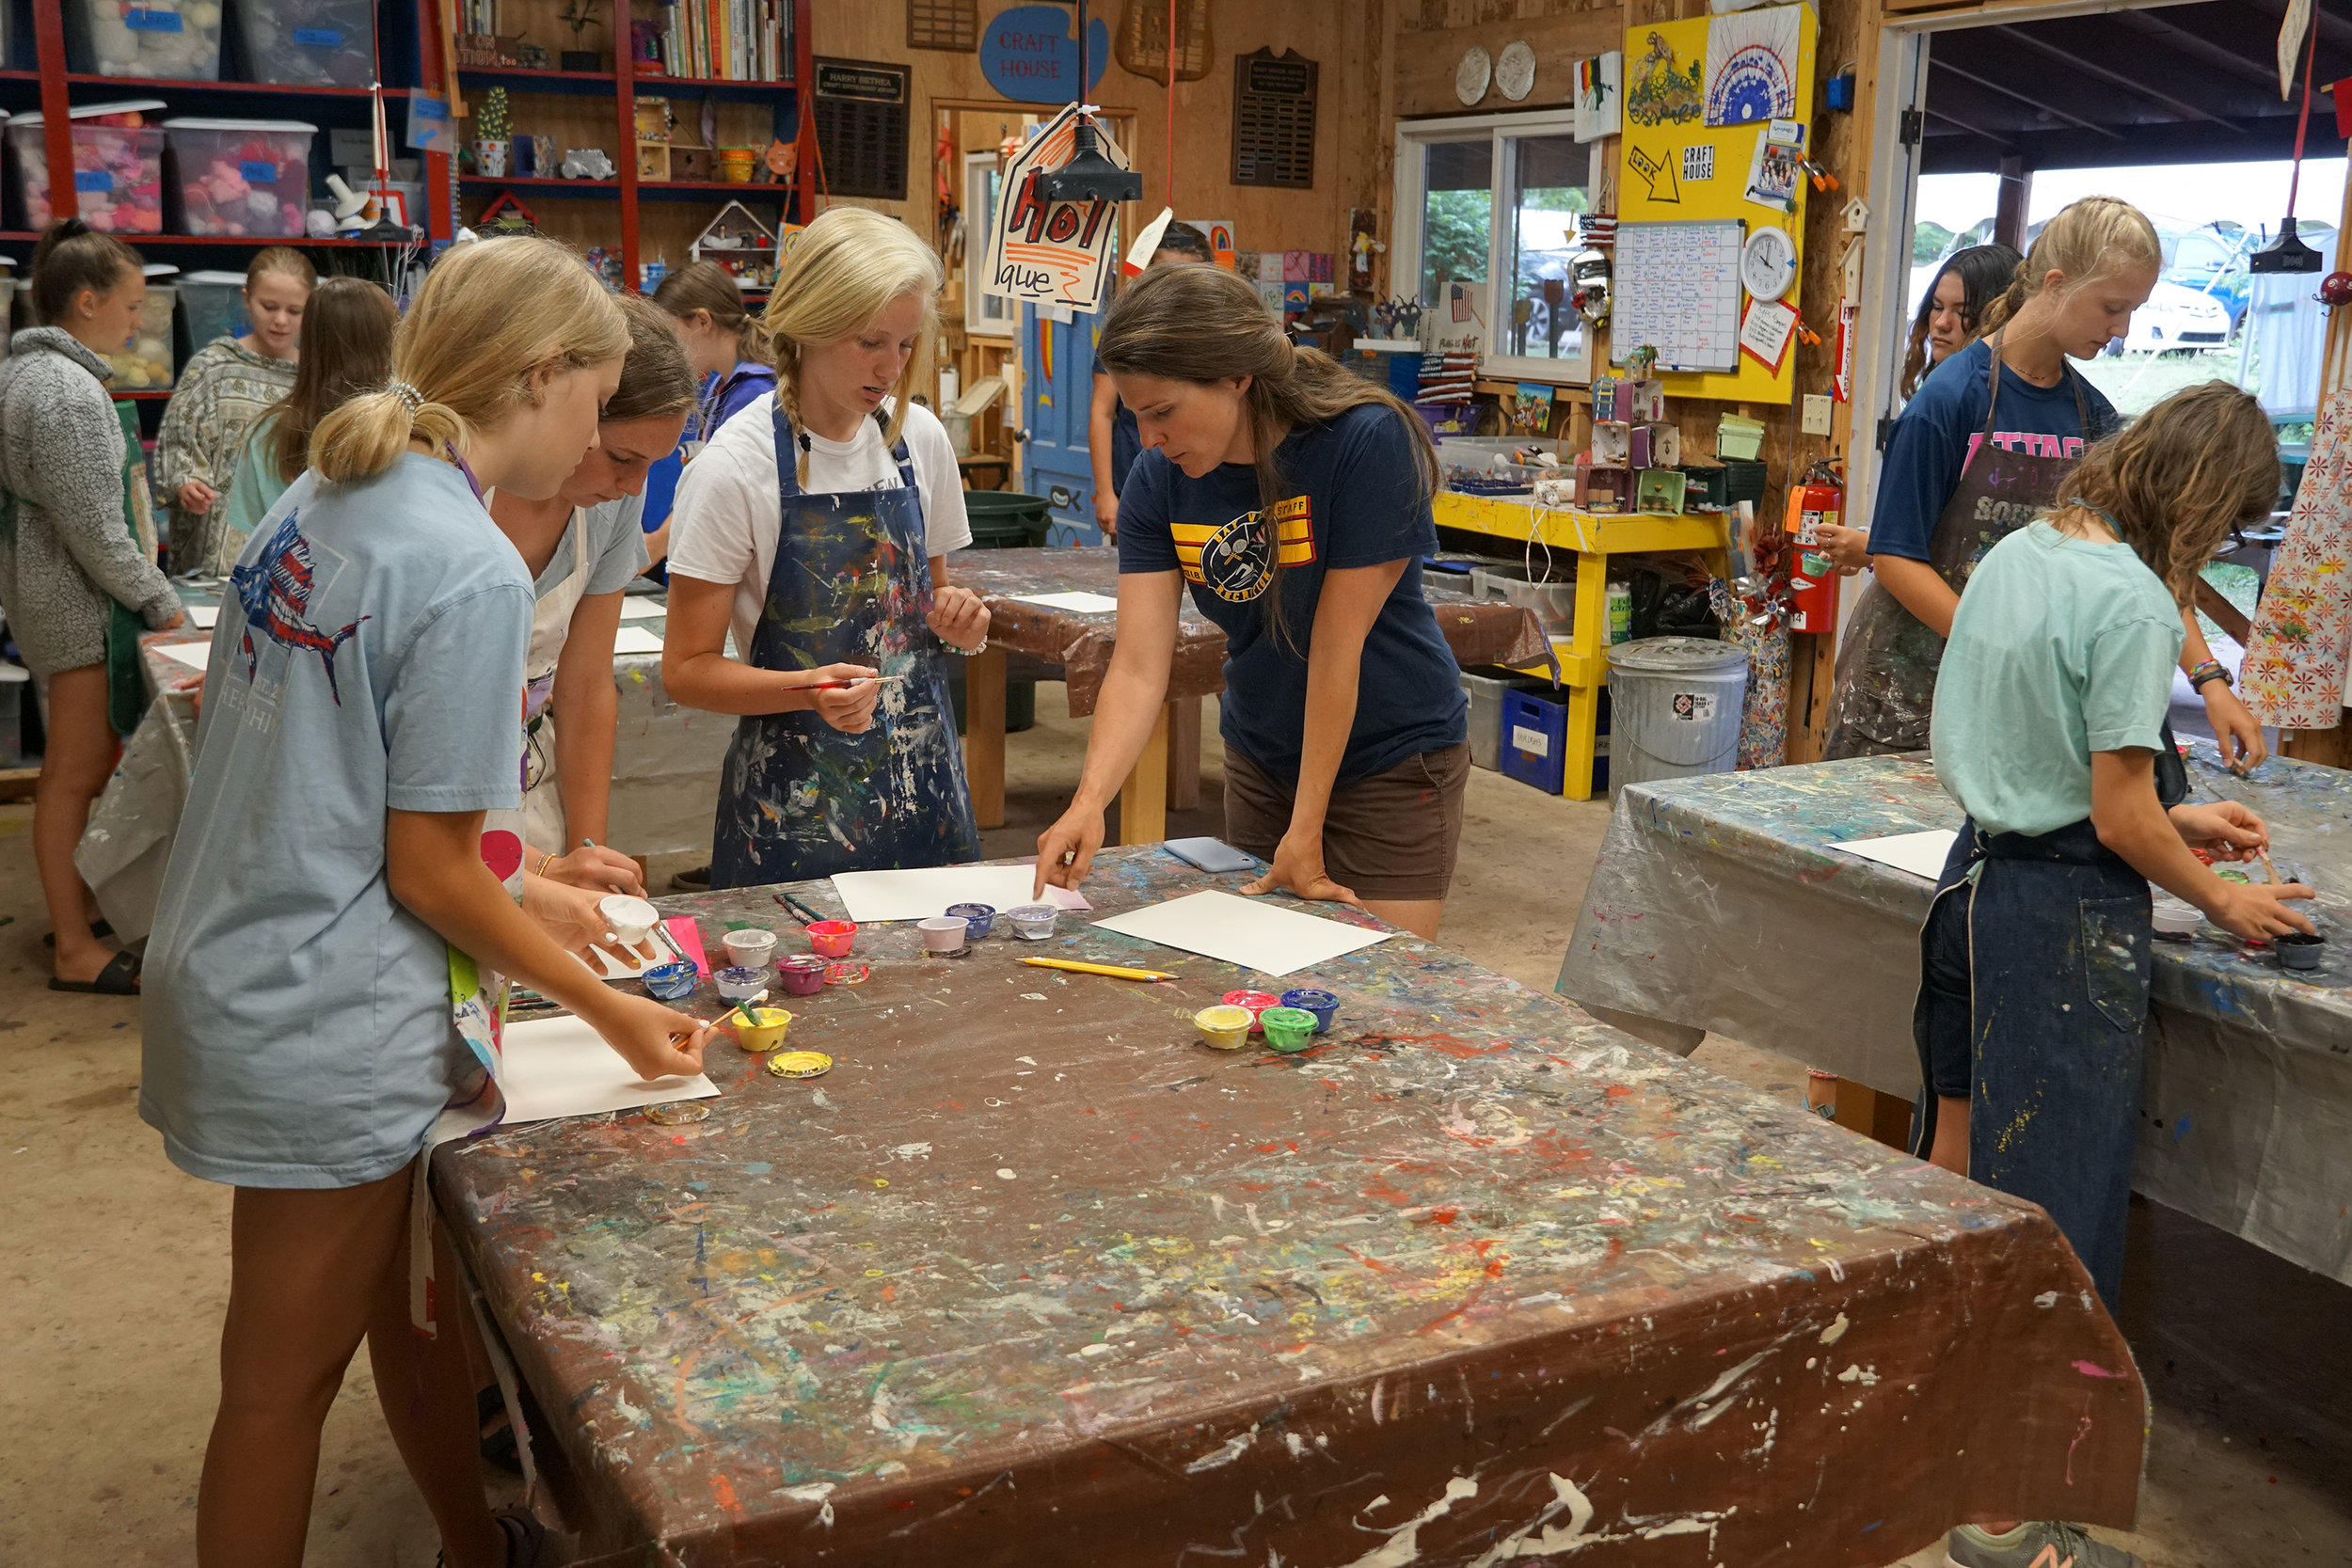
We had an excellent time making Monoprints in a two day workshop in Maine. I am taking a break from teaching for a few months with a new baby on the way. I will return to teaching workshops at Sanctuary Arts in the late summer, look out for indigo dyeing workshops, relief printing and monoprinting to return for Autumn and Winter of 2022! I look forward to seeing you at this lovely space!!!
WOW Finally teaching again!
Yay! This fall I was able to begin teaching classes again at one of my favorite spots, Sanctuary Arts in Elliot Maine. I taught an Indigo Dyeing workshop in September and last weekend a 2 day relief printmaking workshop. We had an excellent time and it has been wonderful to teach again. February 26th and 27th I will be teaching a 2 day printmaking/monoprinting workshop at Sanctuary Arts, come have fun making artistic and expressive one off prints.
Sunny Flow High Tops for Kiddos
Map Wallpaper
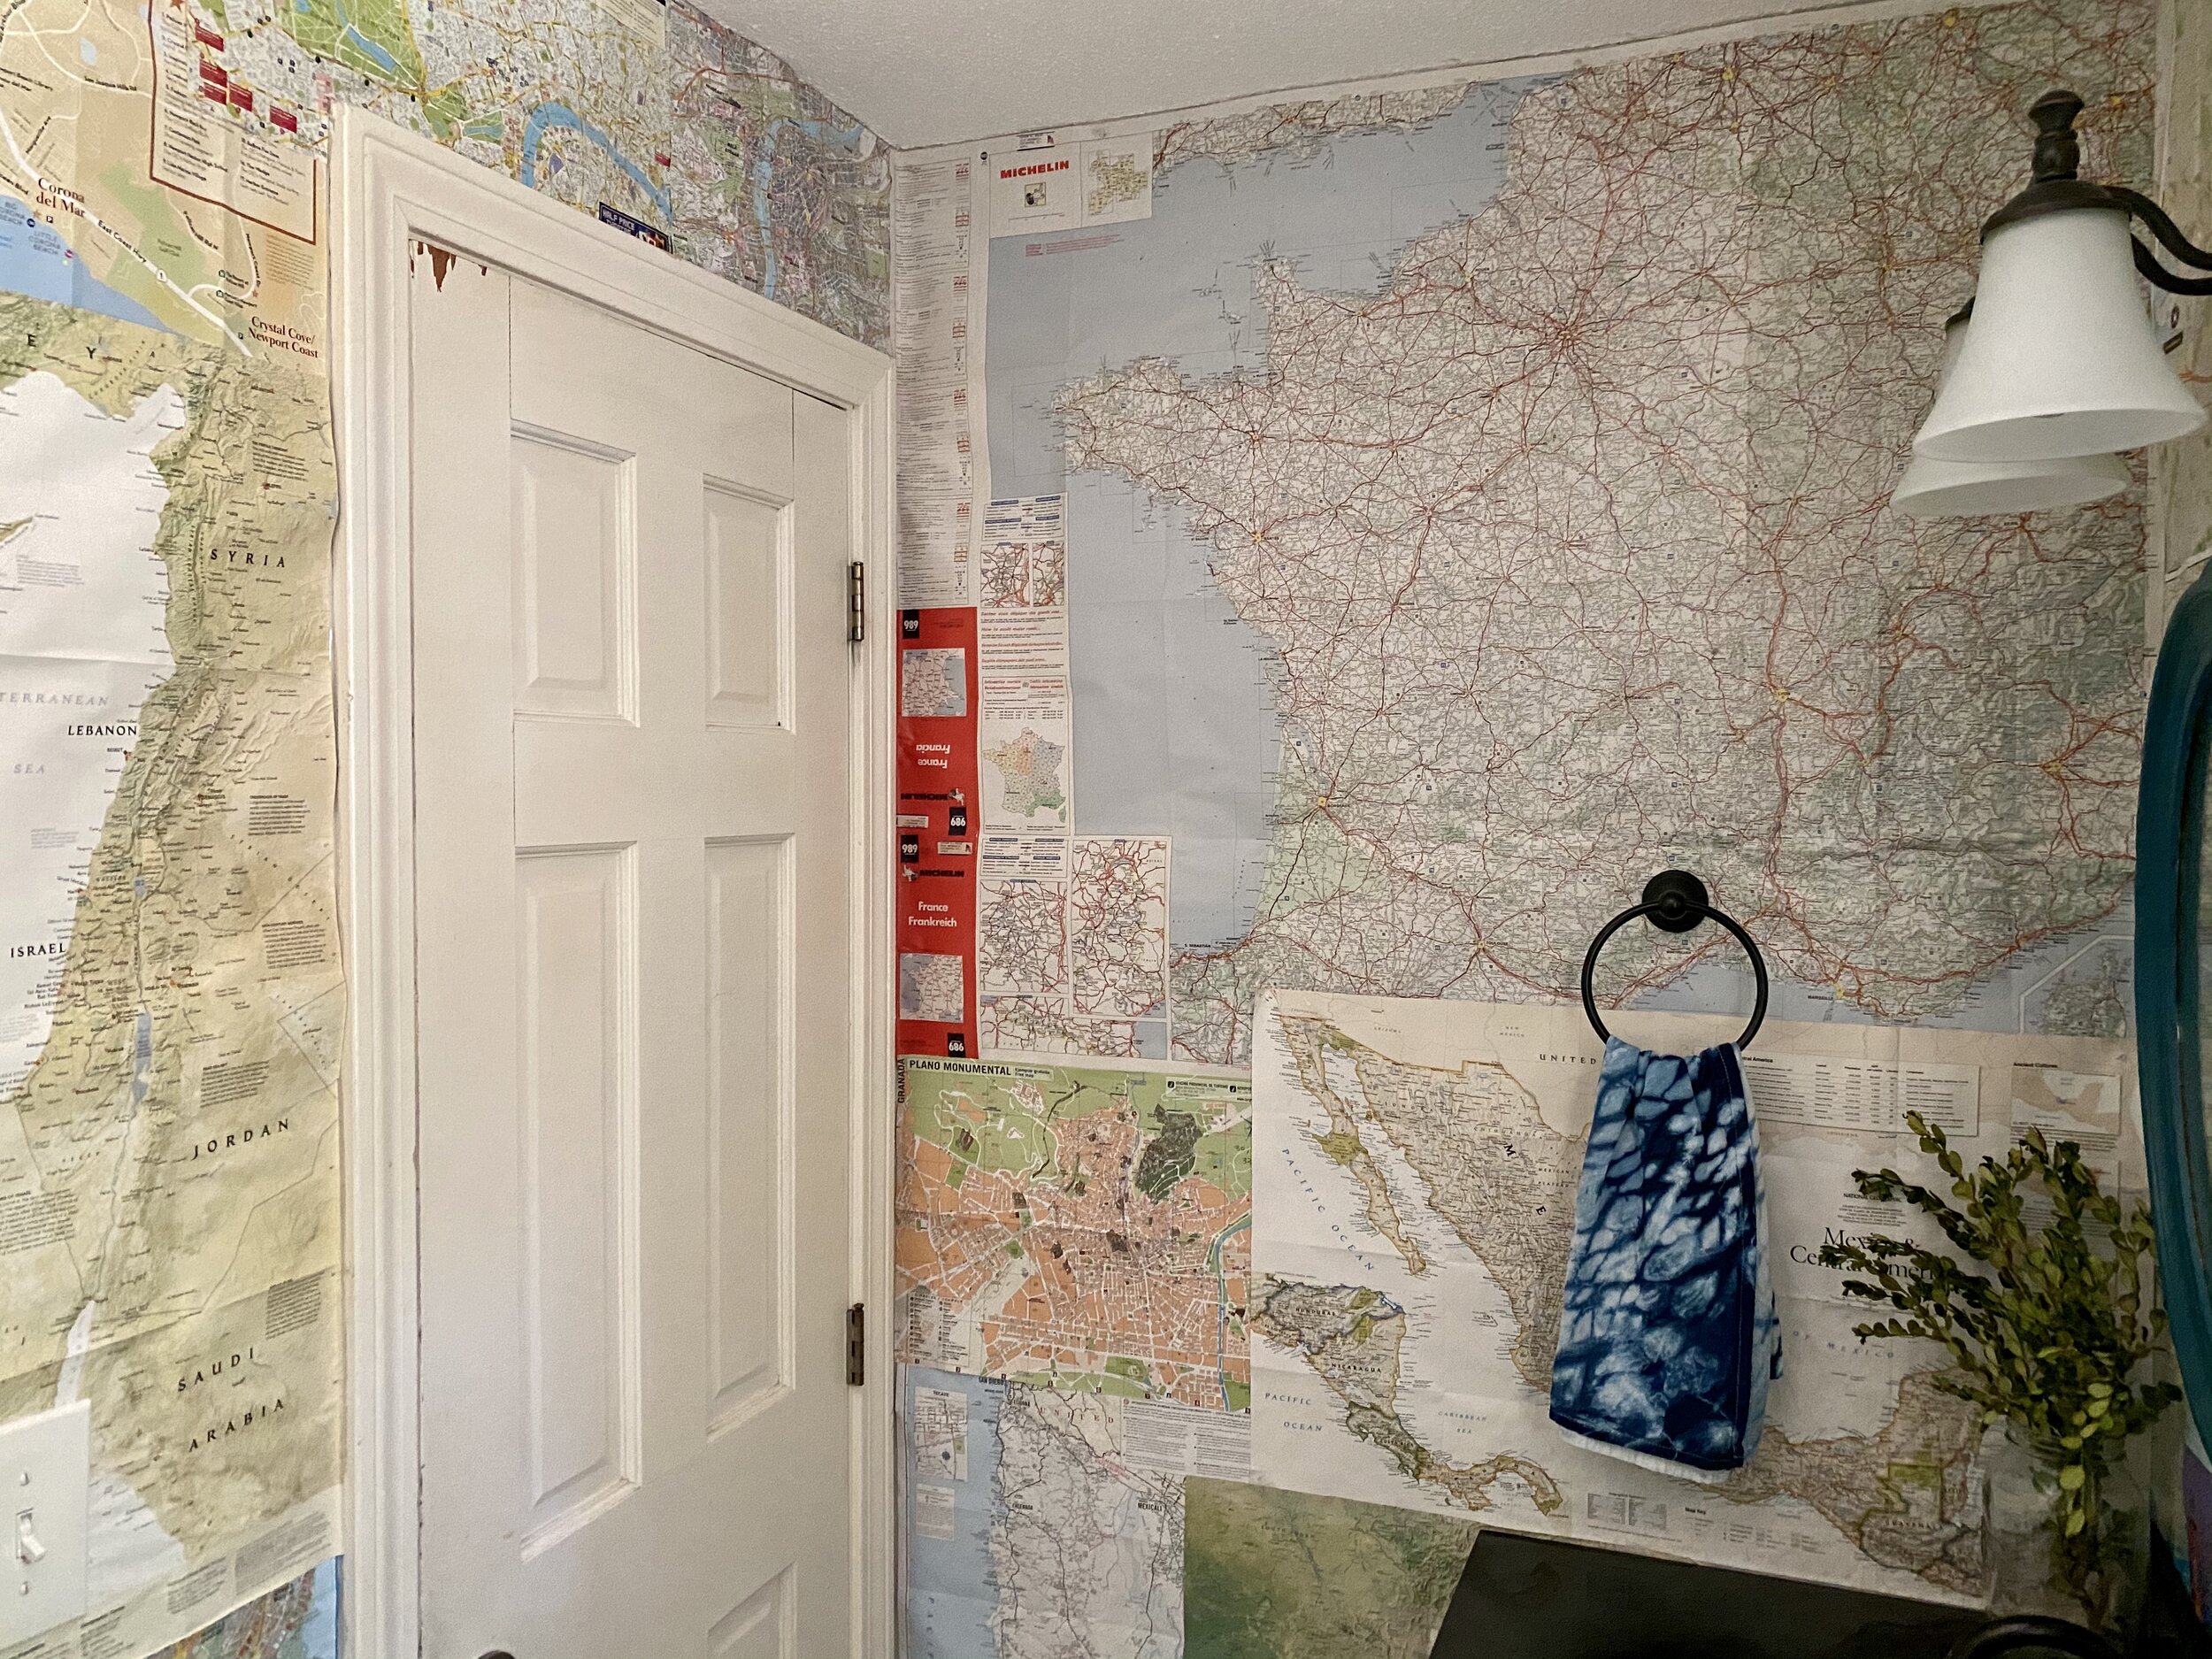
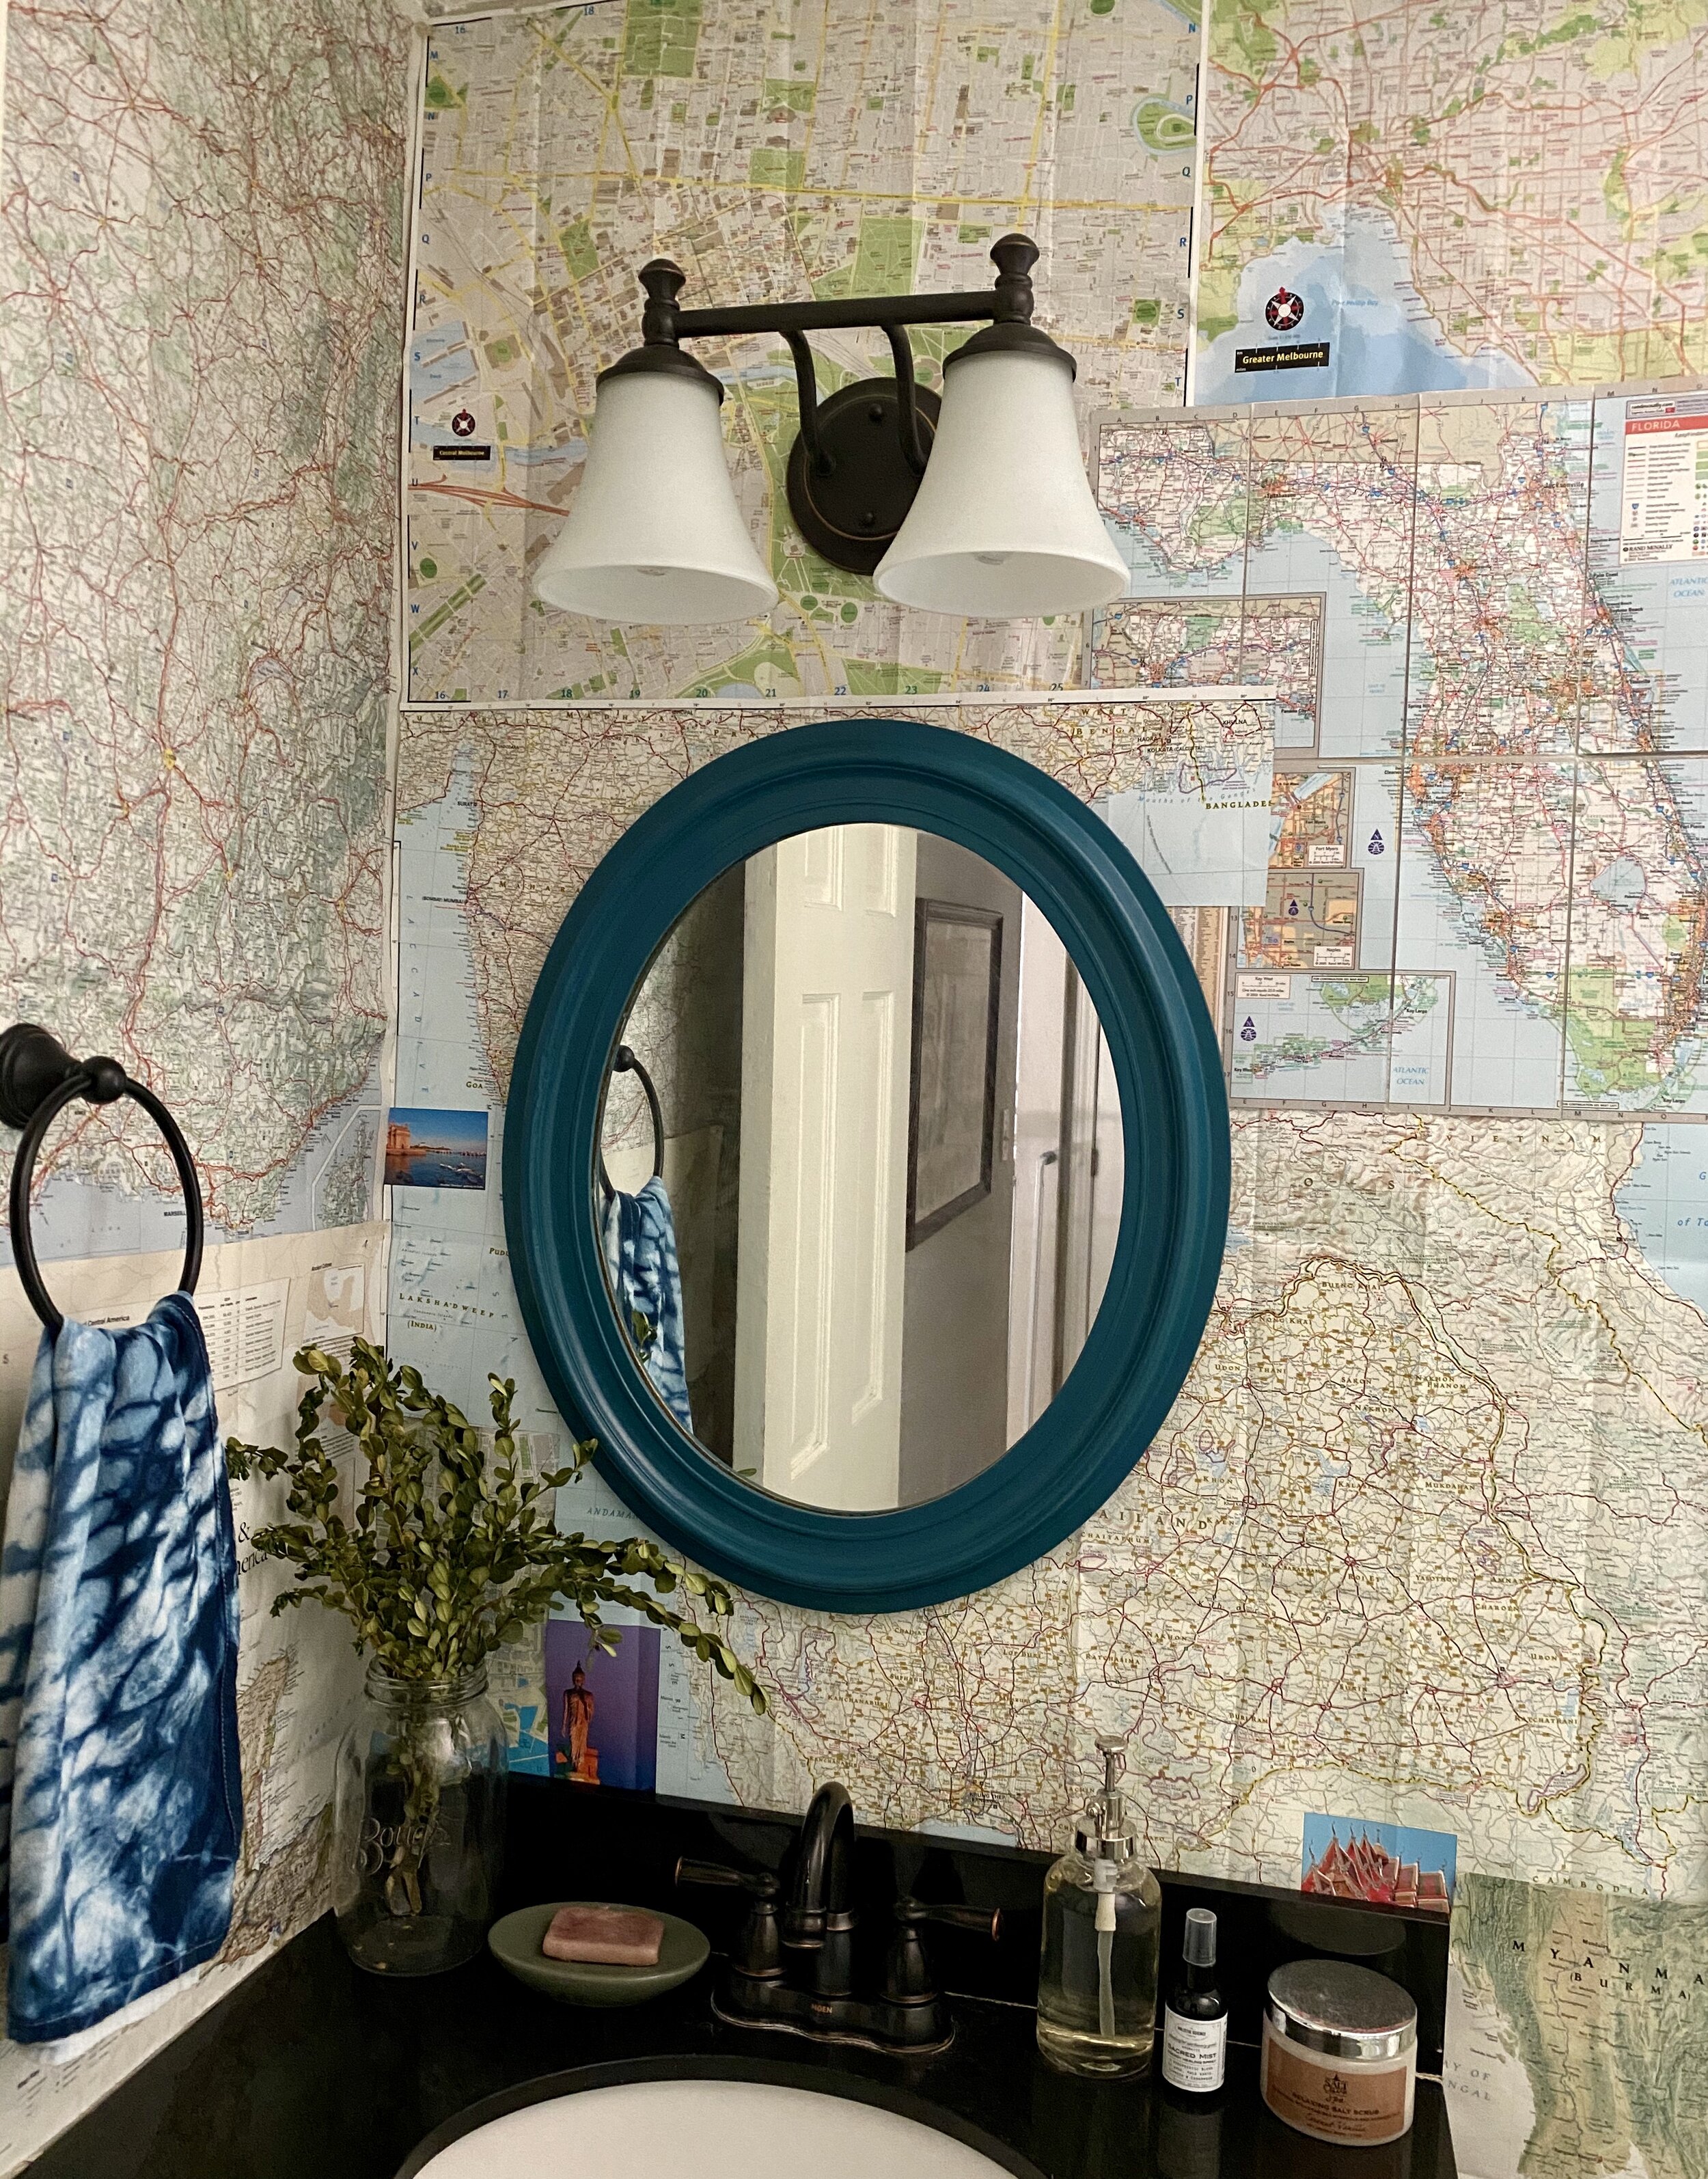
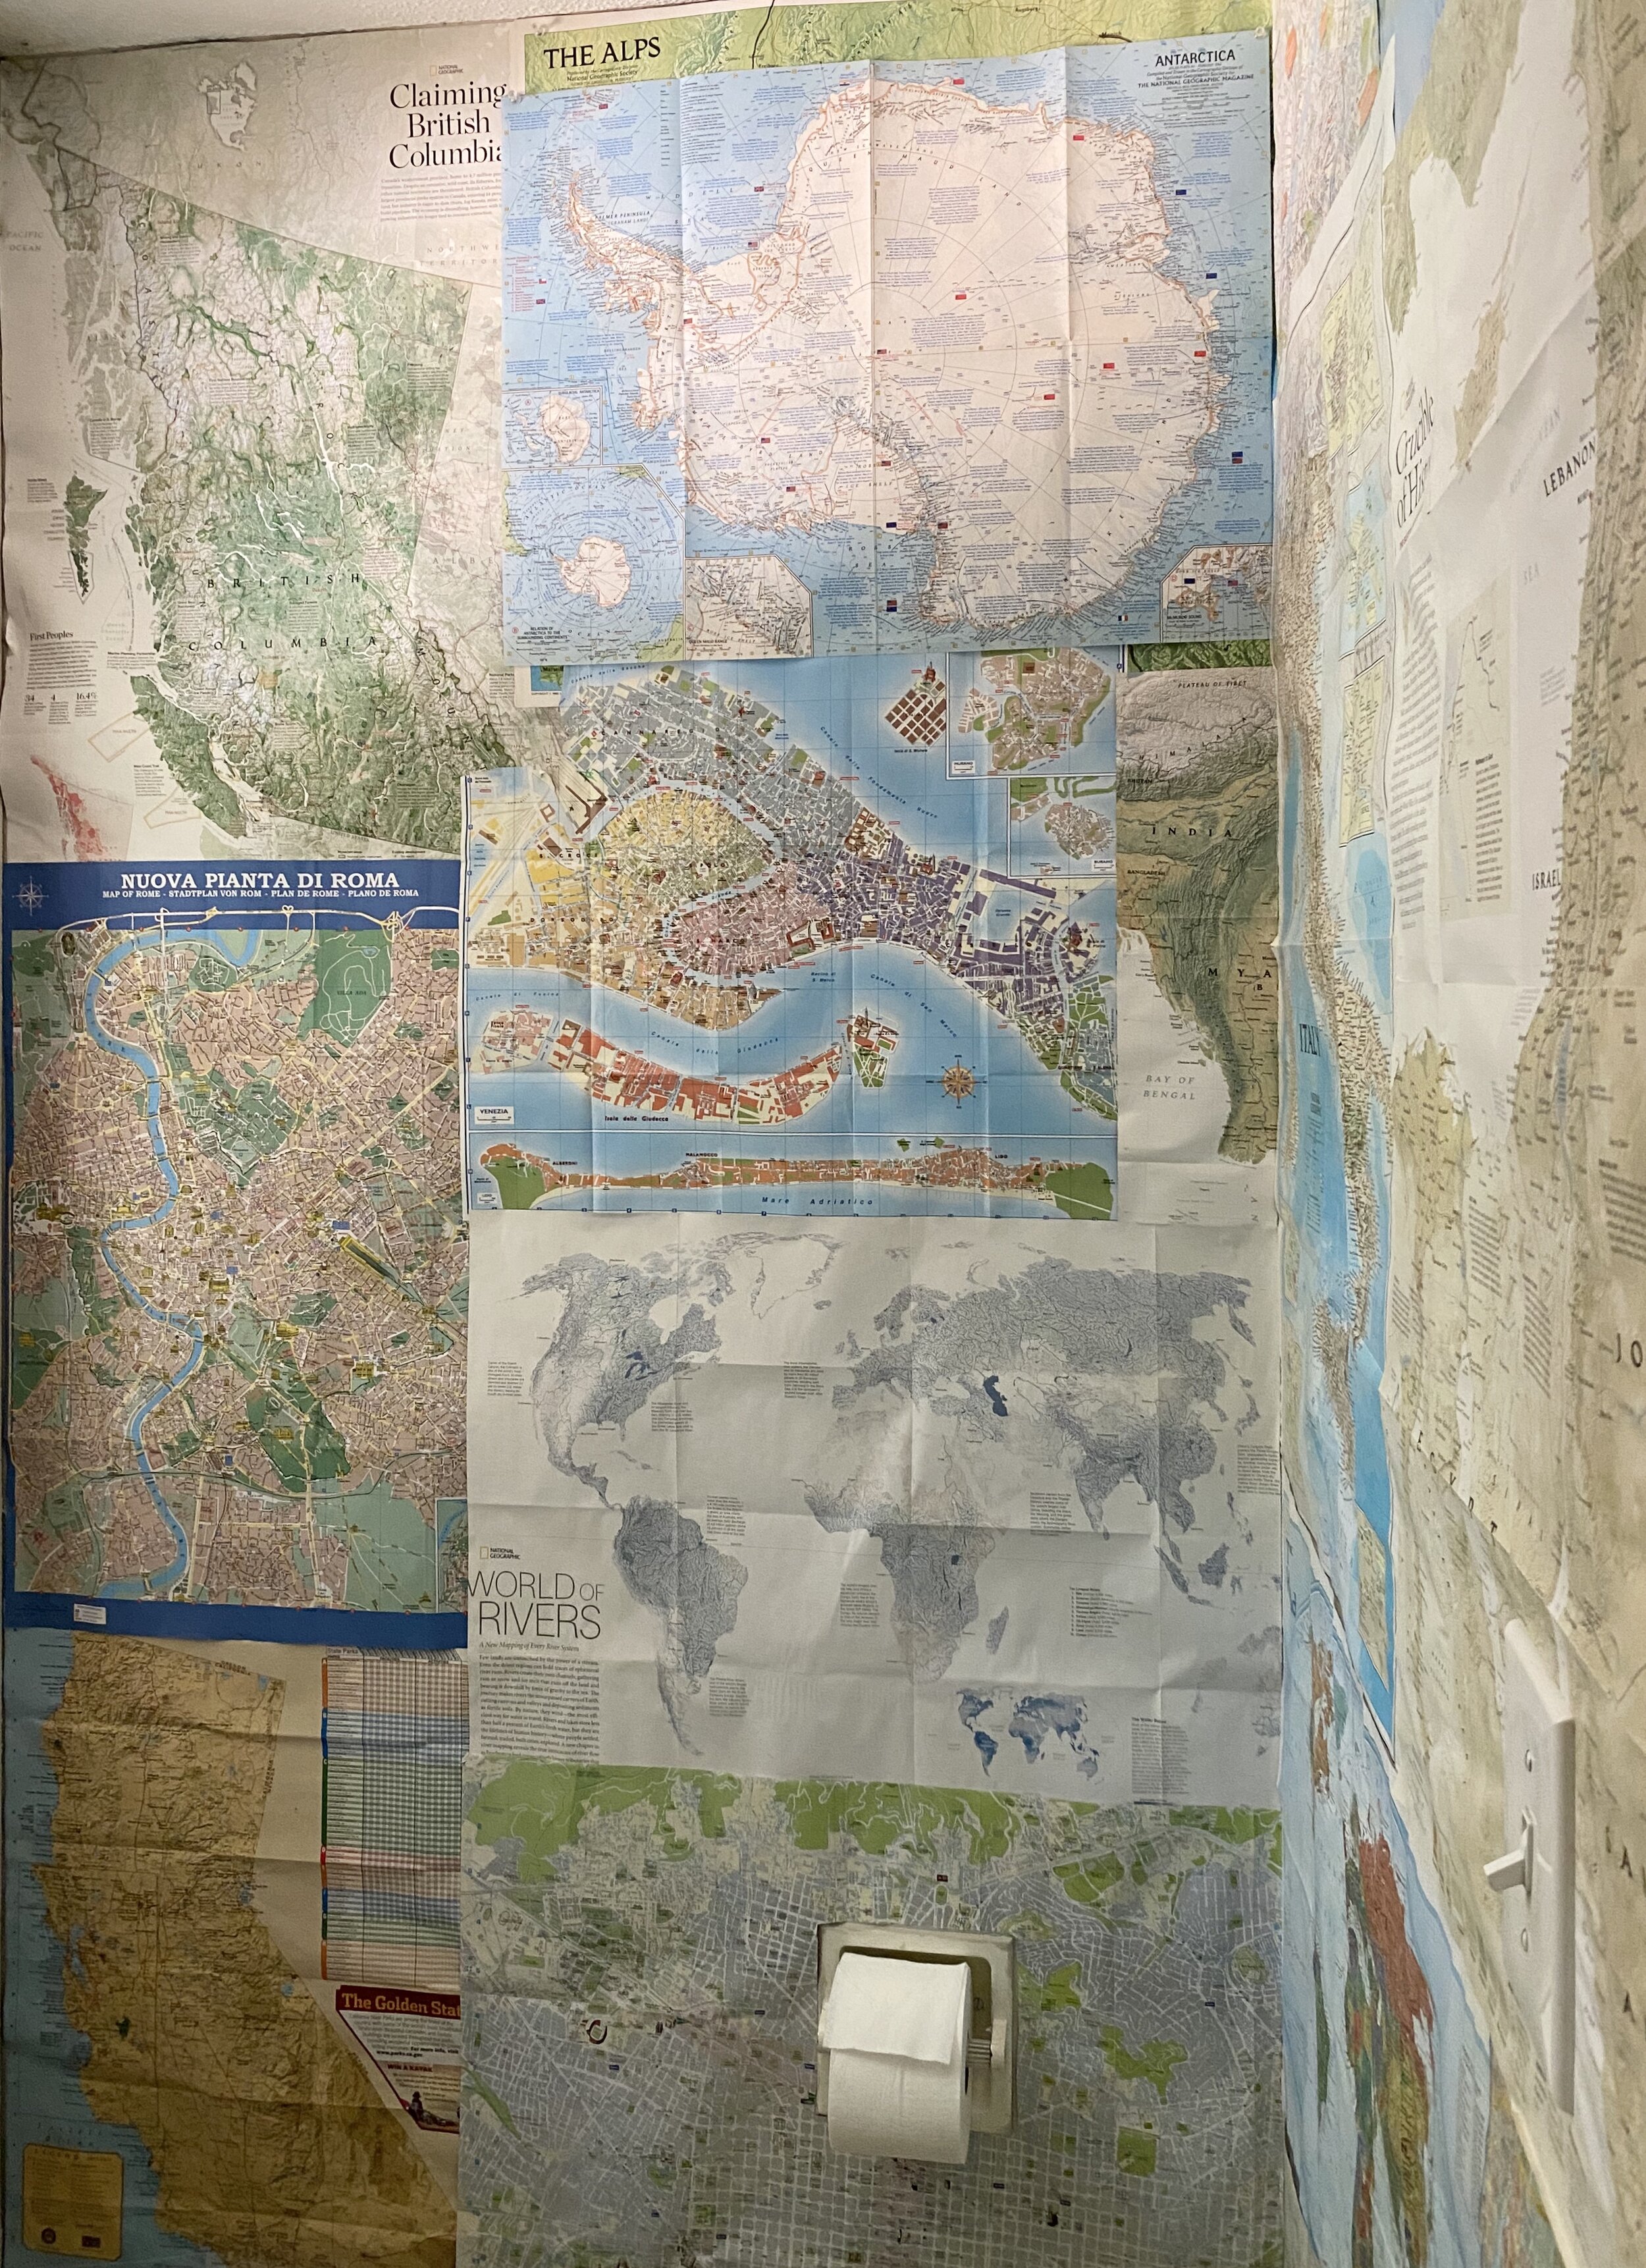
During this stay-at-home-Spring I have been able to finish lots of projects around our home and garden. One of my favs was finishing the map wallpaper in the half bath. These maps are from my travels, my grandfather, and lots from National Geographic, a magazine I LOVEEEE! This is a simple way to decorate a space that is also educational.
MEASURE- I started with measuring the walls I wanted to cover and being precise with the heights and widths while also accounting for the toilet, window, sink, whatever is on the wall.
PLAN-Mark off these wall dimensions on your floor with tape, a tape measure, or pillows and lay down the maps to understand where you should place the maps. I usually do one wall at a time. This gives you an idea what fits nicely with the least trimming.
CUT- your maps, I sometimes trim off the excess white or the info key that has lots of text, or the front cover if necessary. Also cut them down so they fit in the space you need, remember measure twice cut once! Cutting around the outlets can be tricky, follow the steps to hanging wallpaper and take your time. I also took down our light switch to place the paper just behind it. An exacto knife can be helpful with cutting inside paper.
PASTE- You could use a wheat paste or wallpaper paste, but I like the flexibility of making changes (like hanging the map of Antarctica I just found over the Alps map…) or taking them down and using them for something else one day if desired. So I used double sided tape, it works great! A few pieces per side, and taping them with precision so they are flat against the wall is important. I also put a few clear thumbtacks in the top maps that are really big.
RouseHouseDesign X Pair of Thieves
Drawing those Art Deco memories of Miami Beach led to this pattern being licensed by company Pair Of Thieves- for their men’s underwear! The colorway is called Fillmore, pretty spot on because visiting the Fillmore Miami Beach is a fav pastime! Check out all their fun patterns and purchase here…
How to paint a mural
So you are sitting around your house right now staring at your walls and inspiration hits! I want to paint this wall with this idea… I have a fairly good idea about how to do this, but I never have before…. Well here are some tips and tricks and a DIY guide to painting a mural, an accent wall, or an entire house! Please feel free to reach out with questions and other tips, or mural painting info. I like to keep these DIY guides to one PDF page so it is easy to follow and tons of scrolling through advertisements doesn’t happen, so they are brief, but helpful. Stay safe out there and try to use what you already have, if you want to buy paint, order it online and pick it up in the store prepared for you.
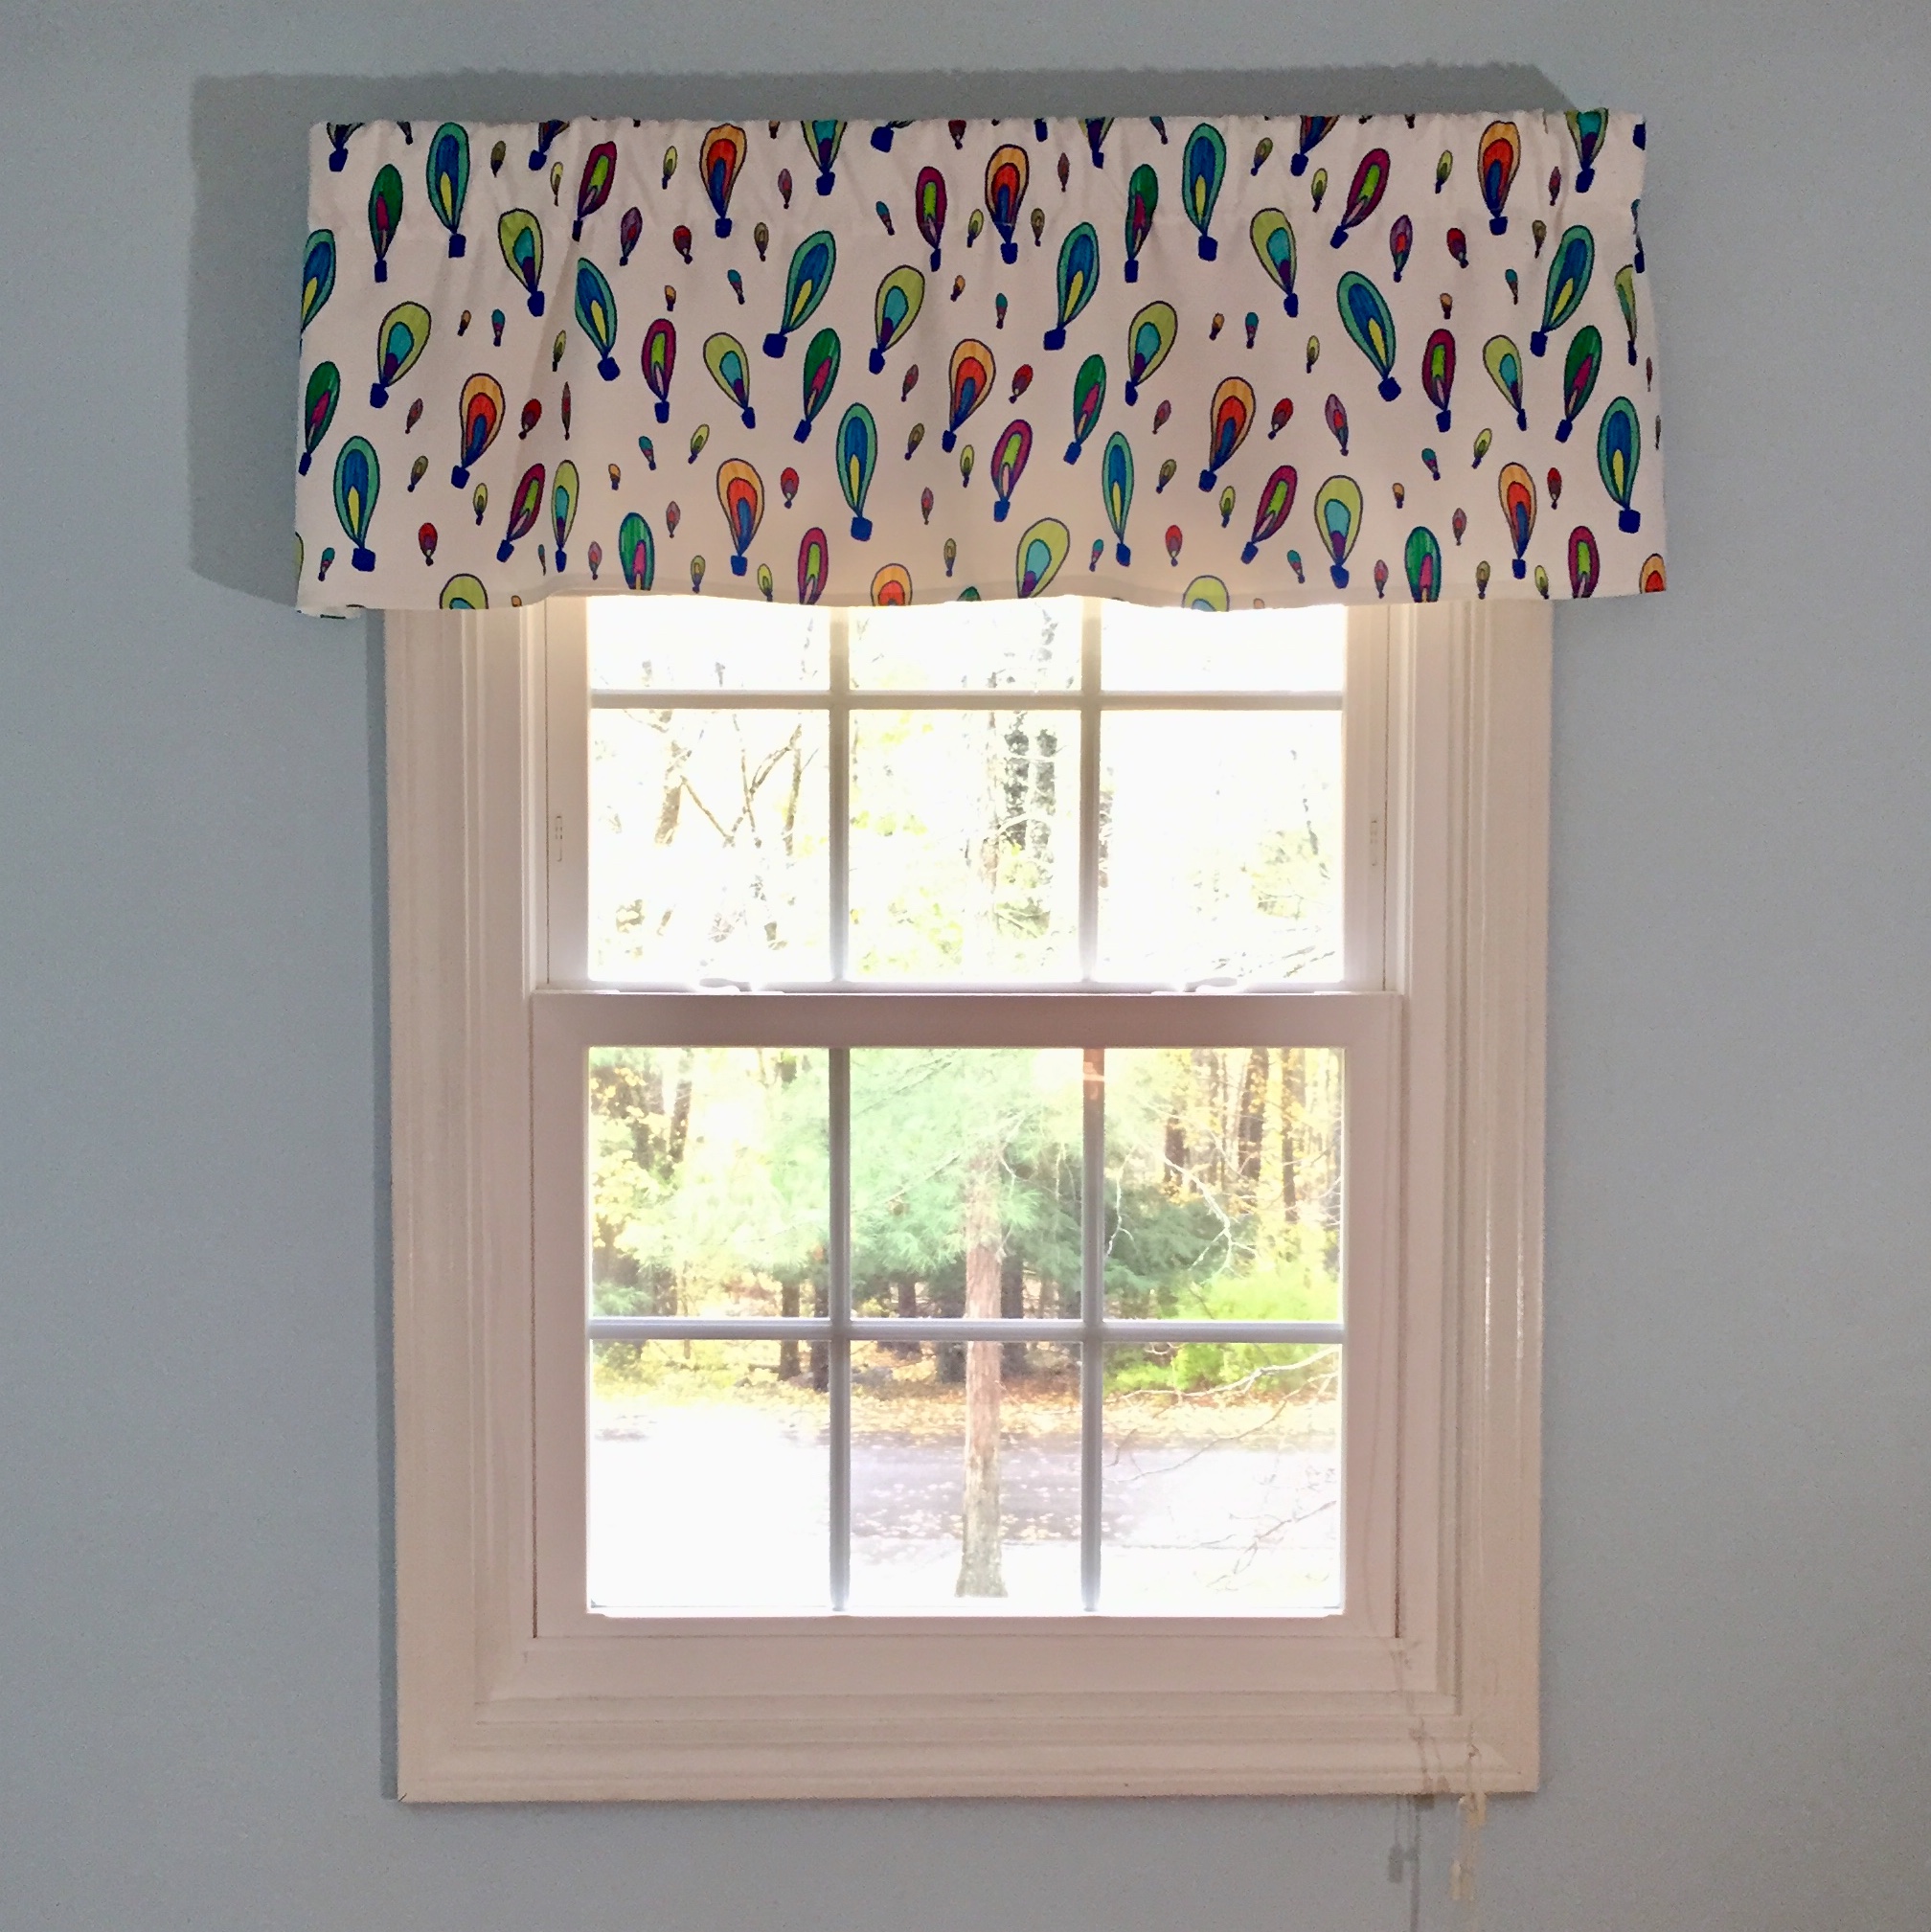
Finish off the mural and update the space by making some new curtains or buying a fun new rug that ties it all together! This balloon pattern is available in my spoonflower shop as wallpaper, gift wrap, or fabric.
Revisiting the Tendercrop Farm Indigo class
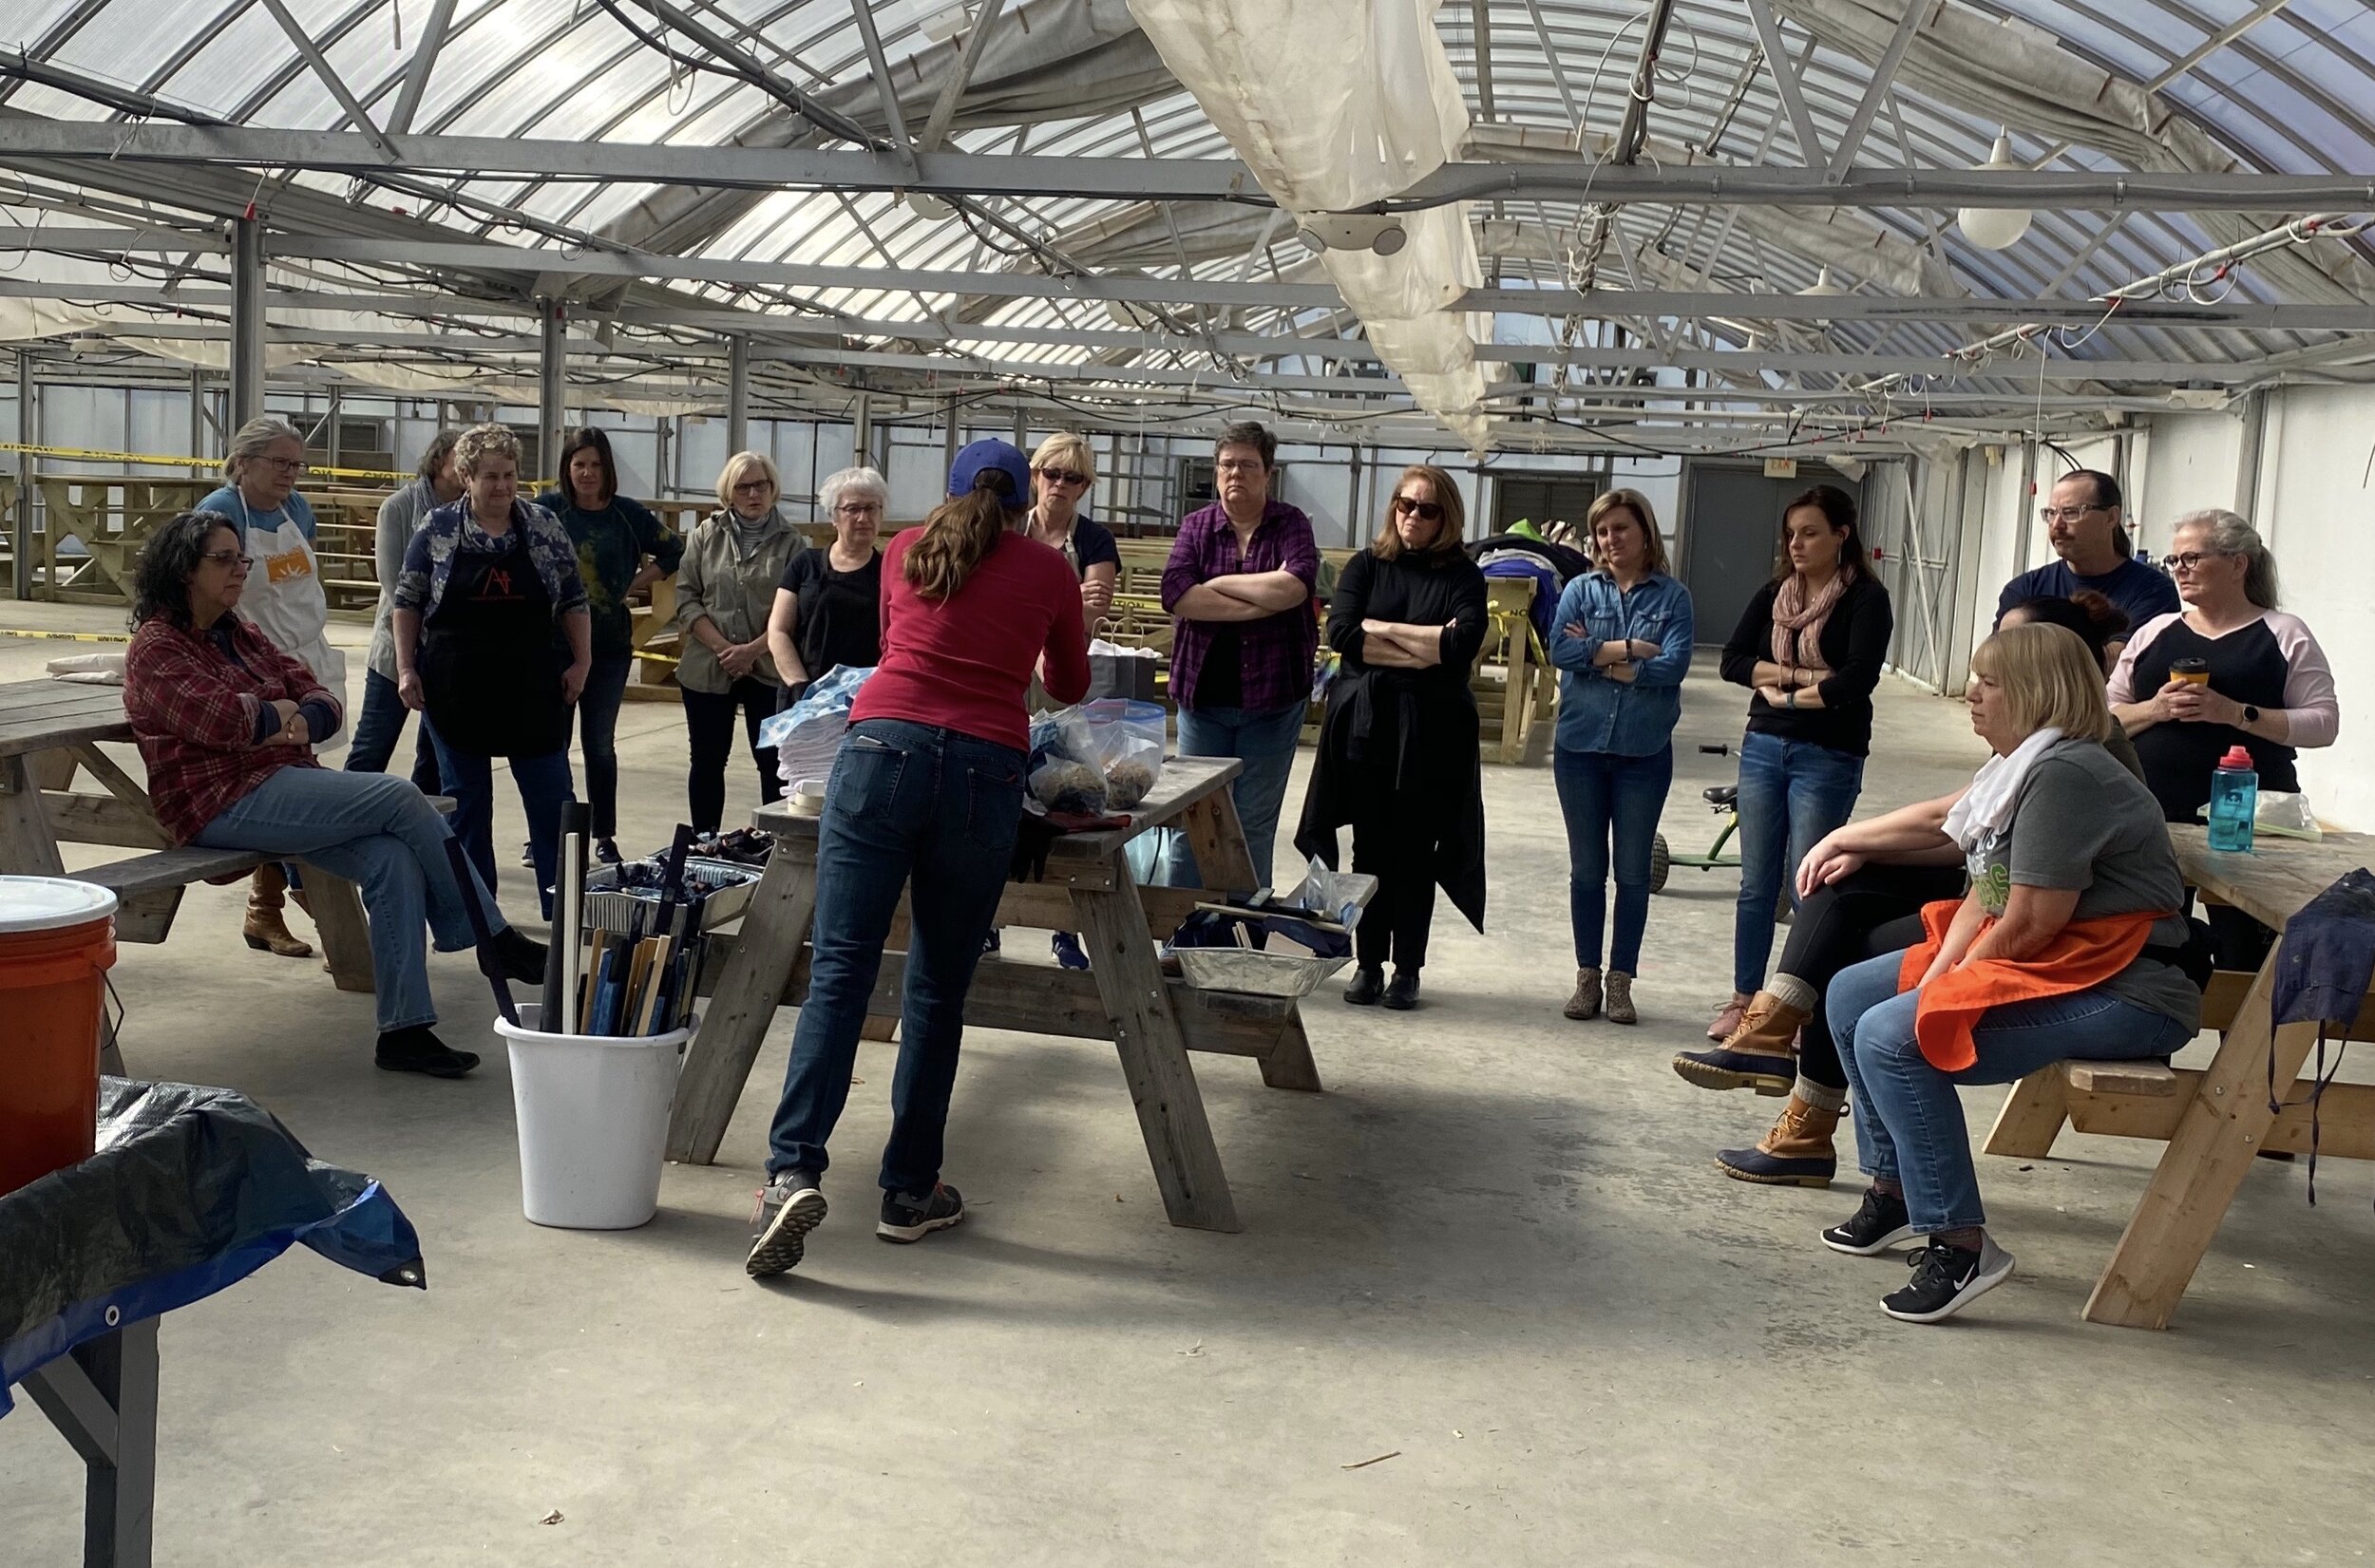
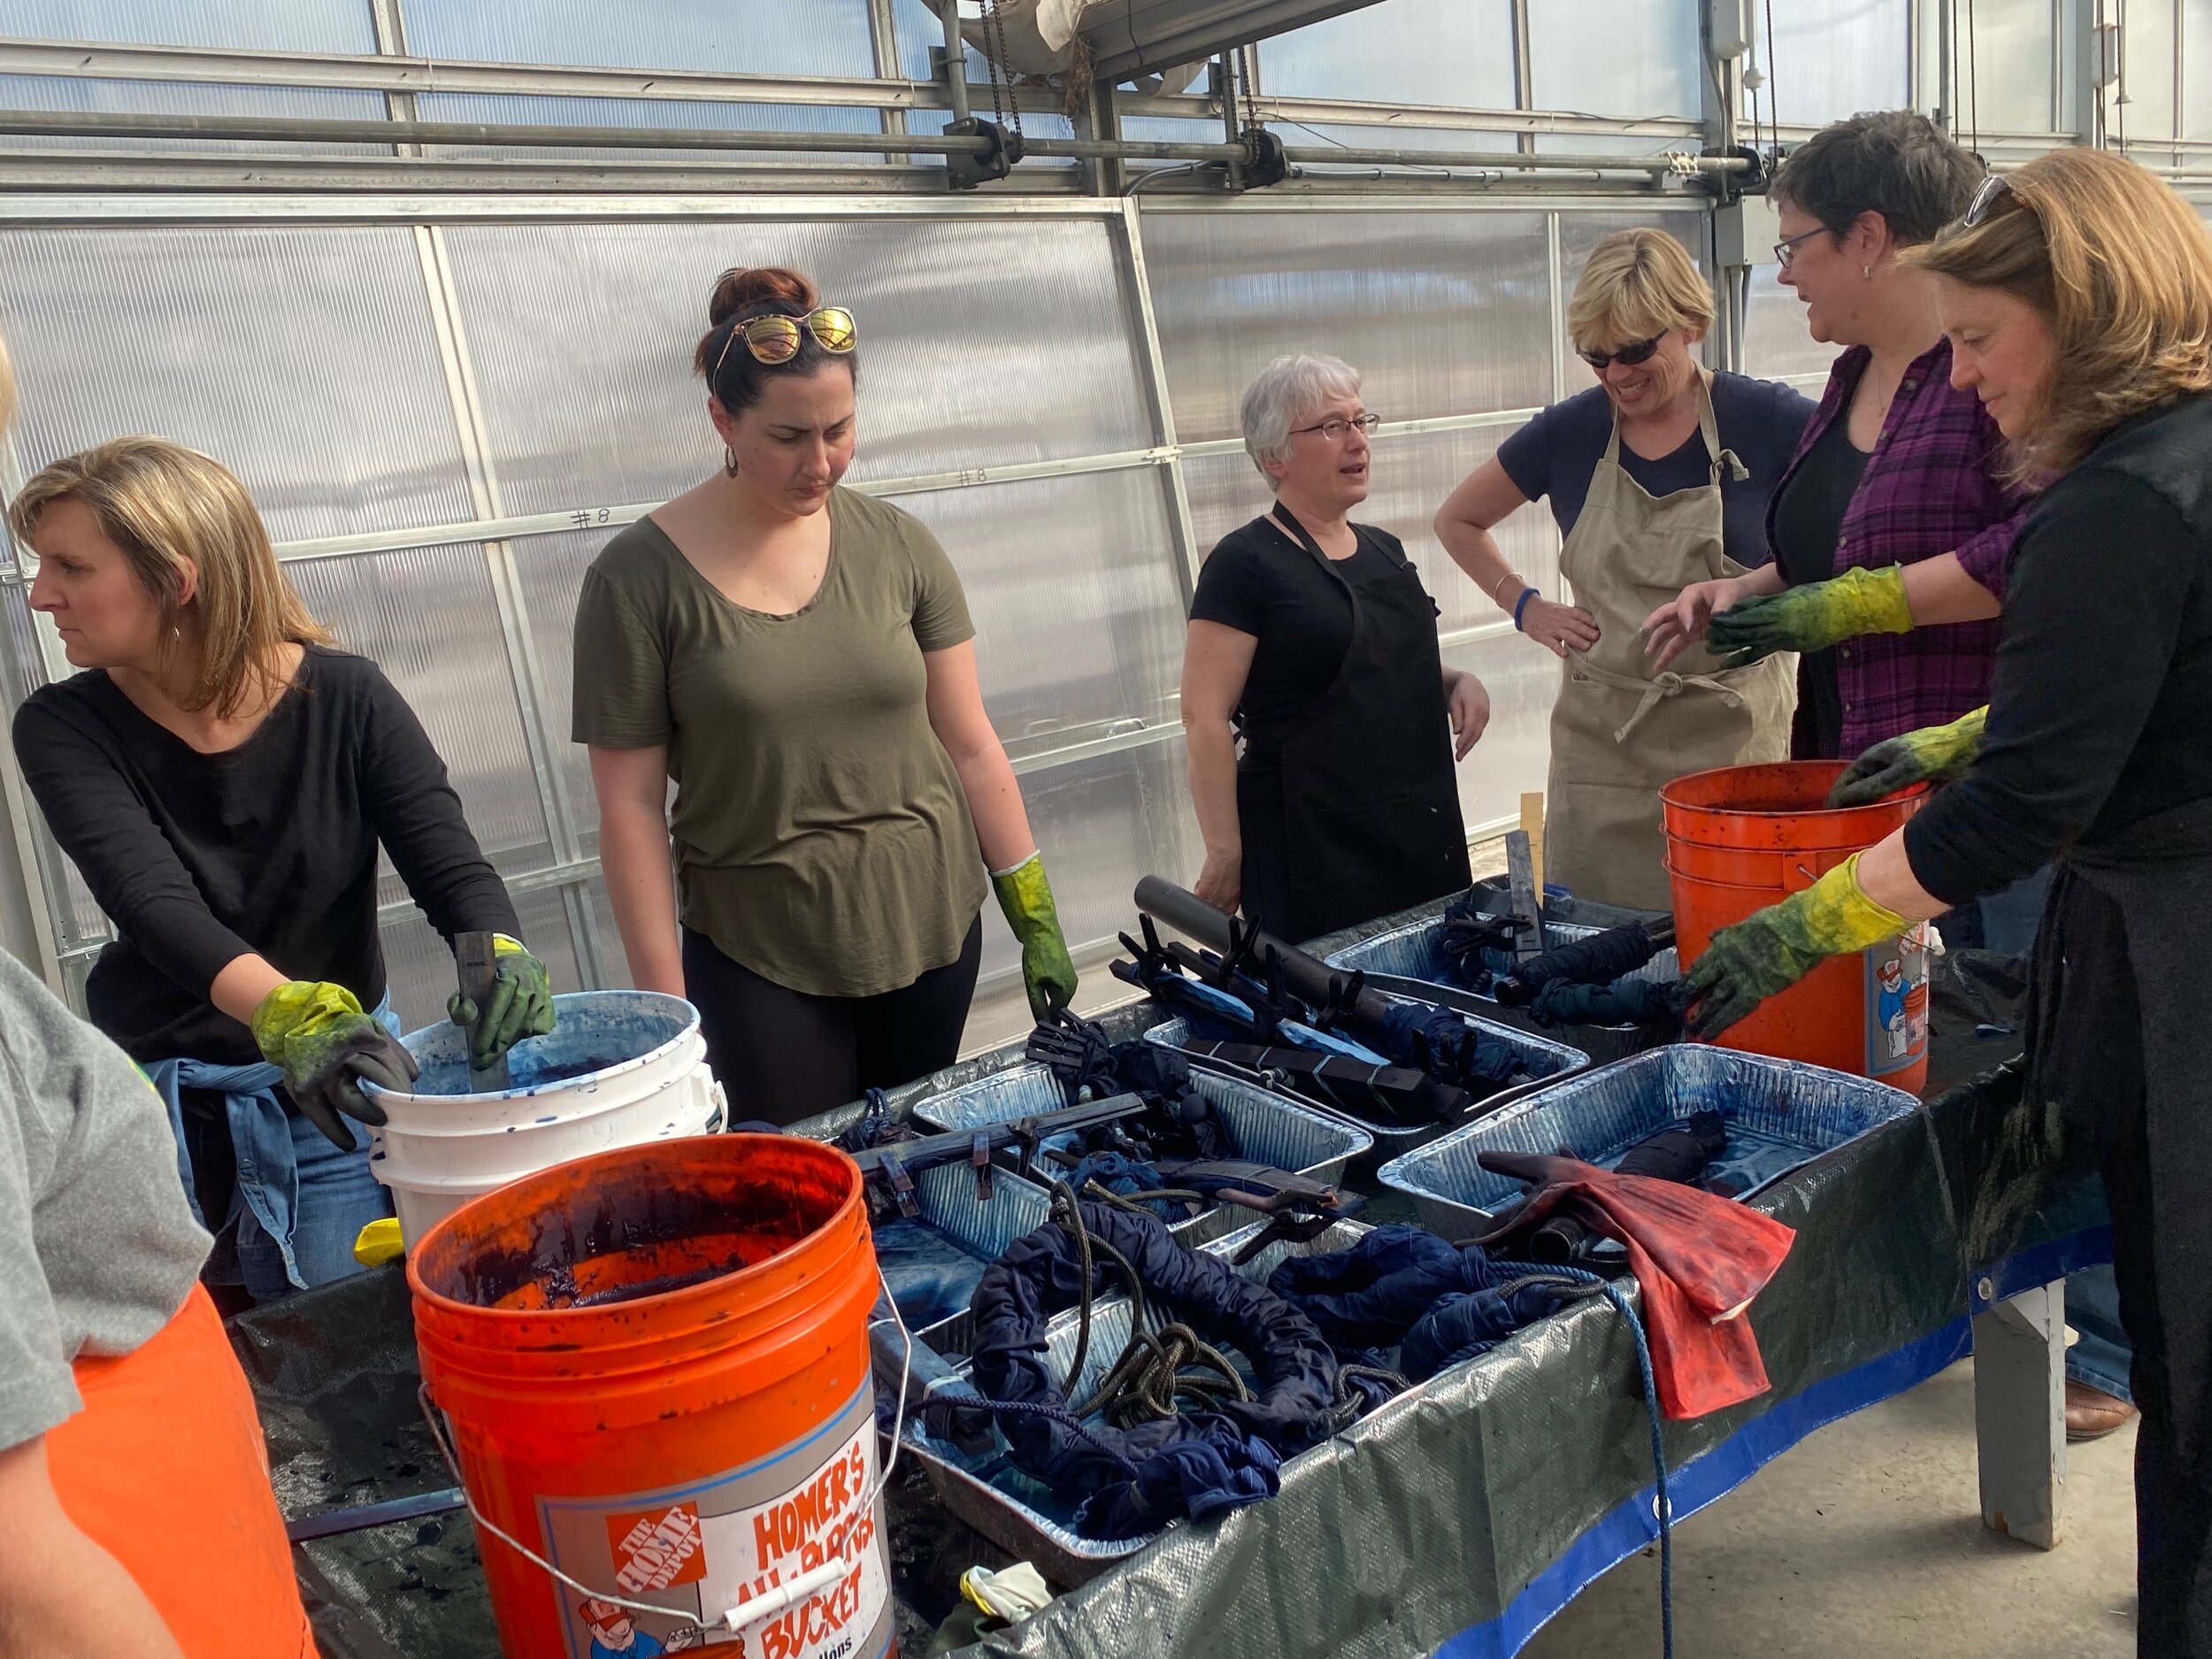
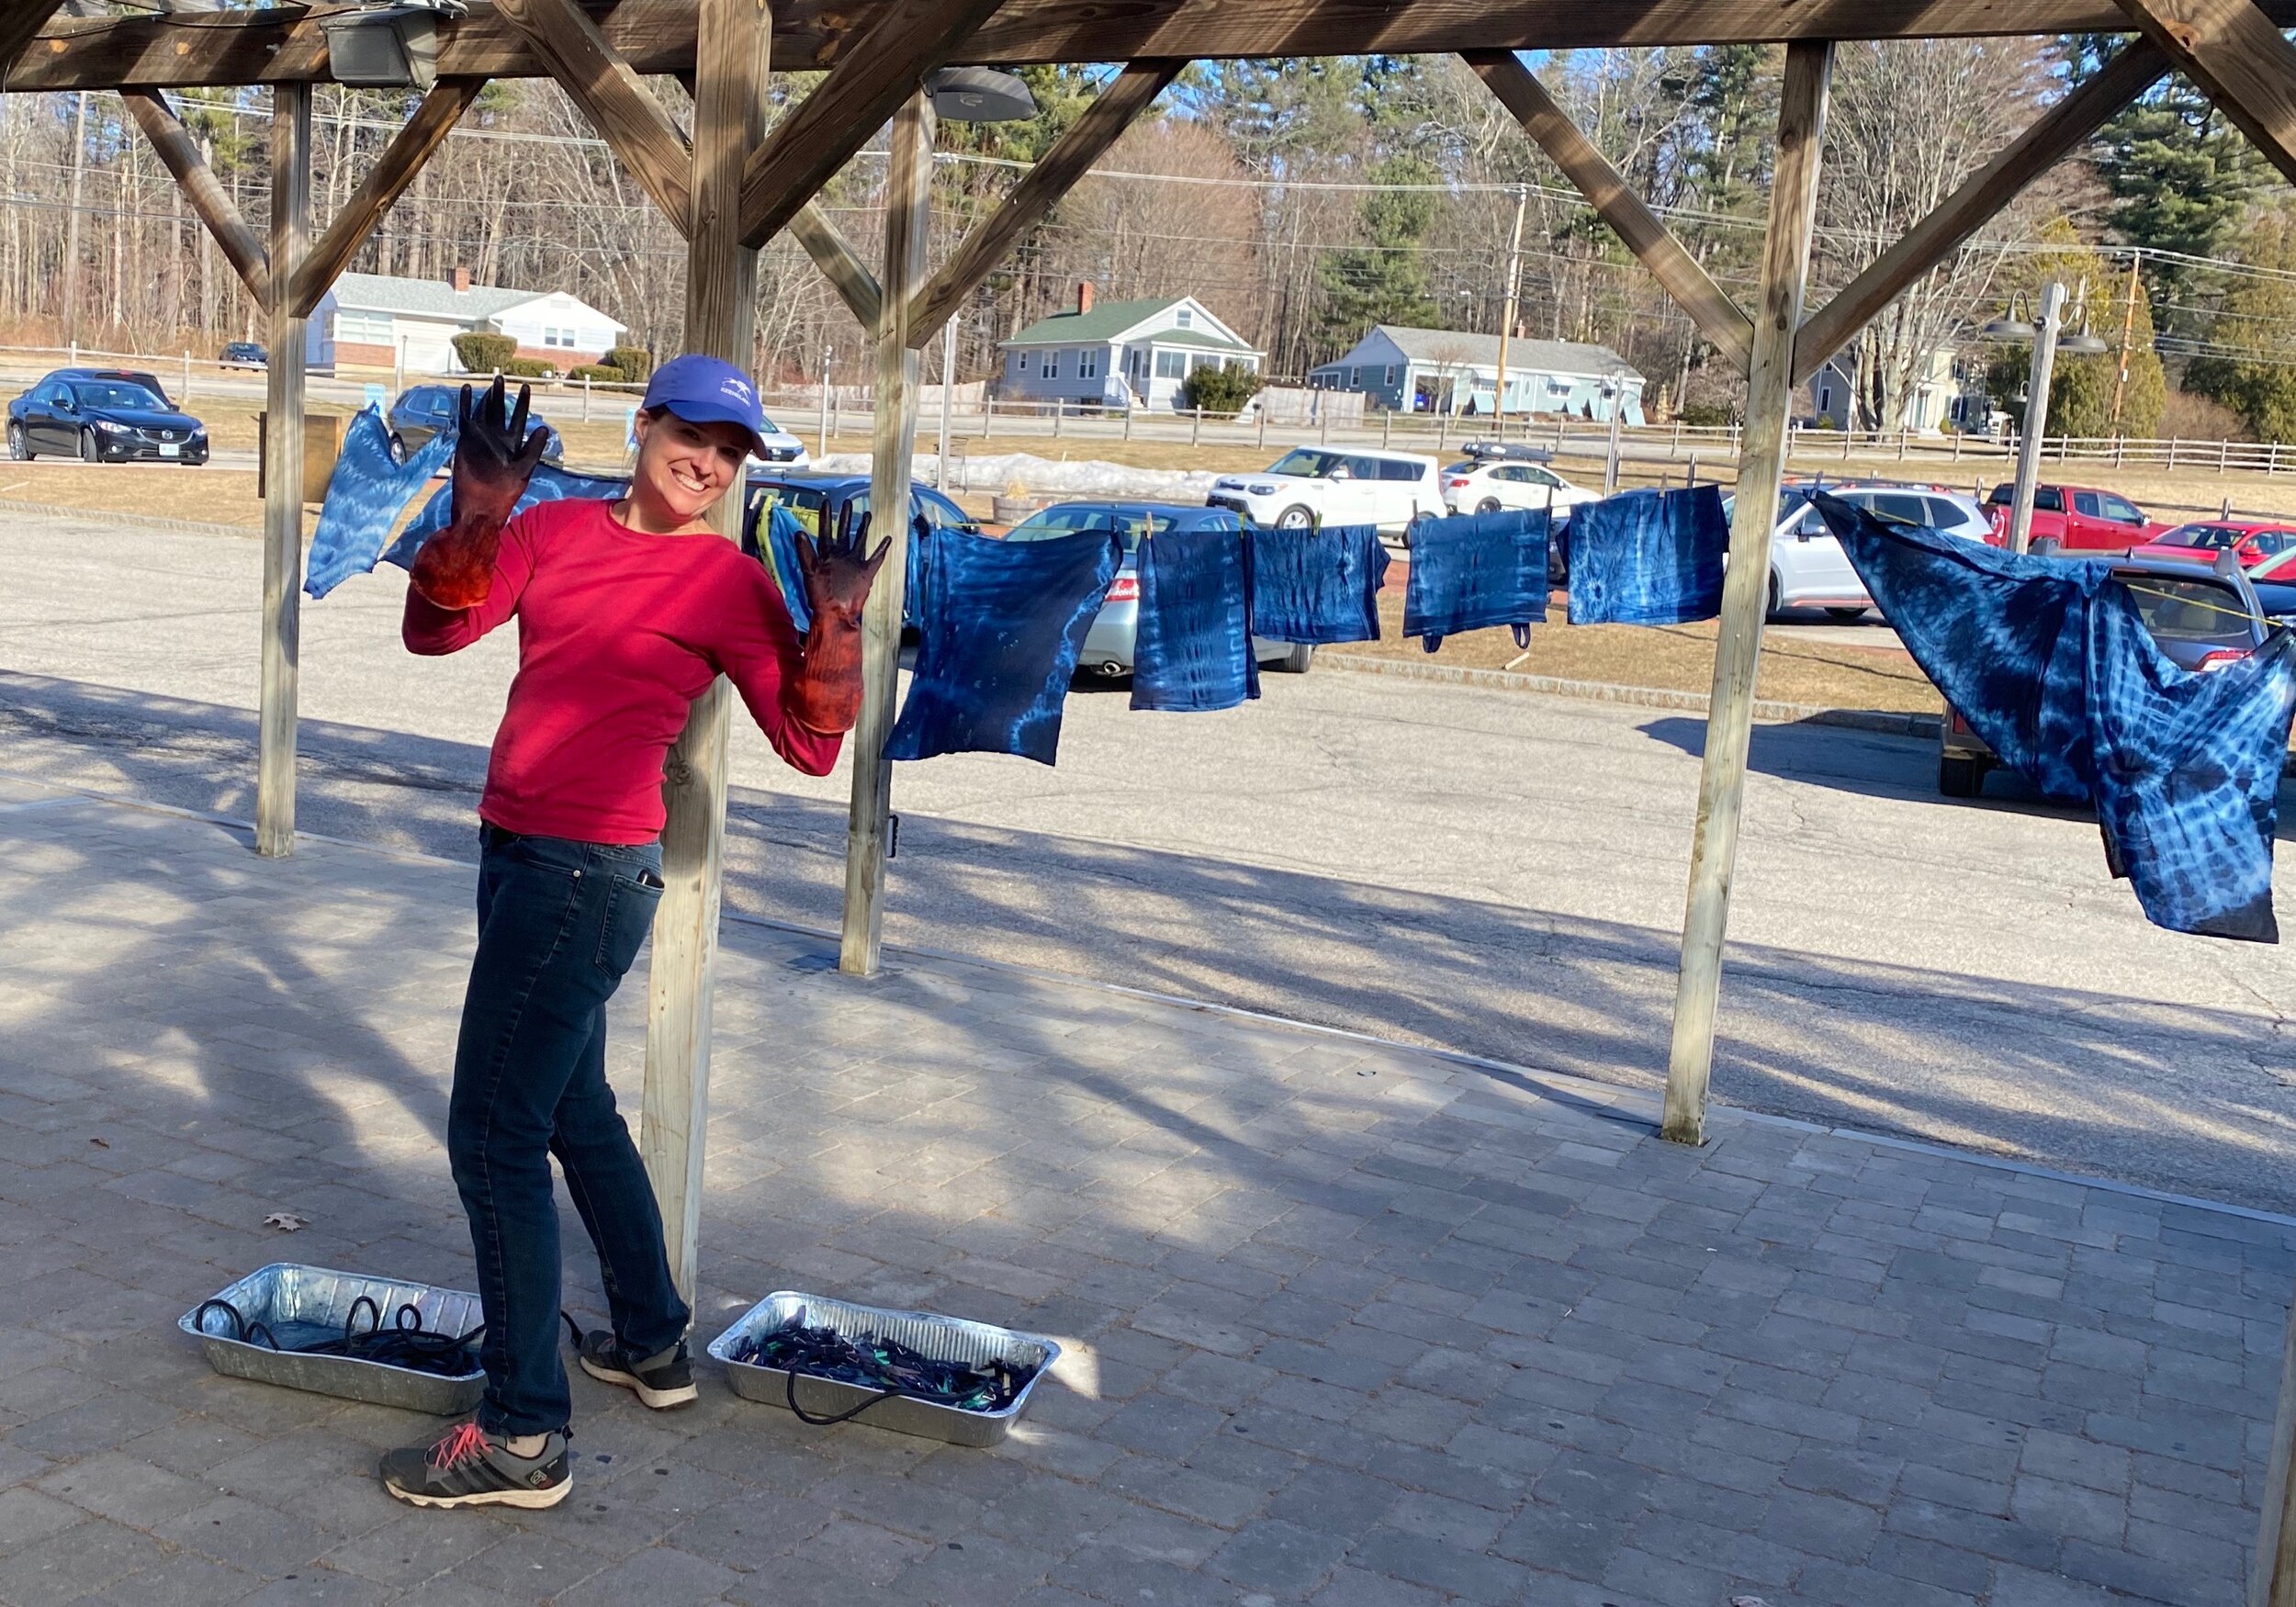
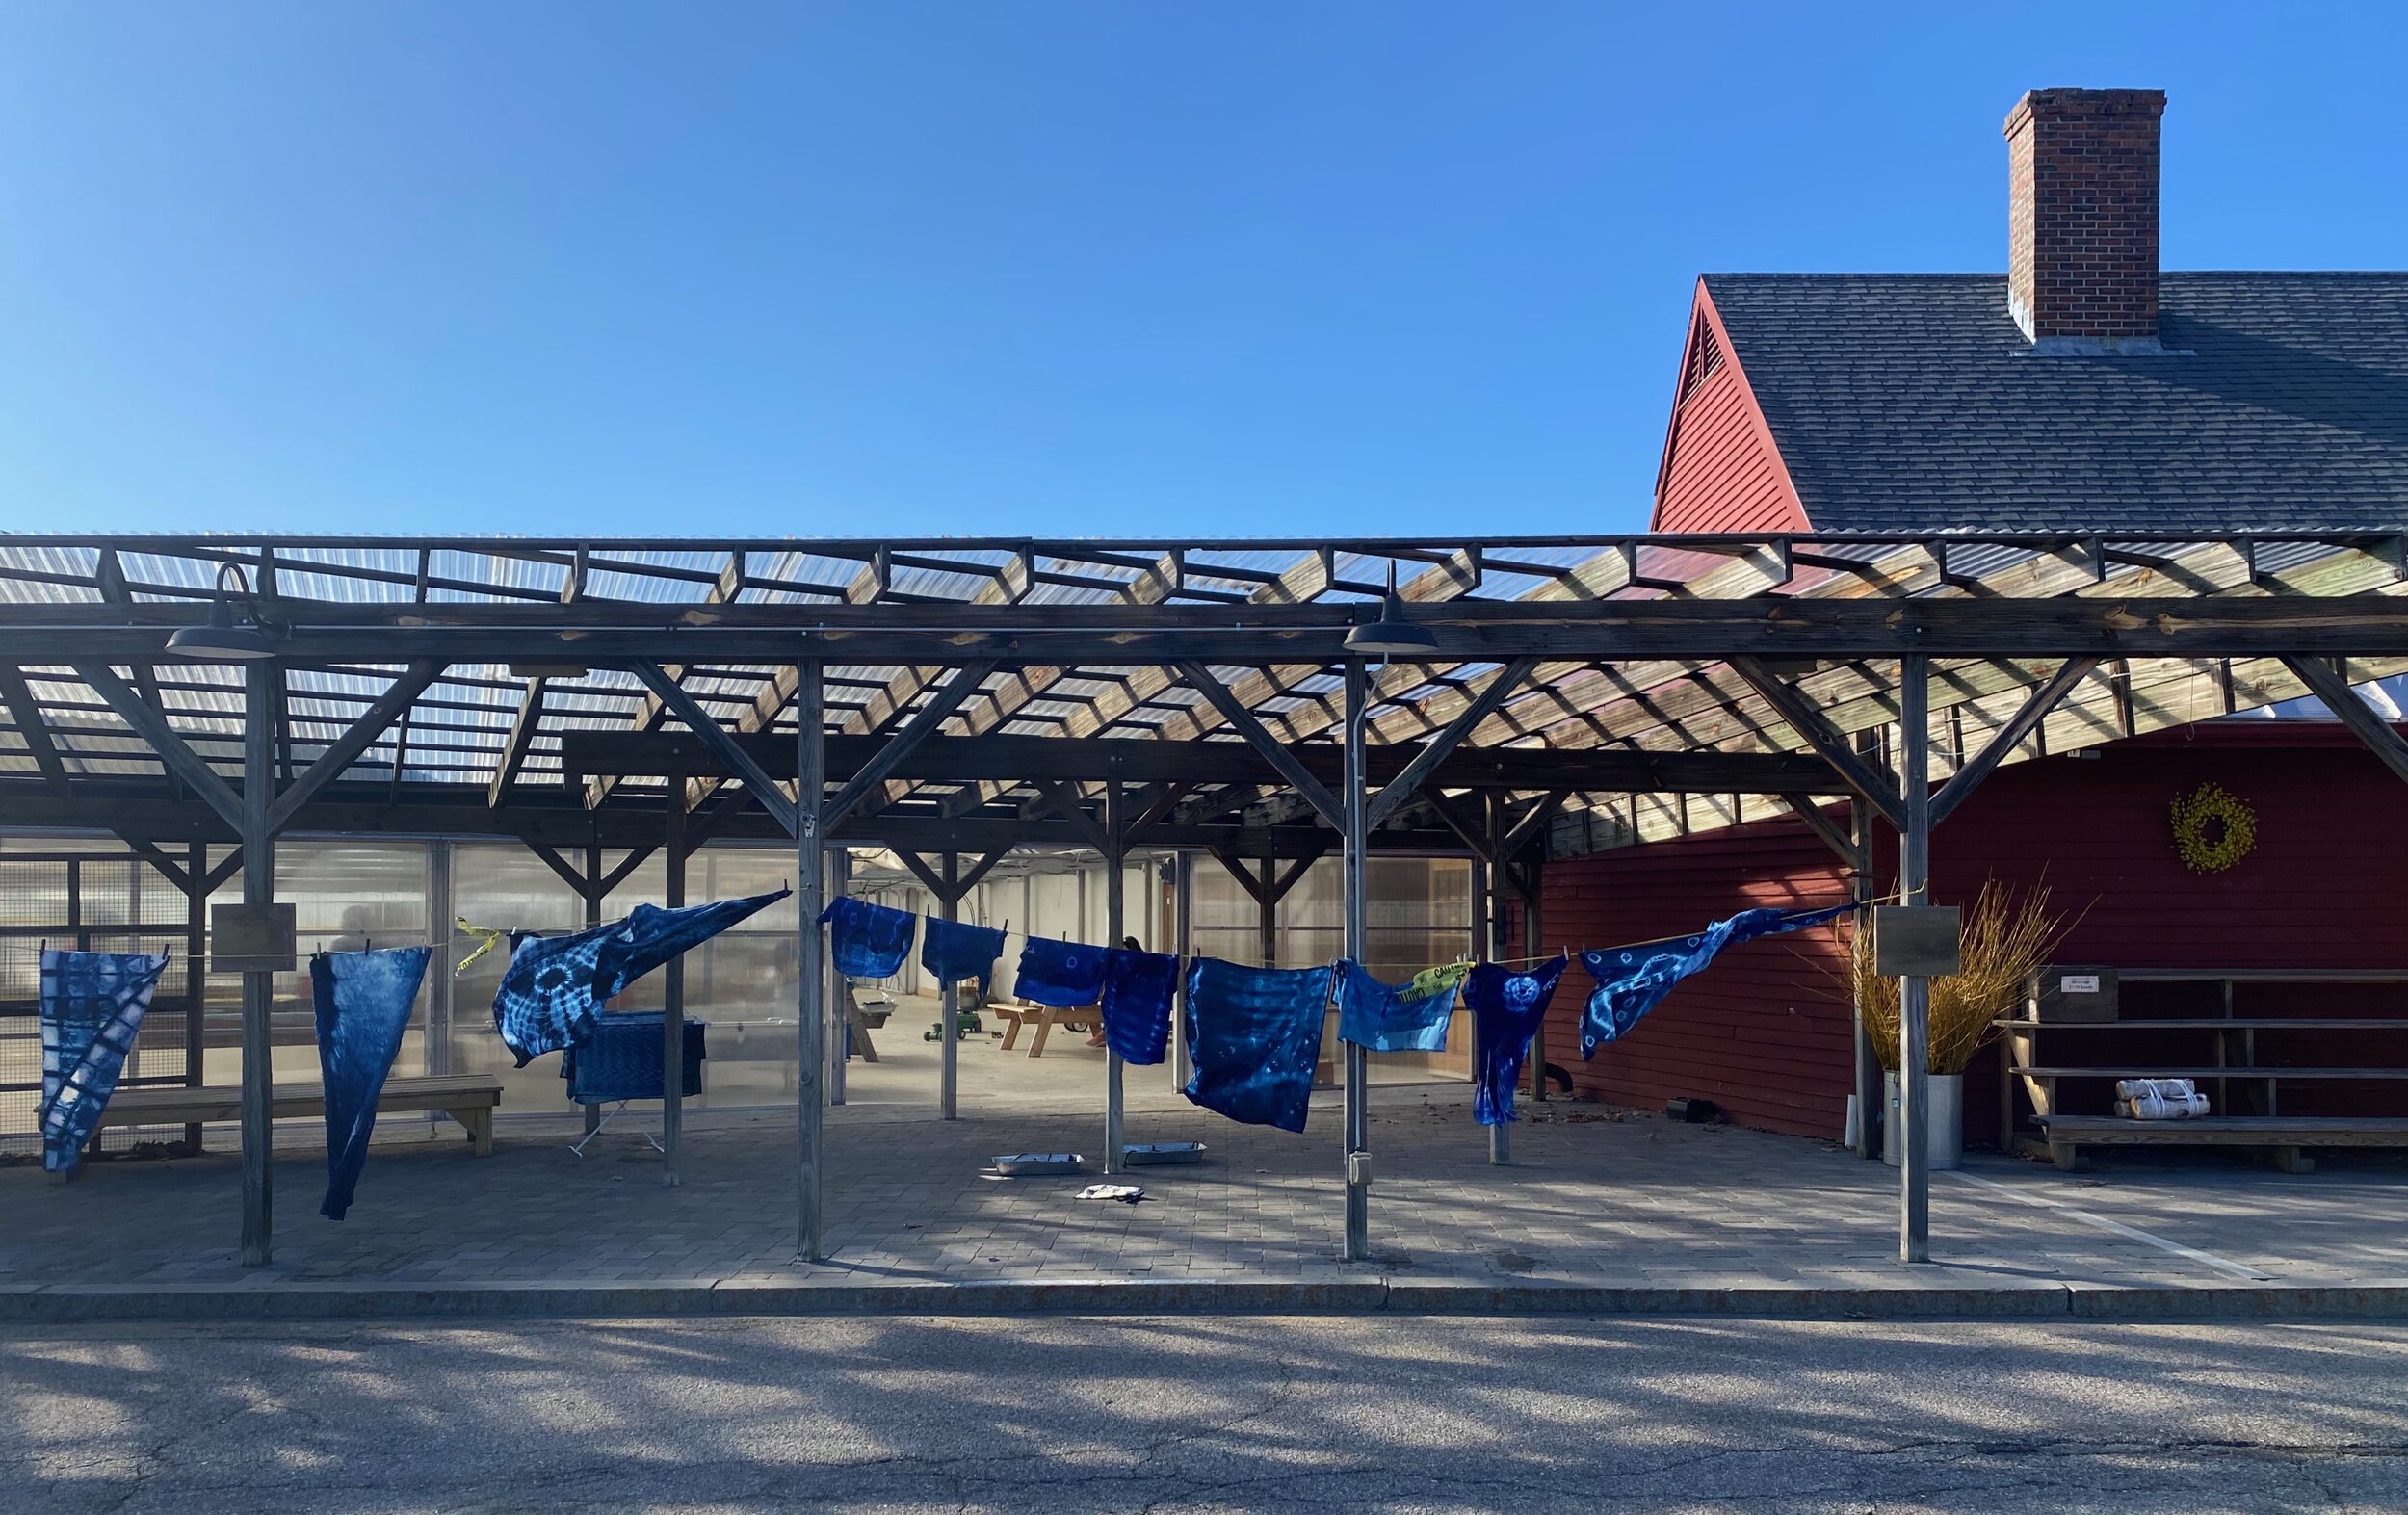
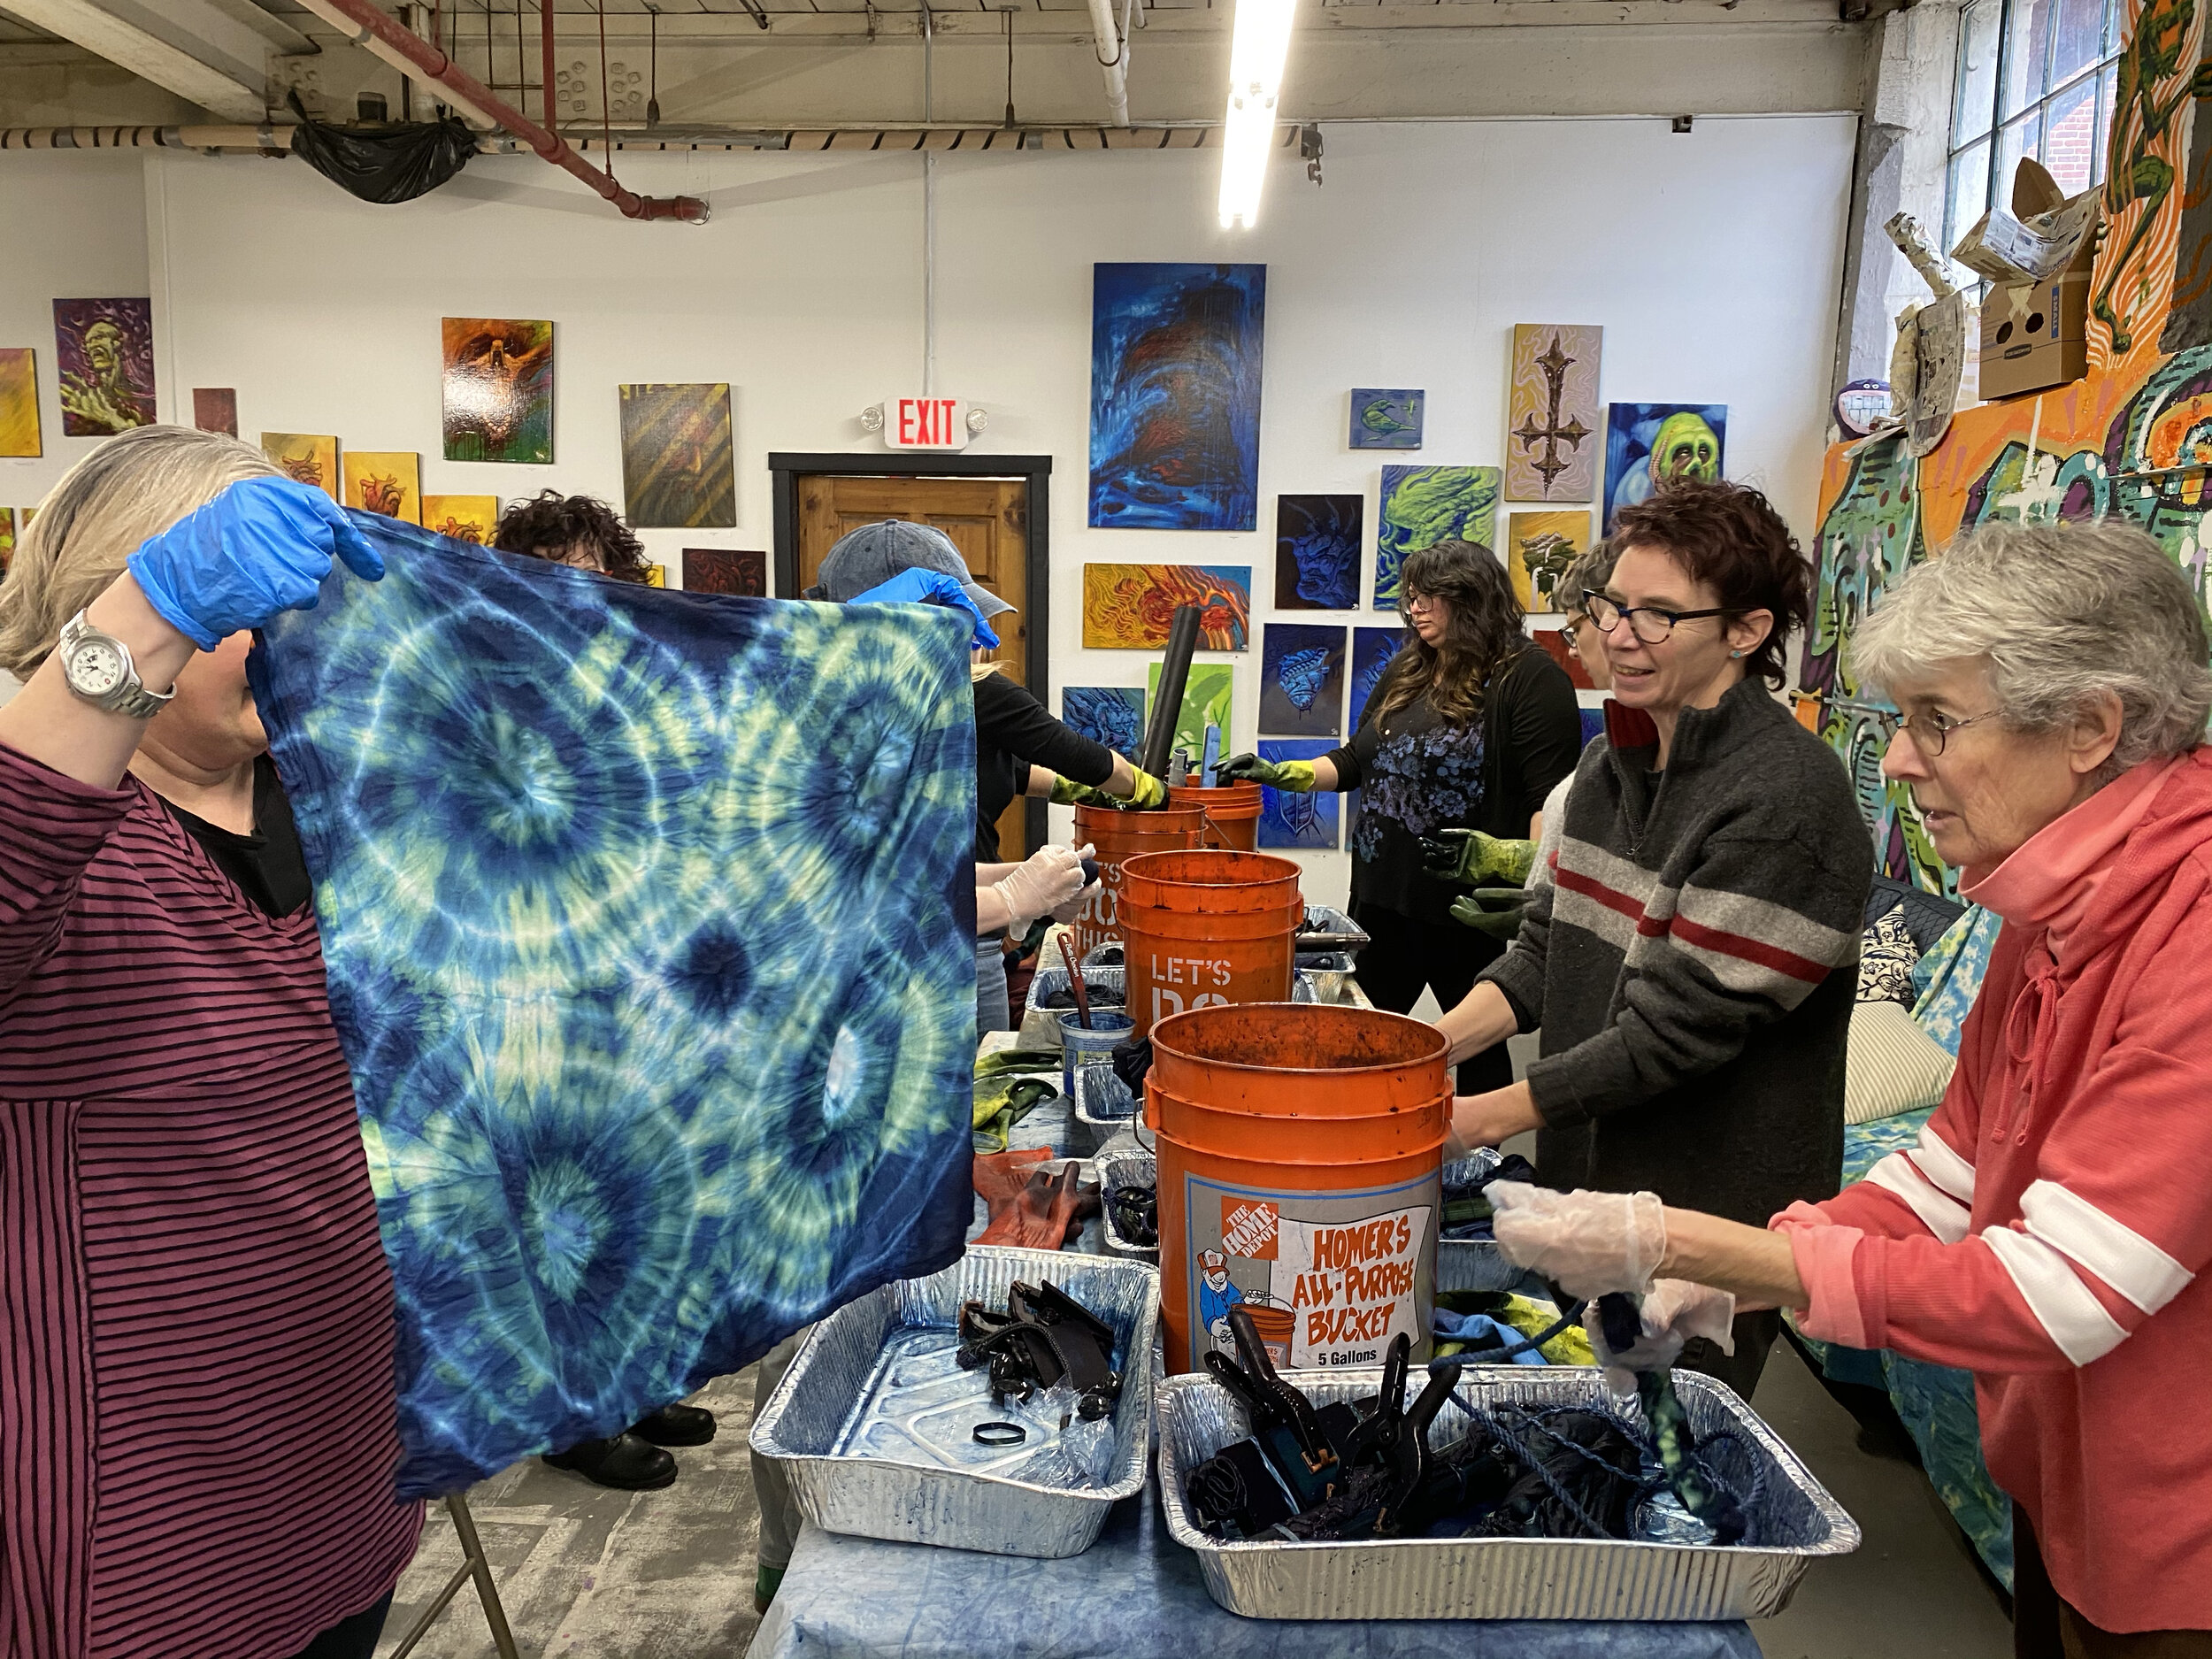
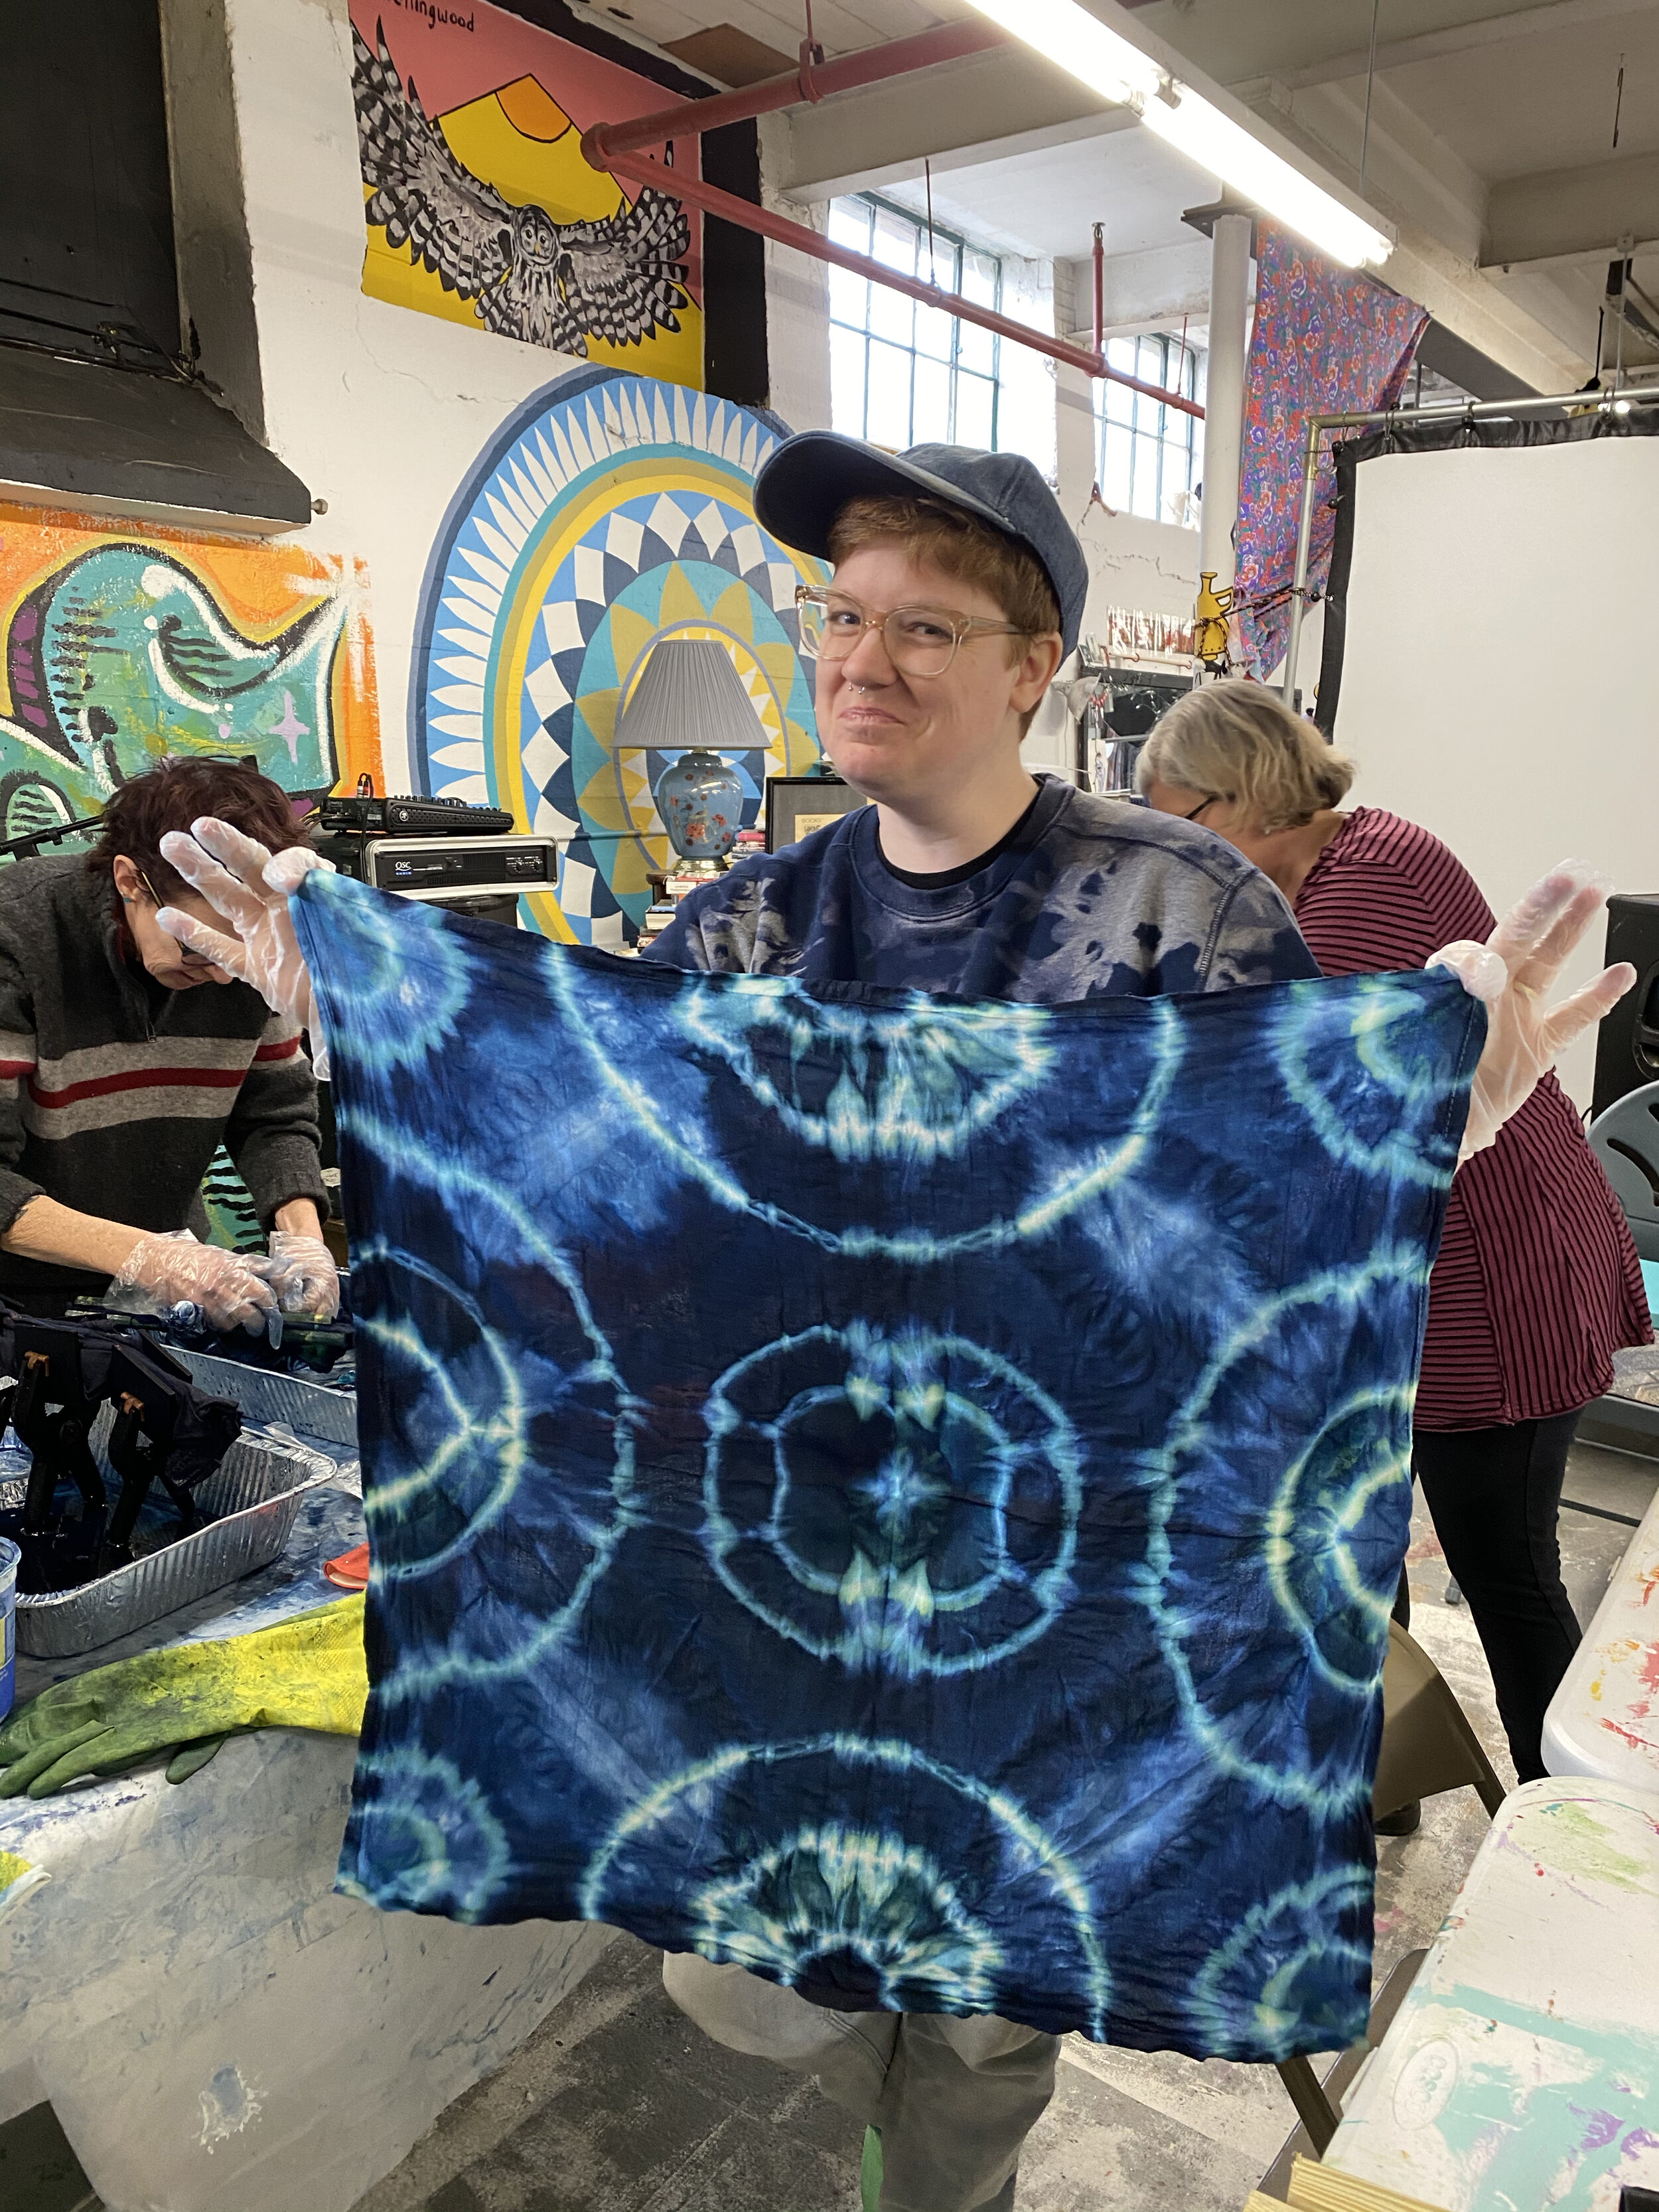
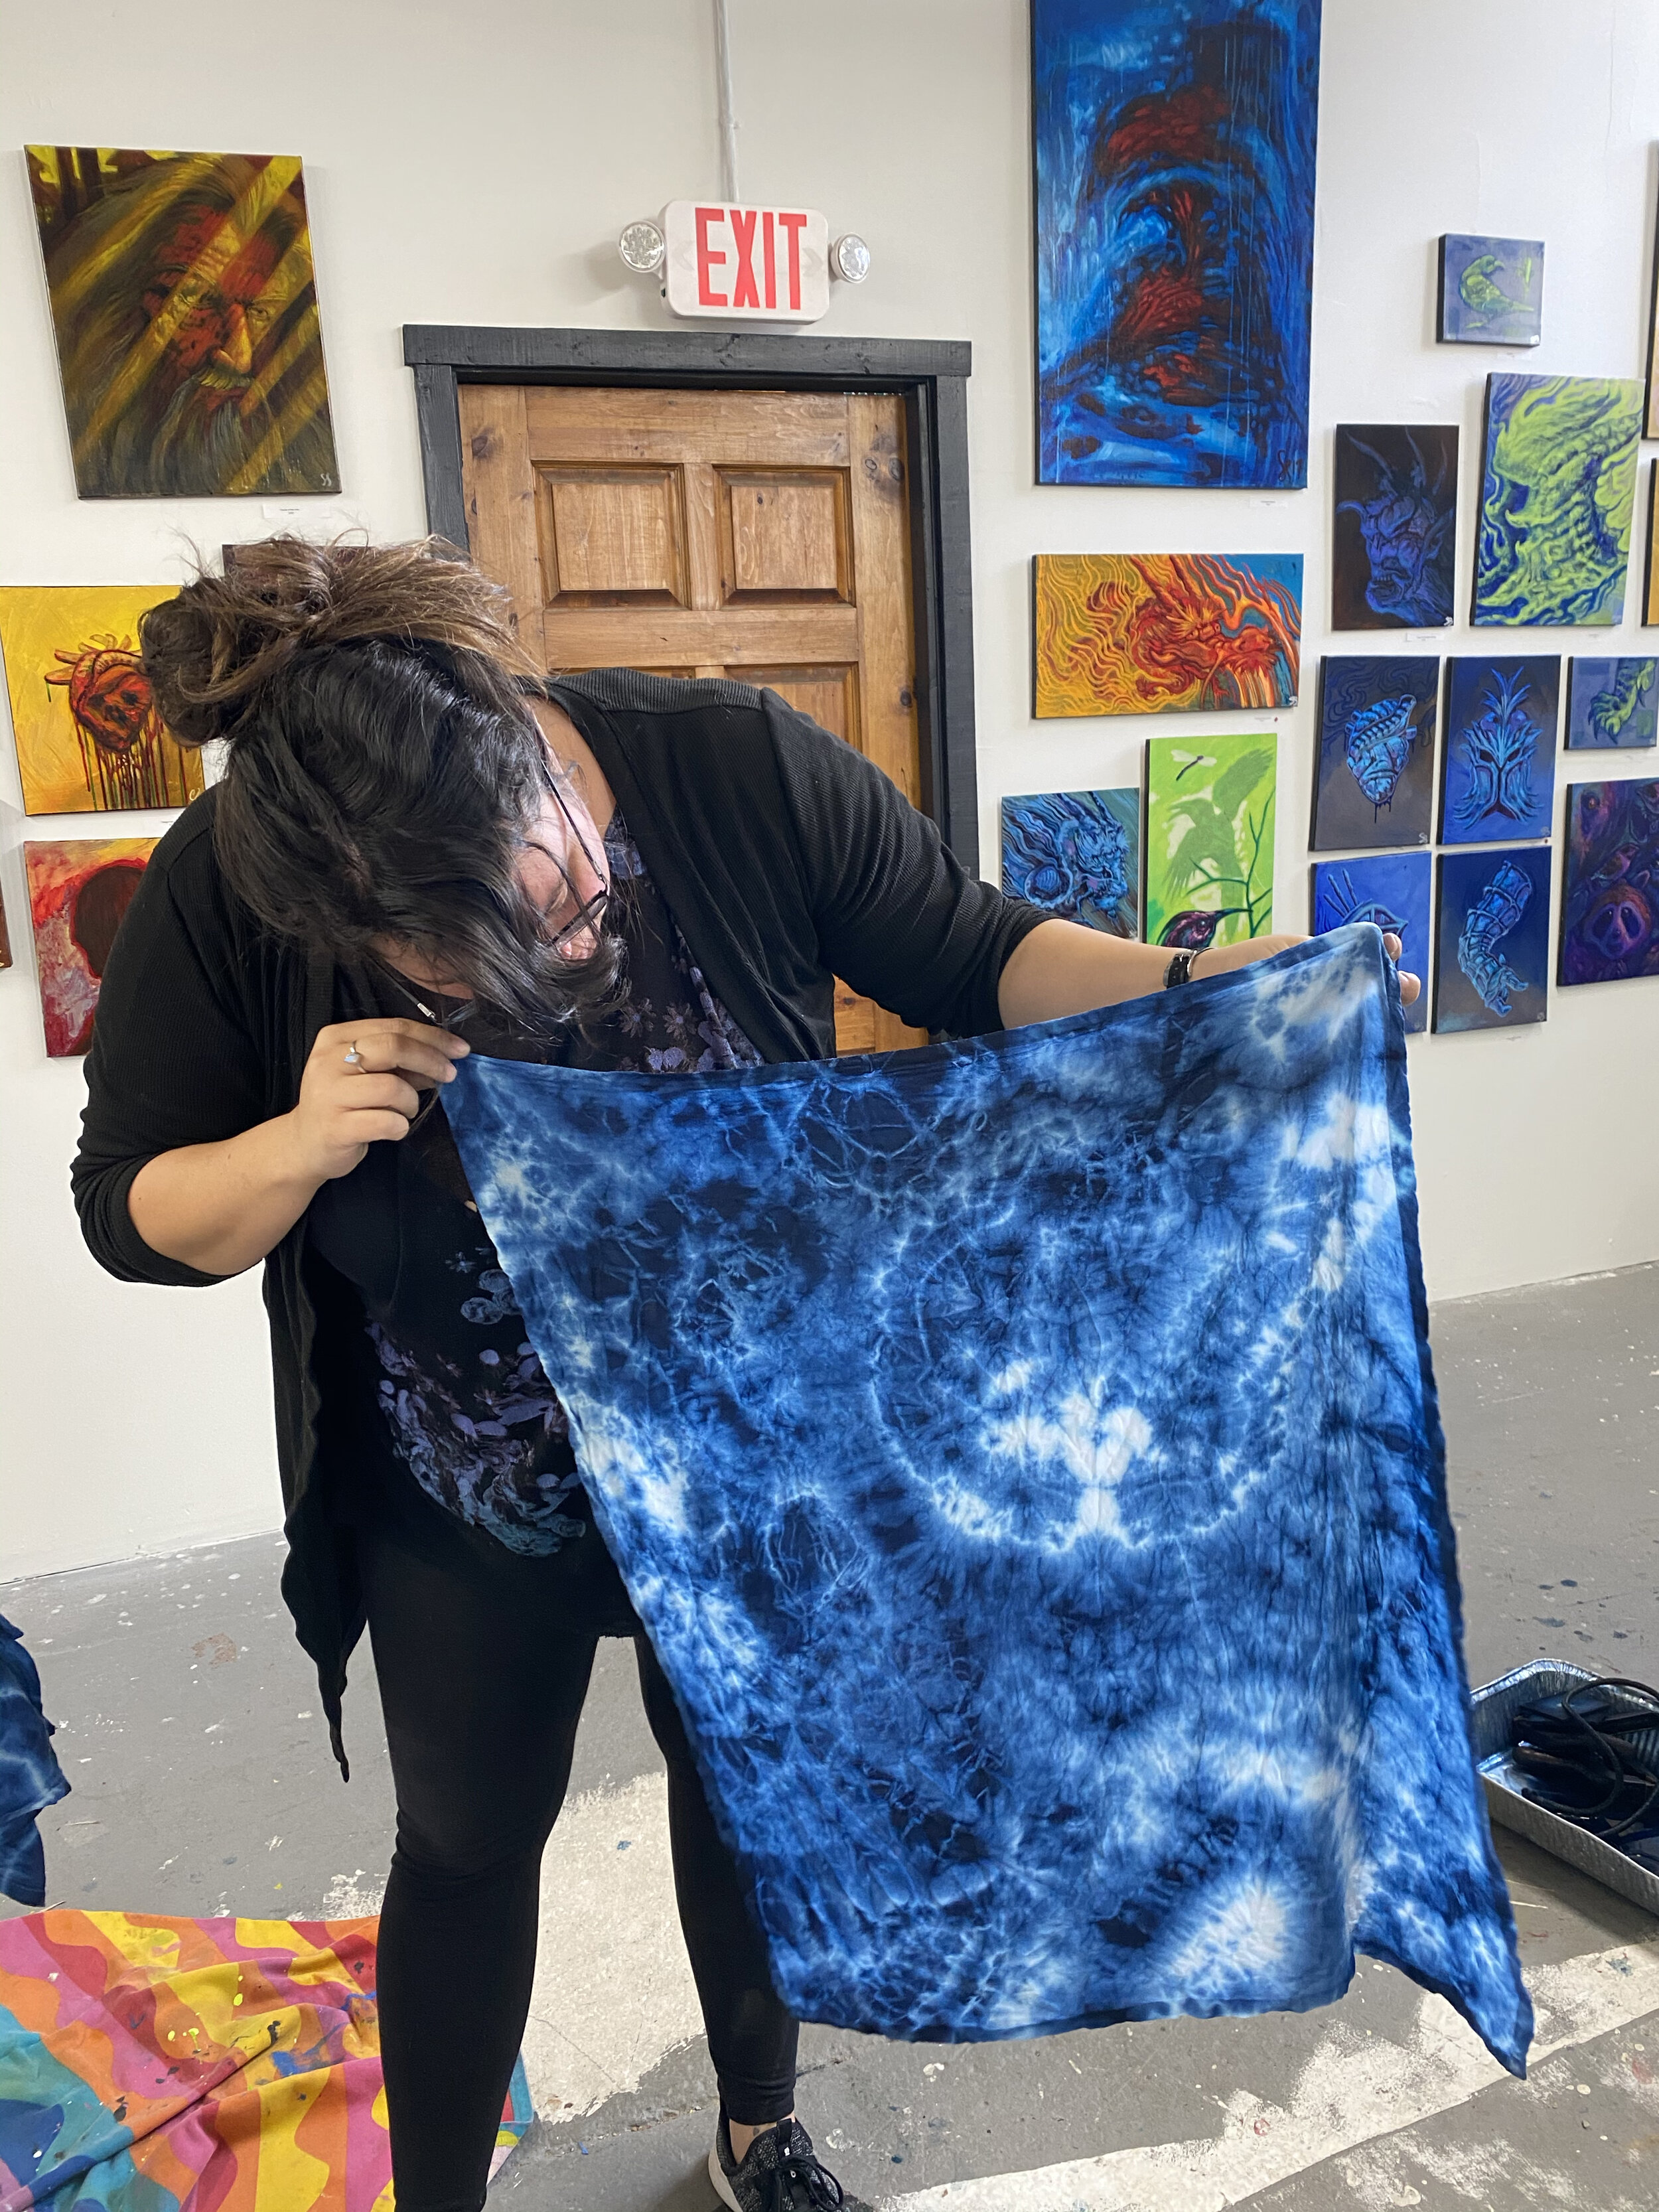
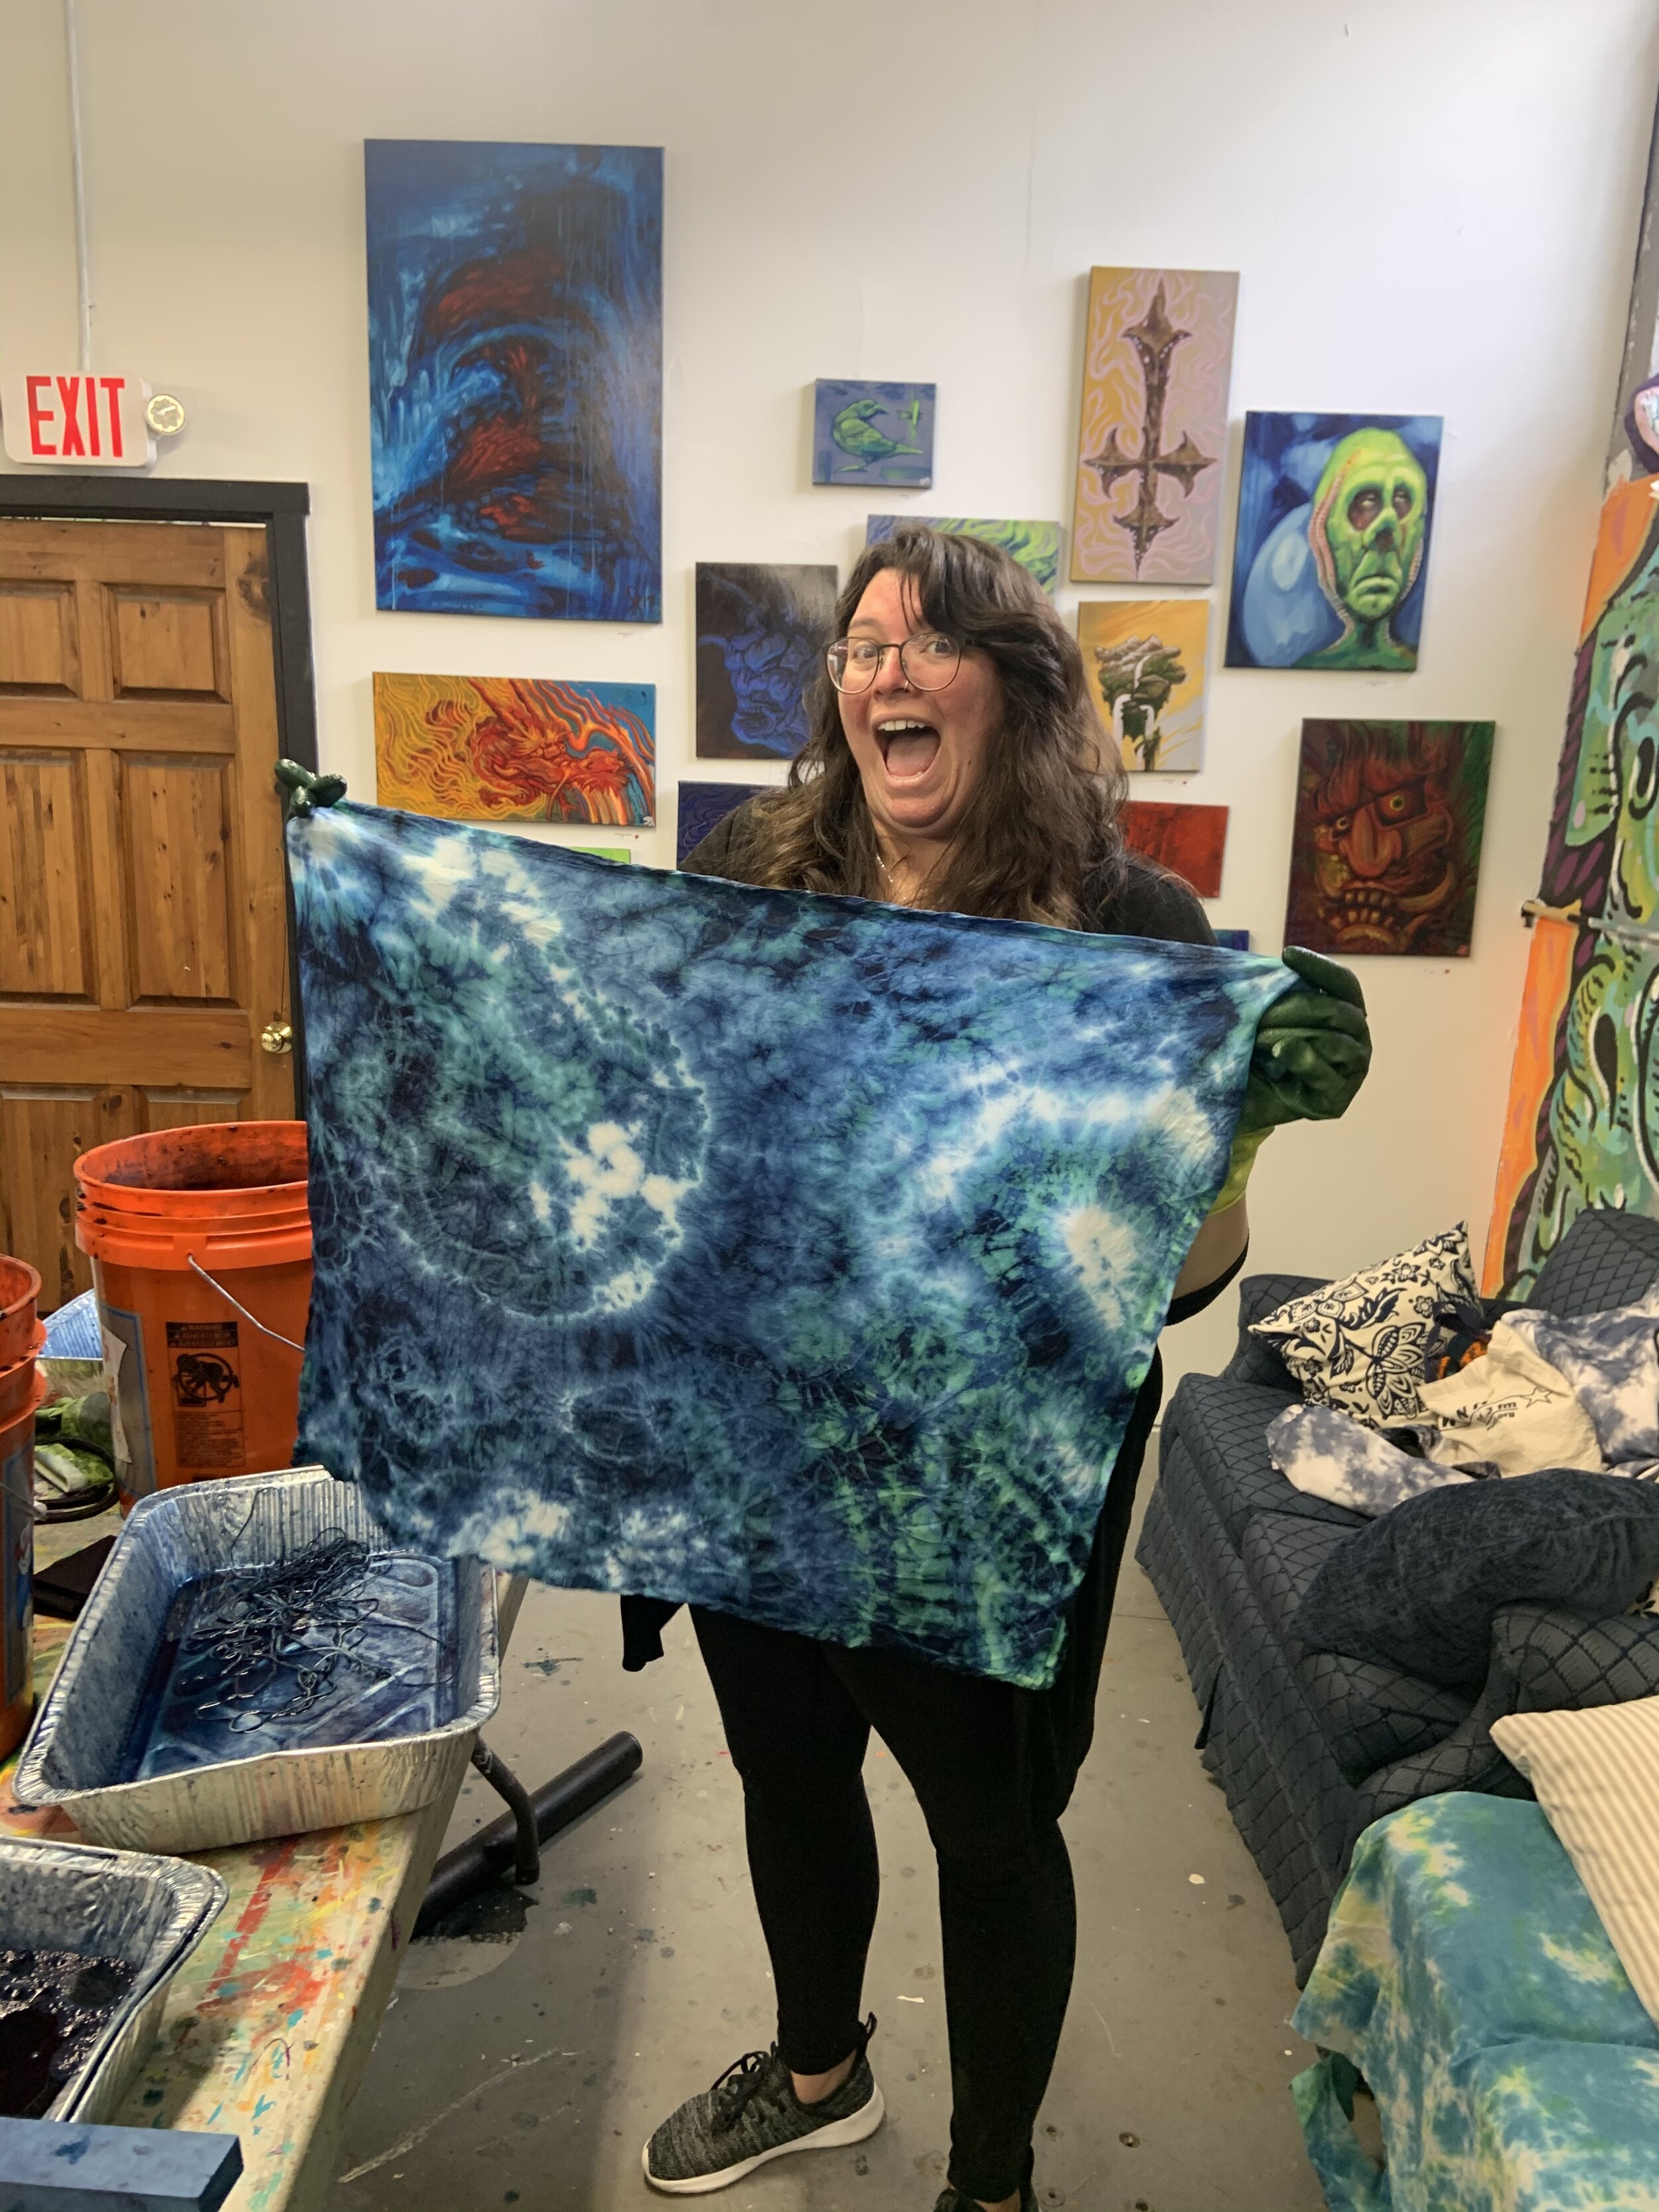
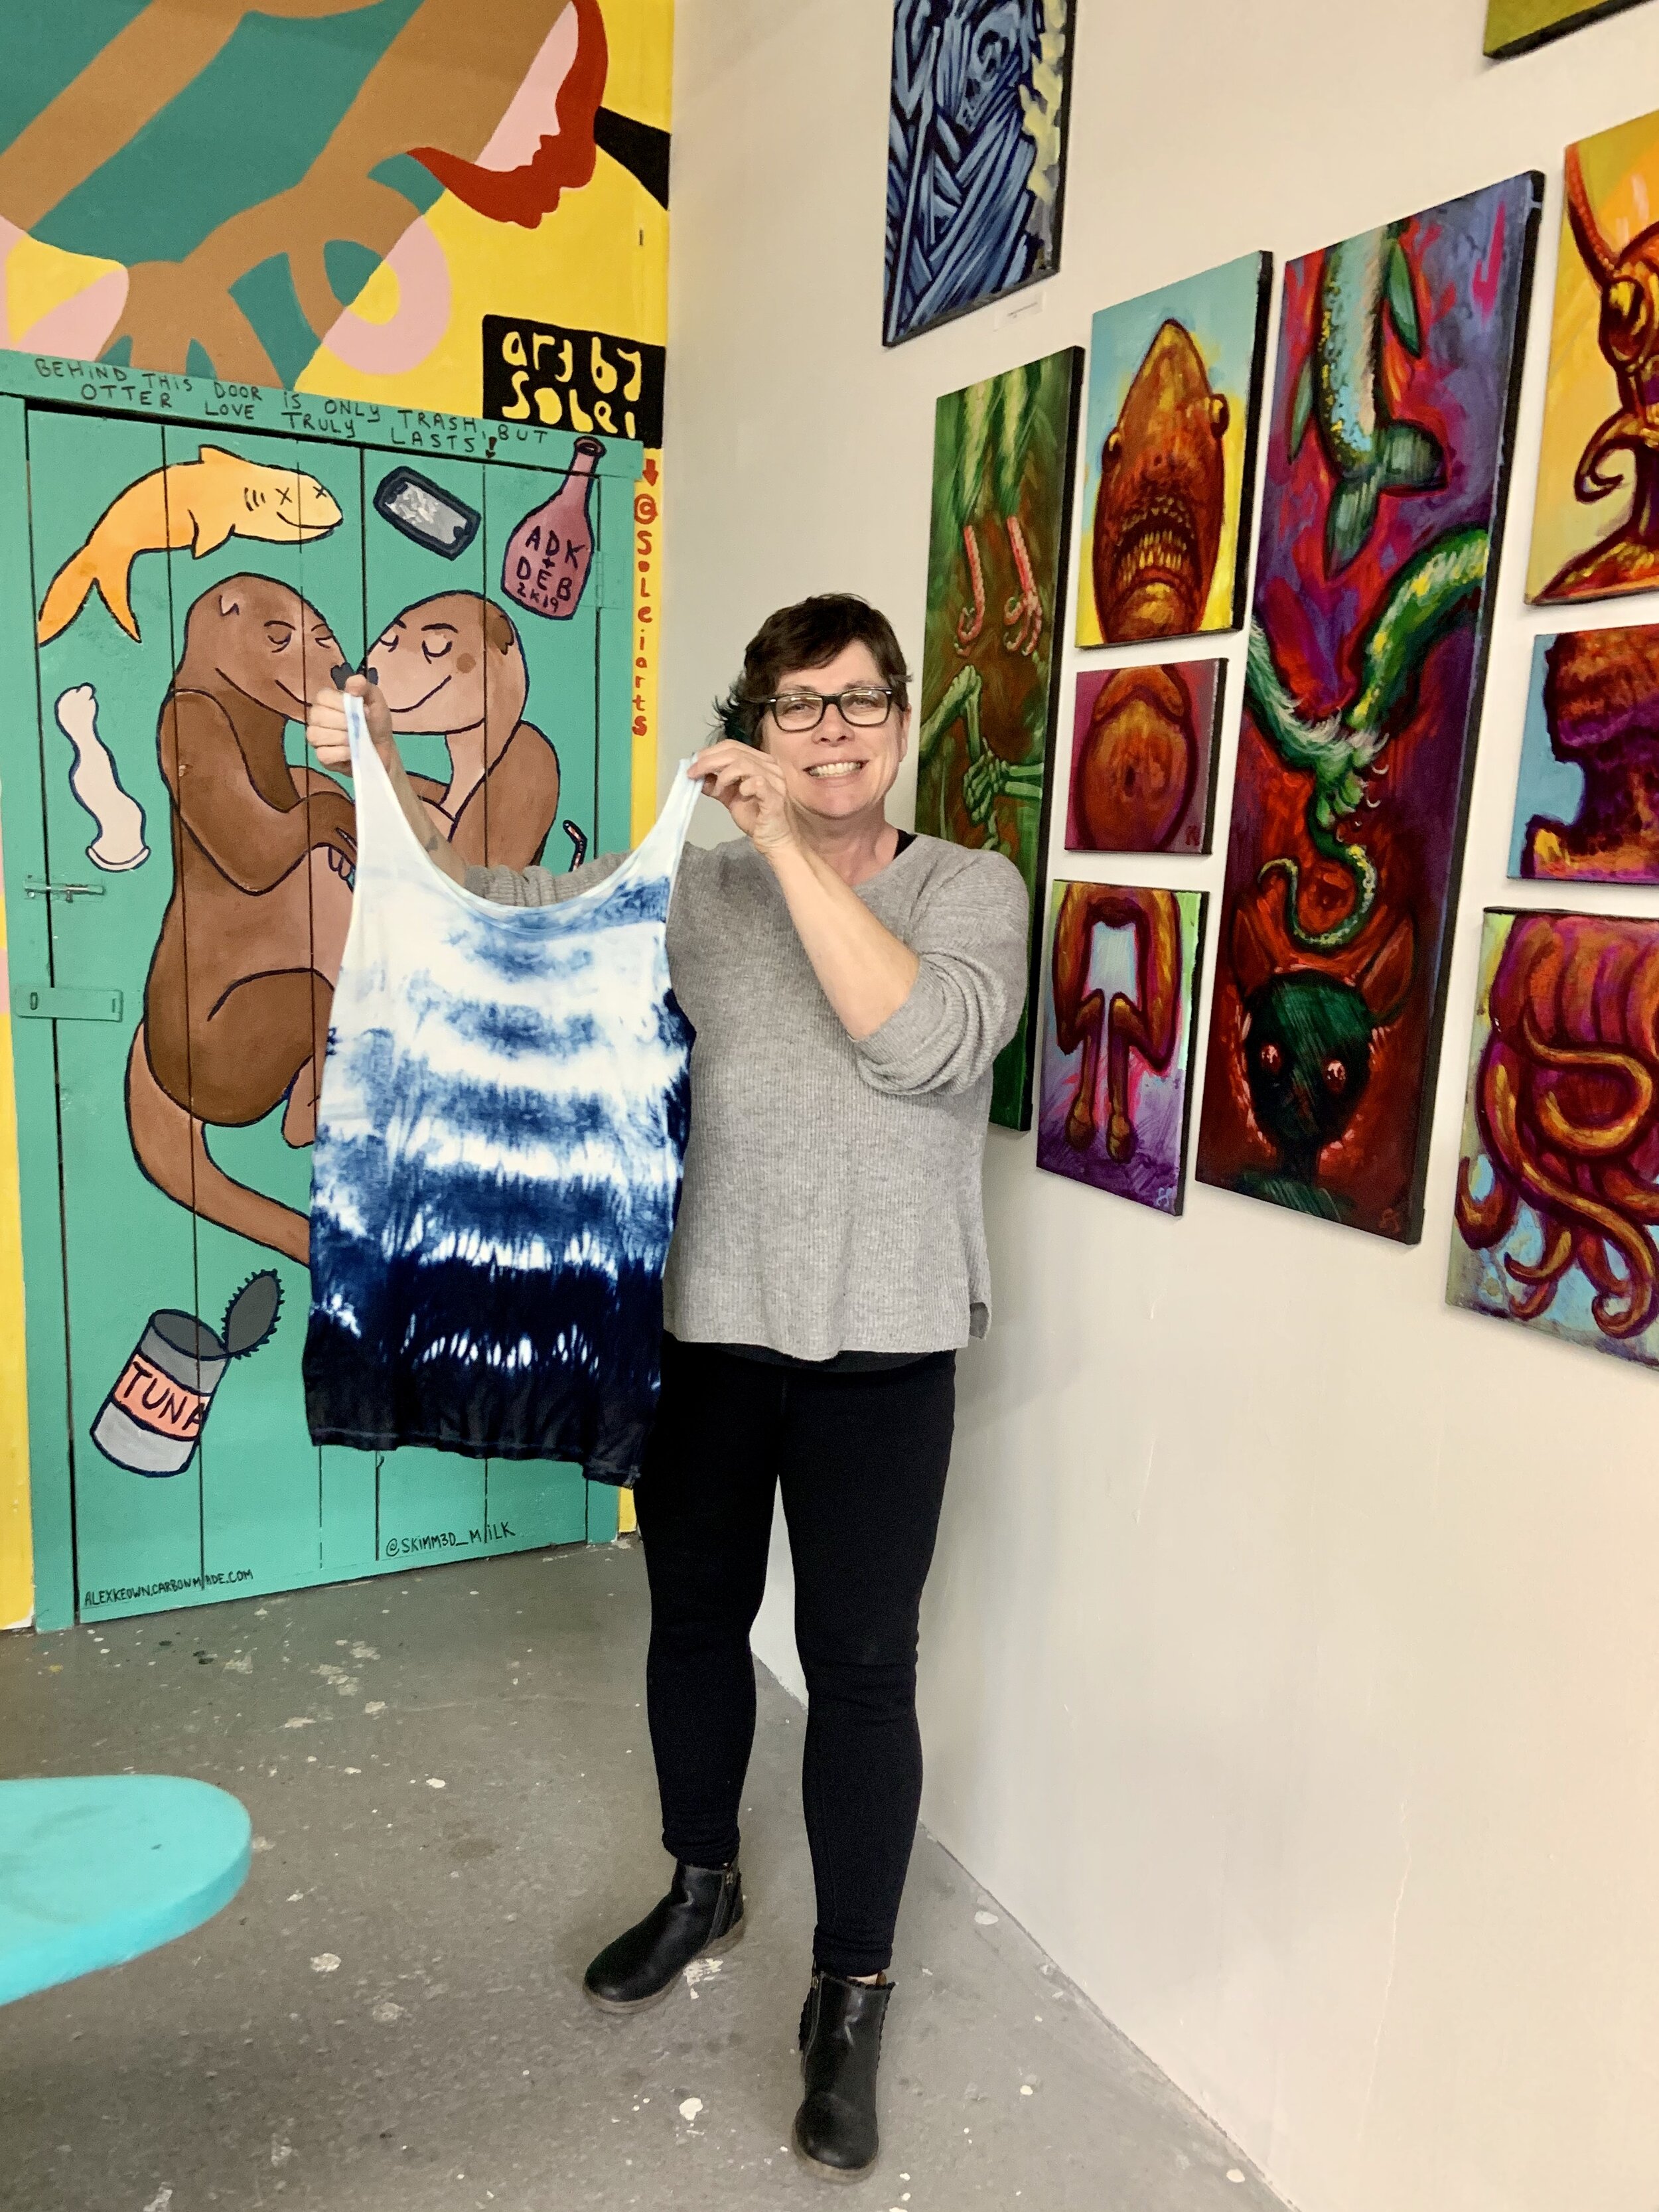
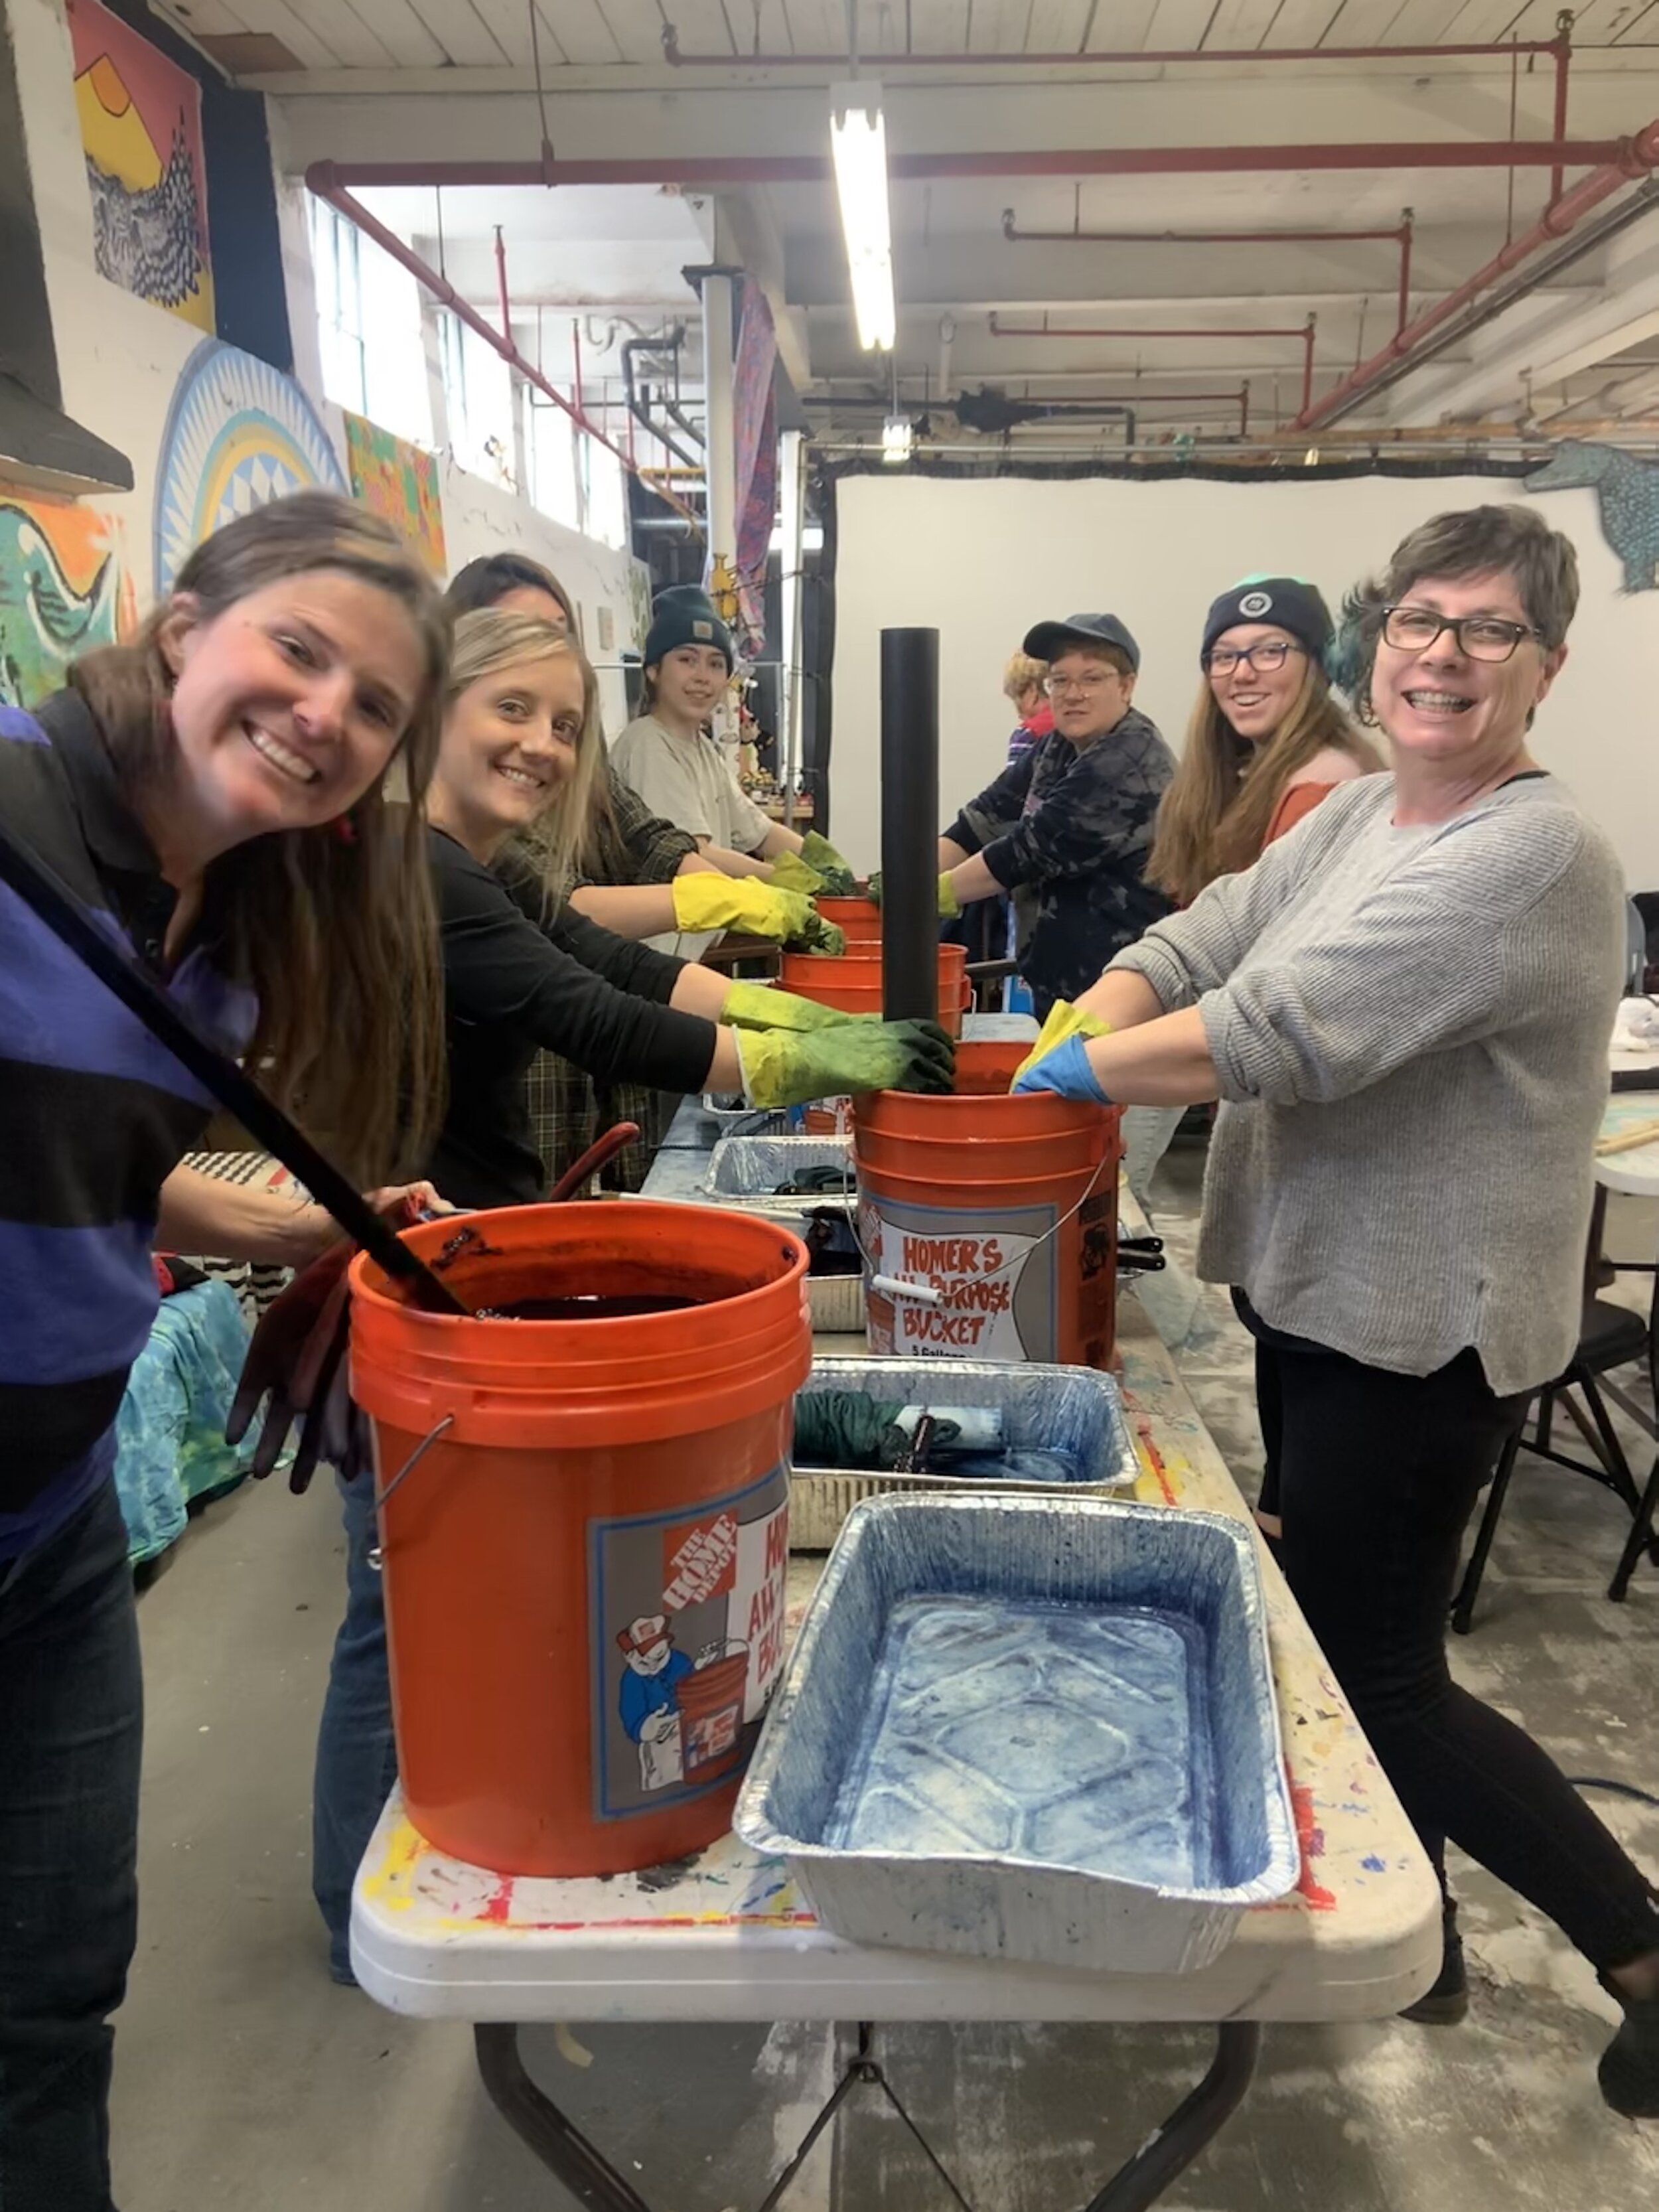
Stuck inside during this pandemic and not able to teach =( But it is a great time to look through and share photos from our Indigo Dyeing class at Tendercrop Farm in Dover, New Hampshire- from the beginning of March. We had a wonderful time dyeing fabric in the greenhouse with a really large group of talented and interesting students from Massachusetts, Maine, and New Hampshire. Hopefully my Spring painting class will happen on April 25th…check their facebook for updates.
upcoming relief stamp carving workshop moved to May 16/17th
The relief printmaking and stamp carving workshop has been moved to May 16/17th from 10-2pm both days. Last day to sign up will be May 8th. We will be carving linoleum blocks, discussing relief printing, printing on fabric and paper, while making patterns and prints. This will be so much fun, it is easy to do and you get to take home your carving tool at the end of the workshop to continue the fun at home!
Indigo Dyeing at Wrong Brain
We took full advantage of the extra day this February 29, 2020 with an Indigo Dyeing workshop at Wrong Brain in Dover, New Hampshire! To those of you on the Seacoast, be sure to check it out. They have lots of fun parties, art openings, and runway shows, as well as artist studios and a clothing store. It is a welcoming and inclusive space as well. Highly recommend it =)
Upcoming Winter Classes
Hola! I have lots of upcoming winter art workshops for those of you in Northern New England (New Hampshire and Maine) There are printmaking, painting, and textile dyeing classes and more painting class dates will be added, stay tuned!
Indigo Dyeing December 14th 10-2pm at Main Street Art Newfields, NH
Acrylic Paint Class December 15th 12-3pm at Tendercrop Farm, Dover NH
Monoprinting & Printmaking January 25th & 26th 10-2pm at Main Street Art, Newfields, NH
Relief Printmaking March 28th & 29th 10-2pm at Sanctuary Arts, Elliot ME
Dressing table stool revamp with indigo dye
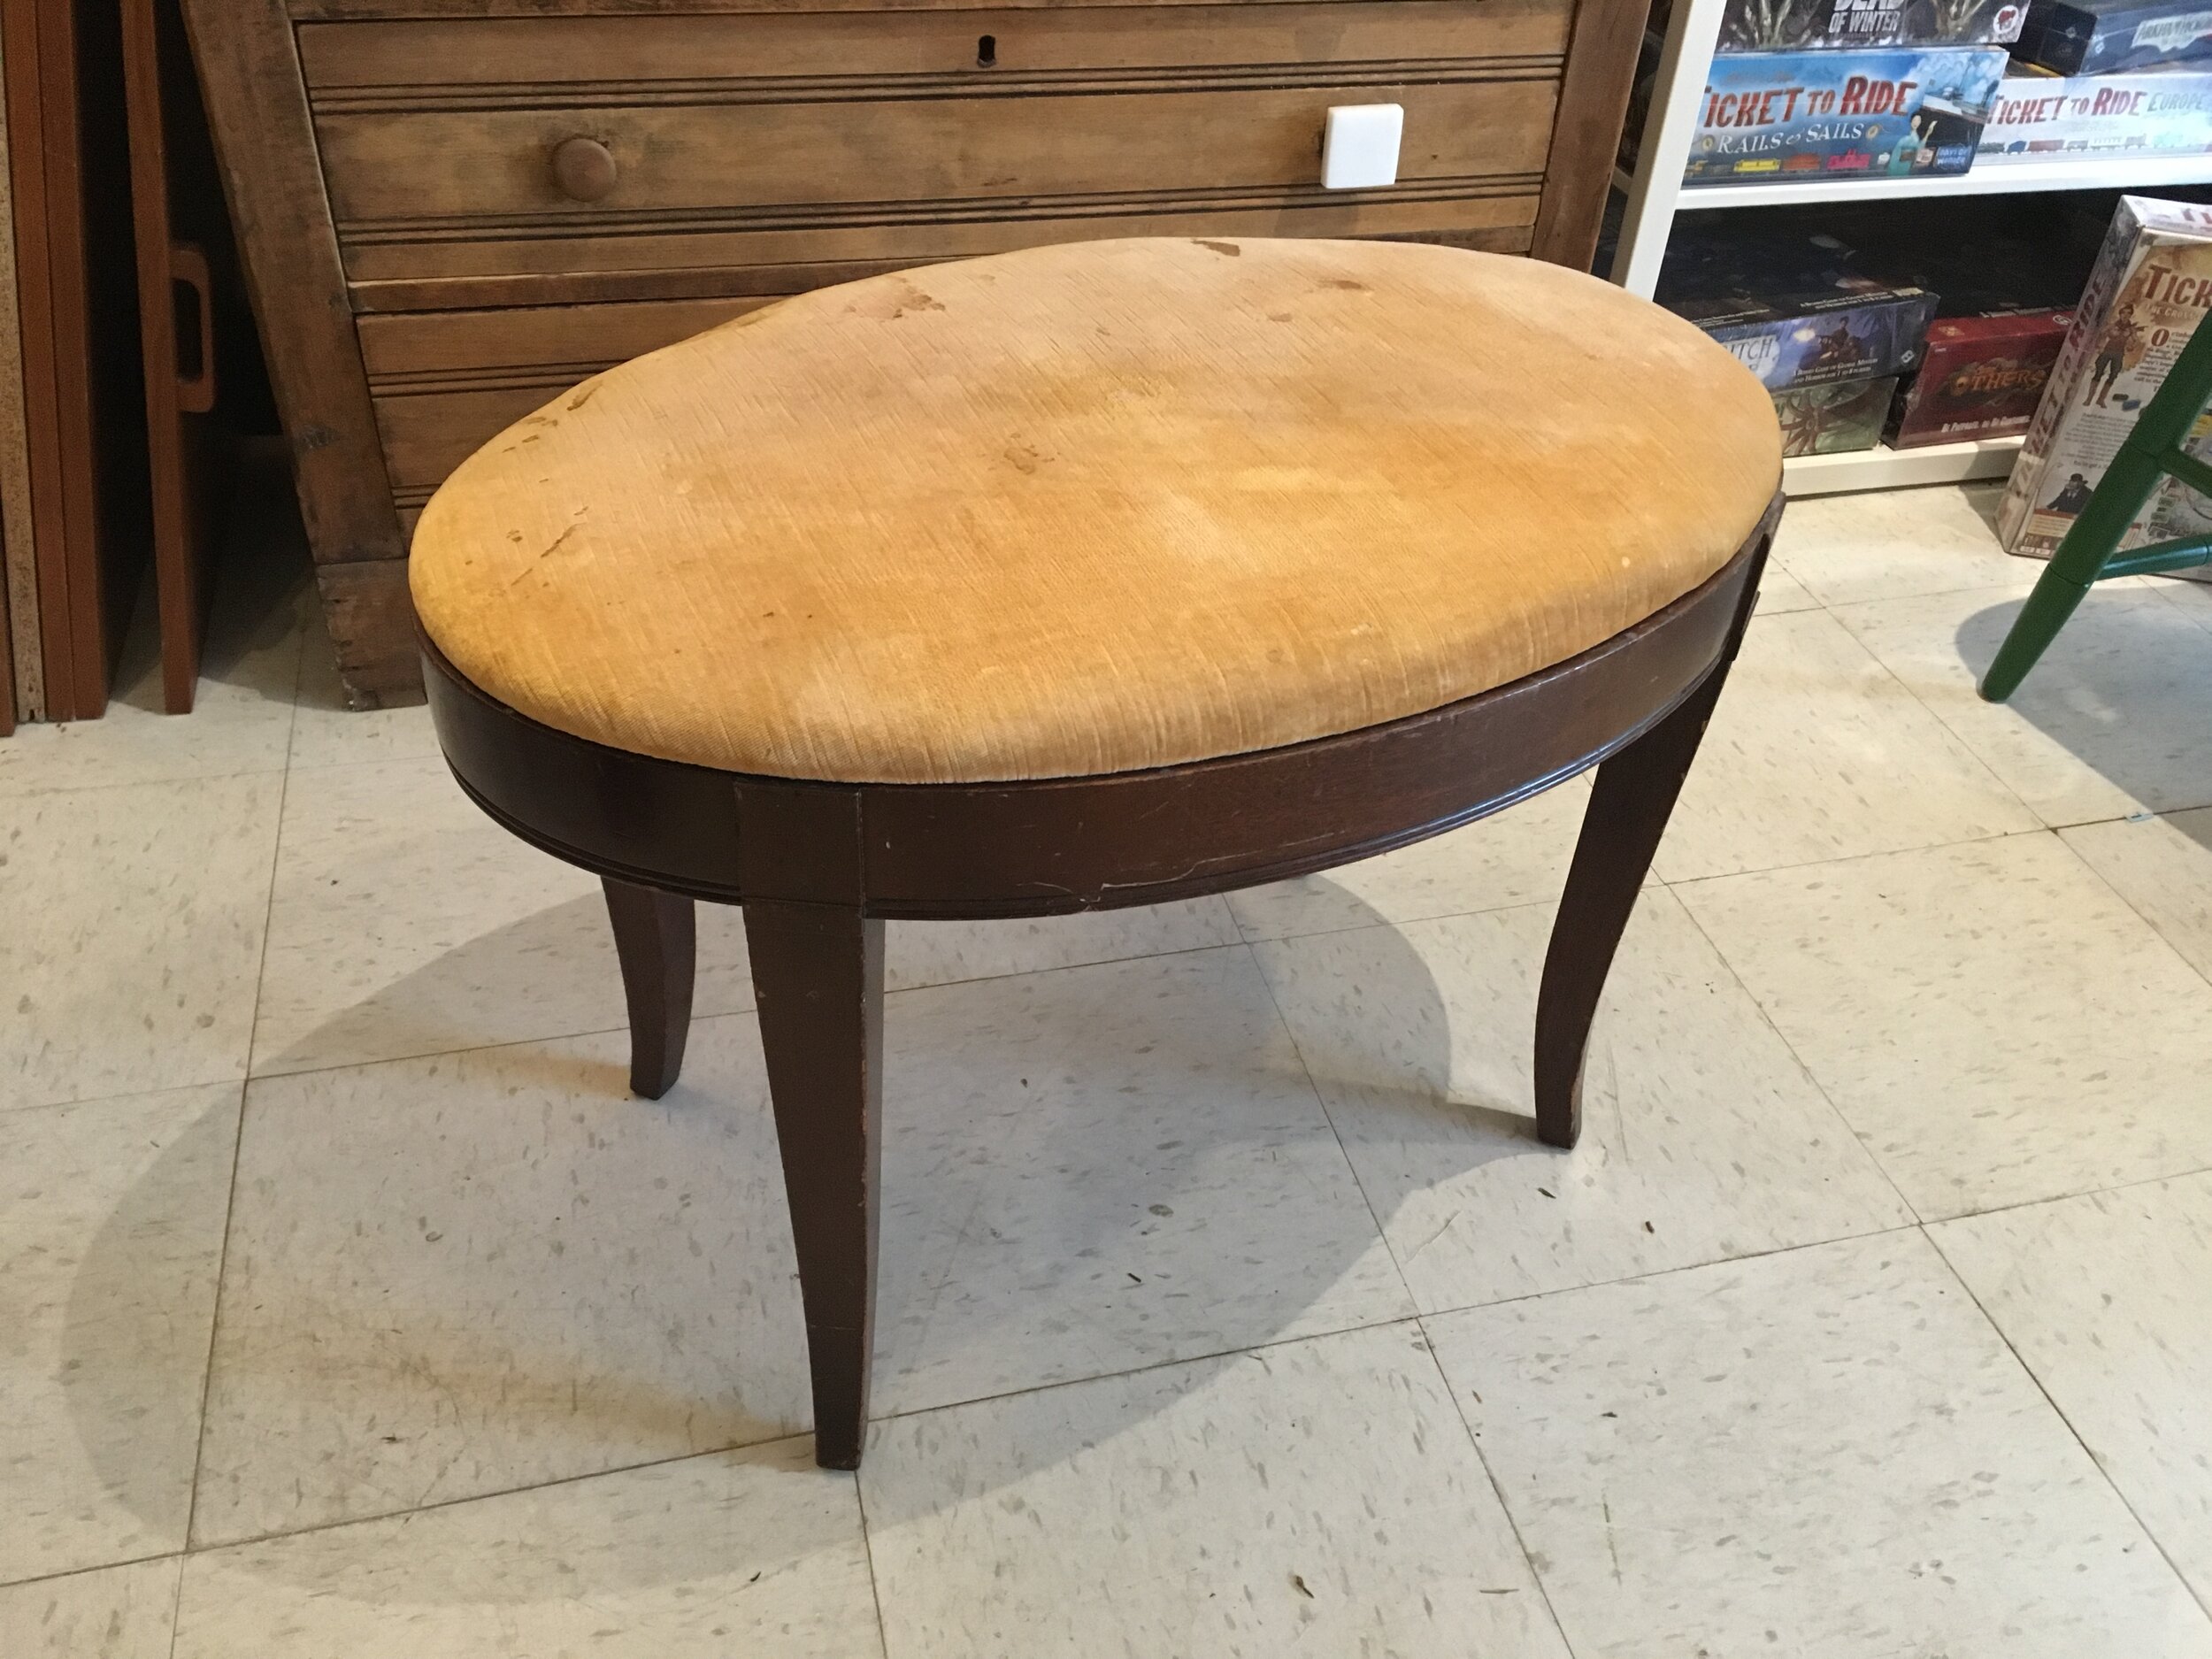
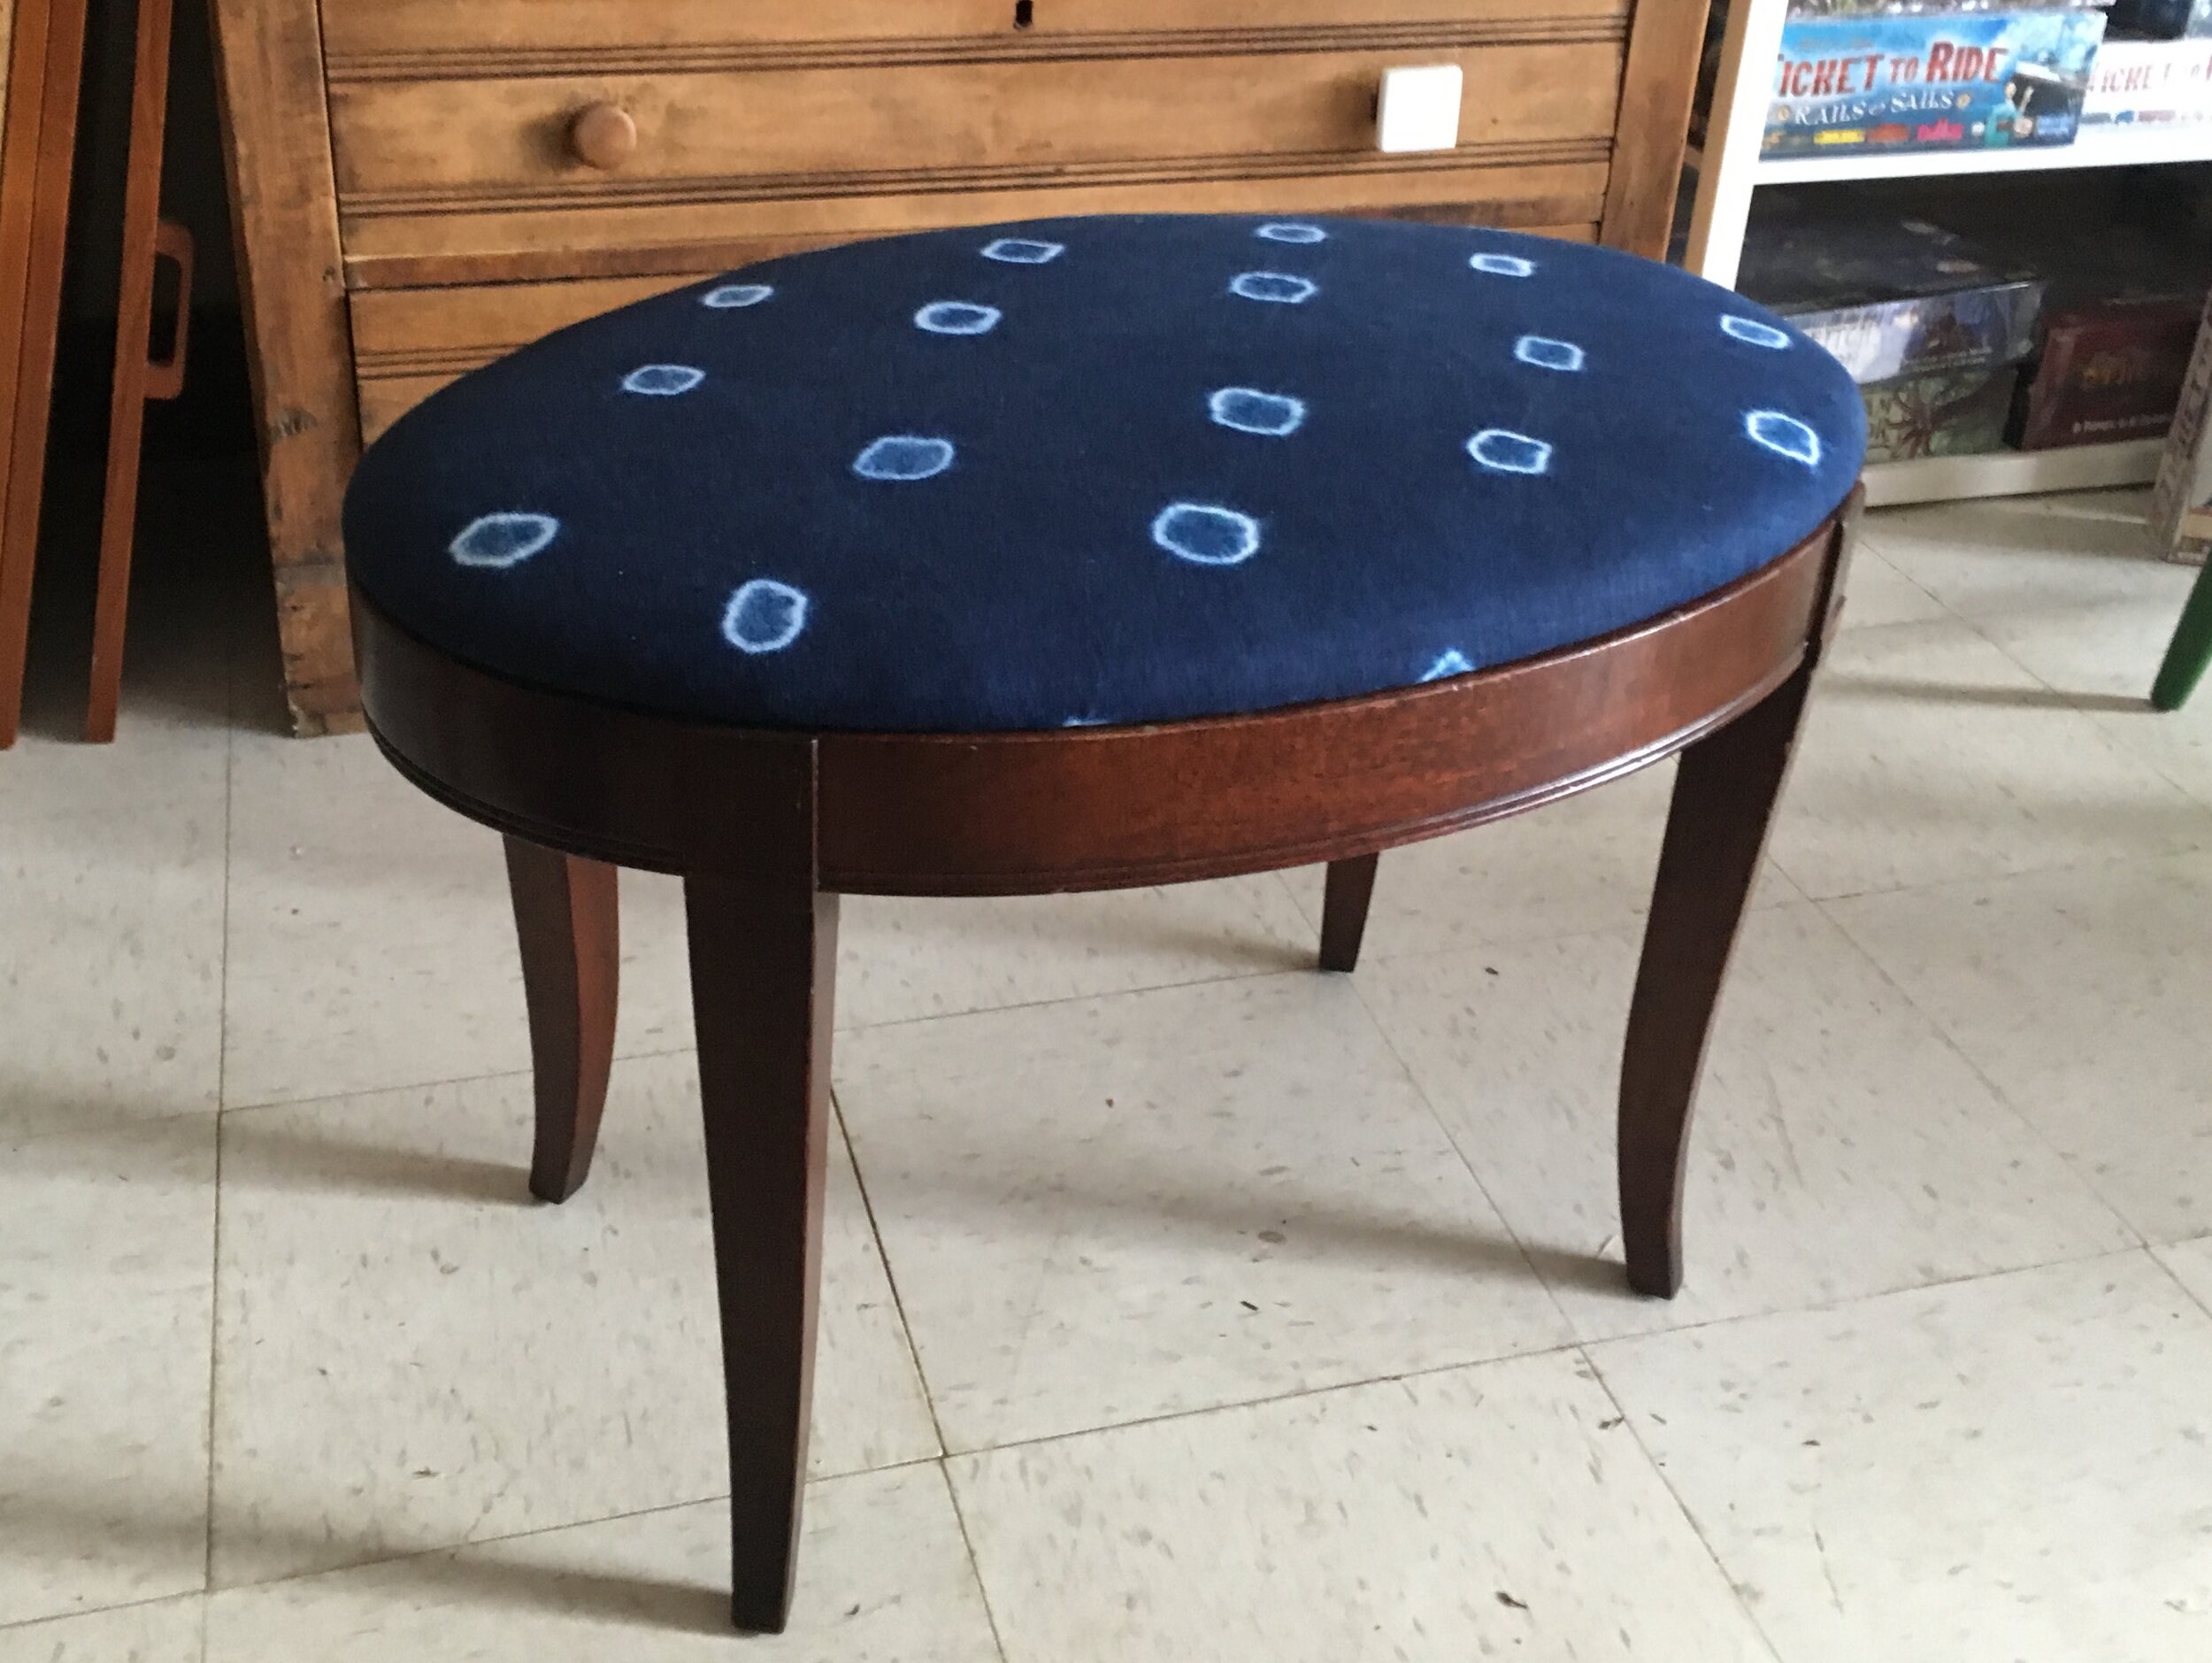
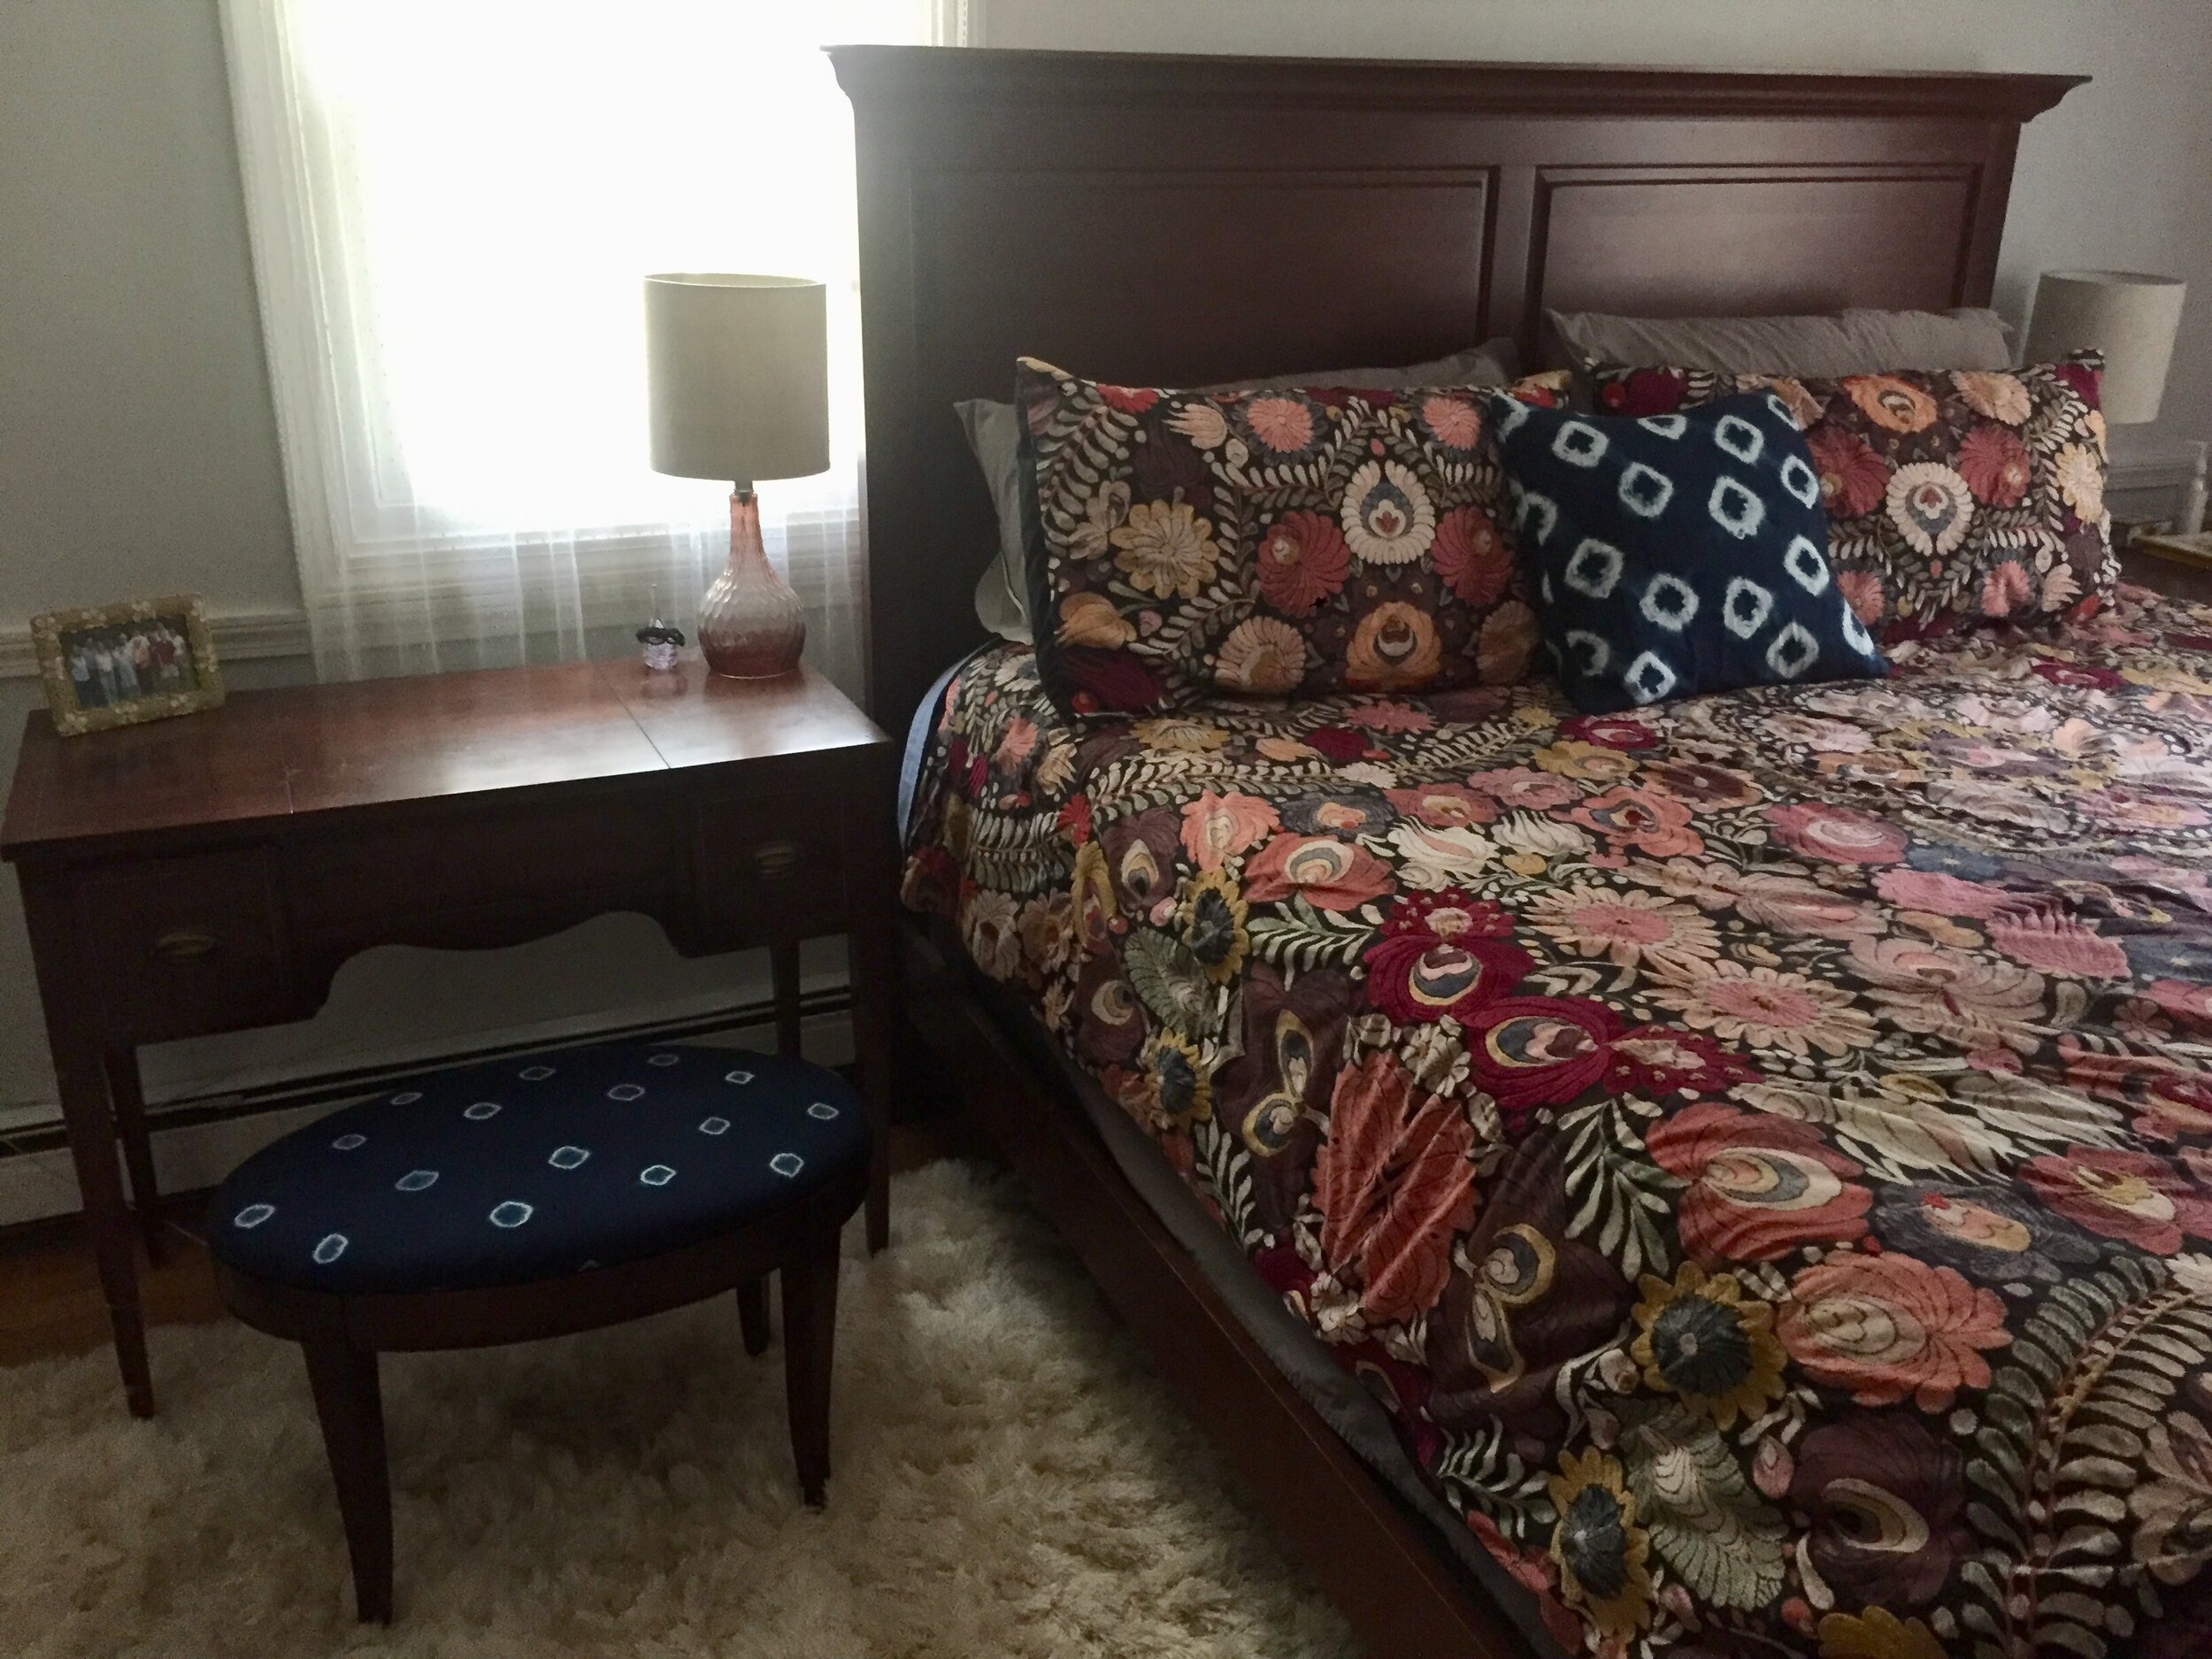
This dressing table belonged to my grandmother and I was the lucky grandchild to inherit it! The middle section of the table lifts up to reveal a mirror and storage for makeup and hair products. So unique! The stool was in need of a revamp, so I had this recovered in some hand dyed linen fabric that I dyed this summer. I love the result and am very glad to have paid someone to recover it, I considered doing it myself, but an oval on the first try seemed daunting….going to start with a chair or something a bit easier…and maybe something that I have several yards of the same fabric and not a one-of-a-kind yard that has to work or else =)
Sunflower painting class
The end of September means sunflowers here in New Hampshire. Many students turned out for a cheerful day of painting sunflowers at Tendercrop Farm in Dover! We run these paint classes once a month, they are open to all ages and no painting experience is necessary, it’s all for fun and learning. Check out their facebook page, for info on upcoming events, they are held about once a month-on the weekends from 12 - 2:30!
My summer teaching kids
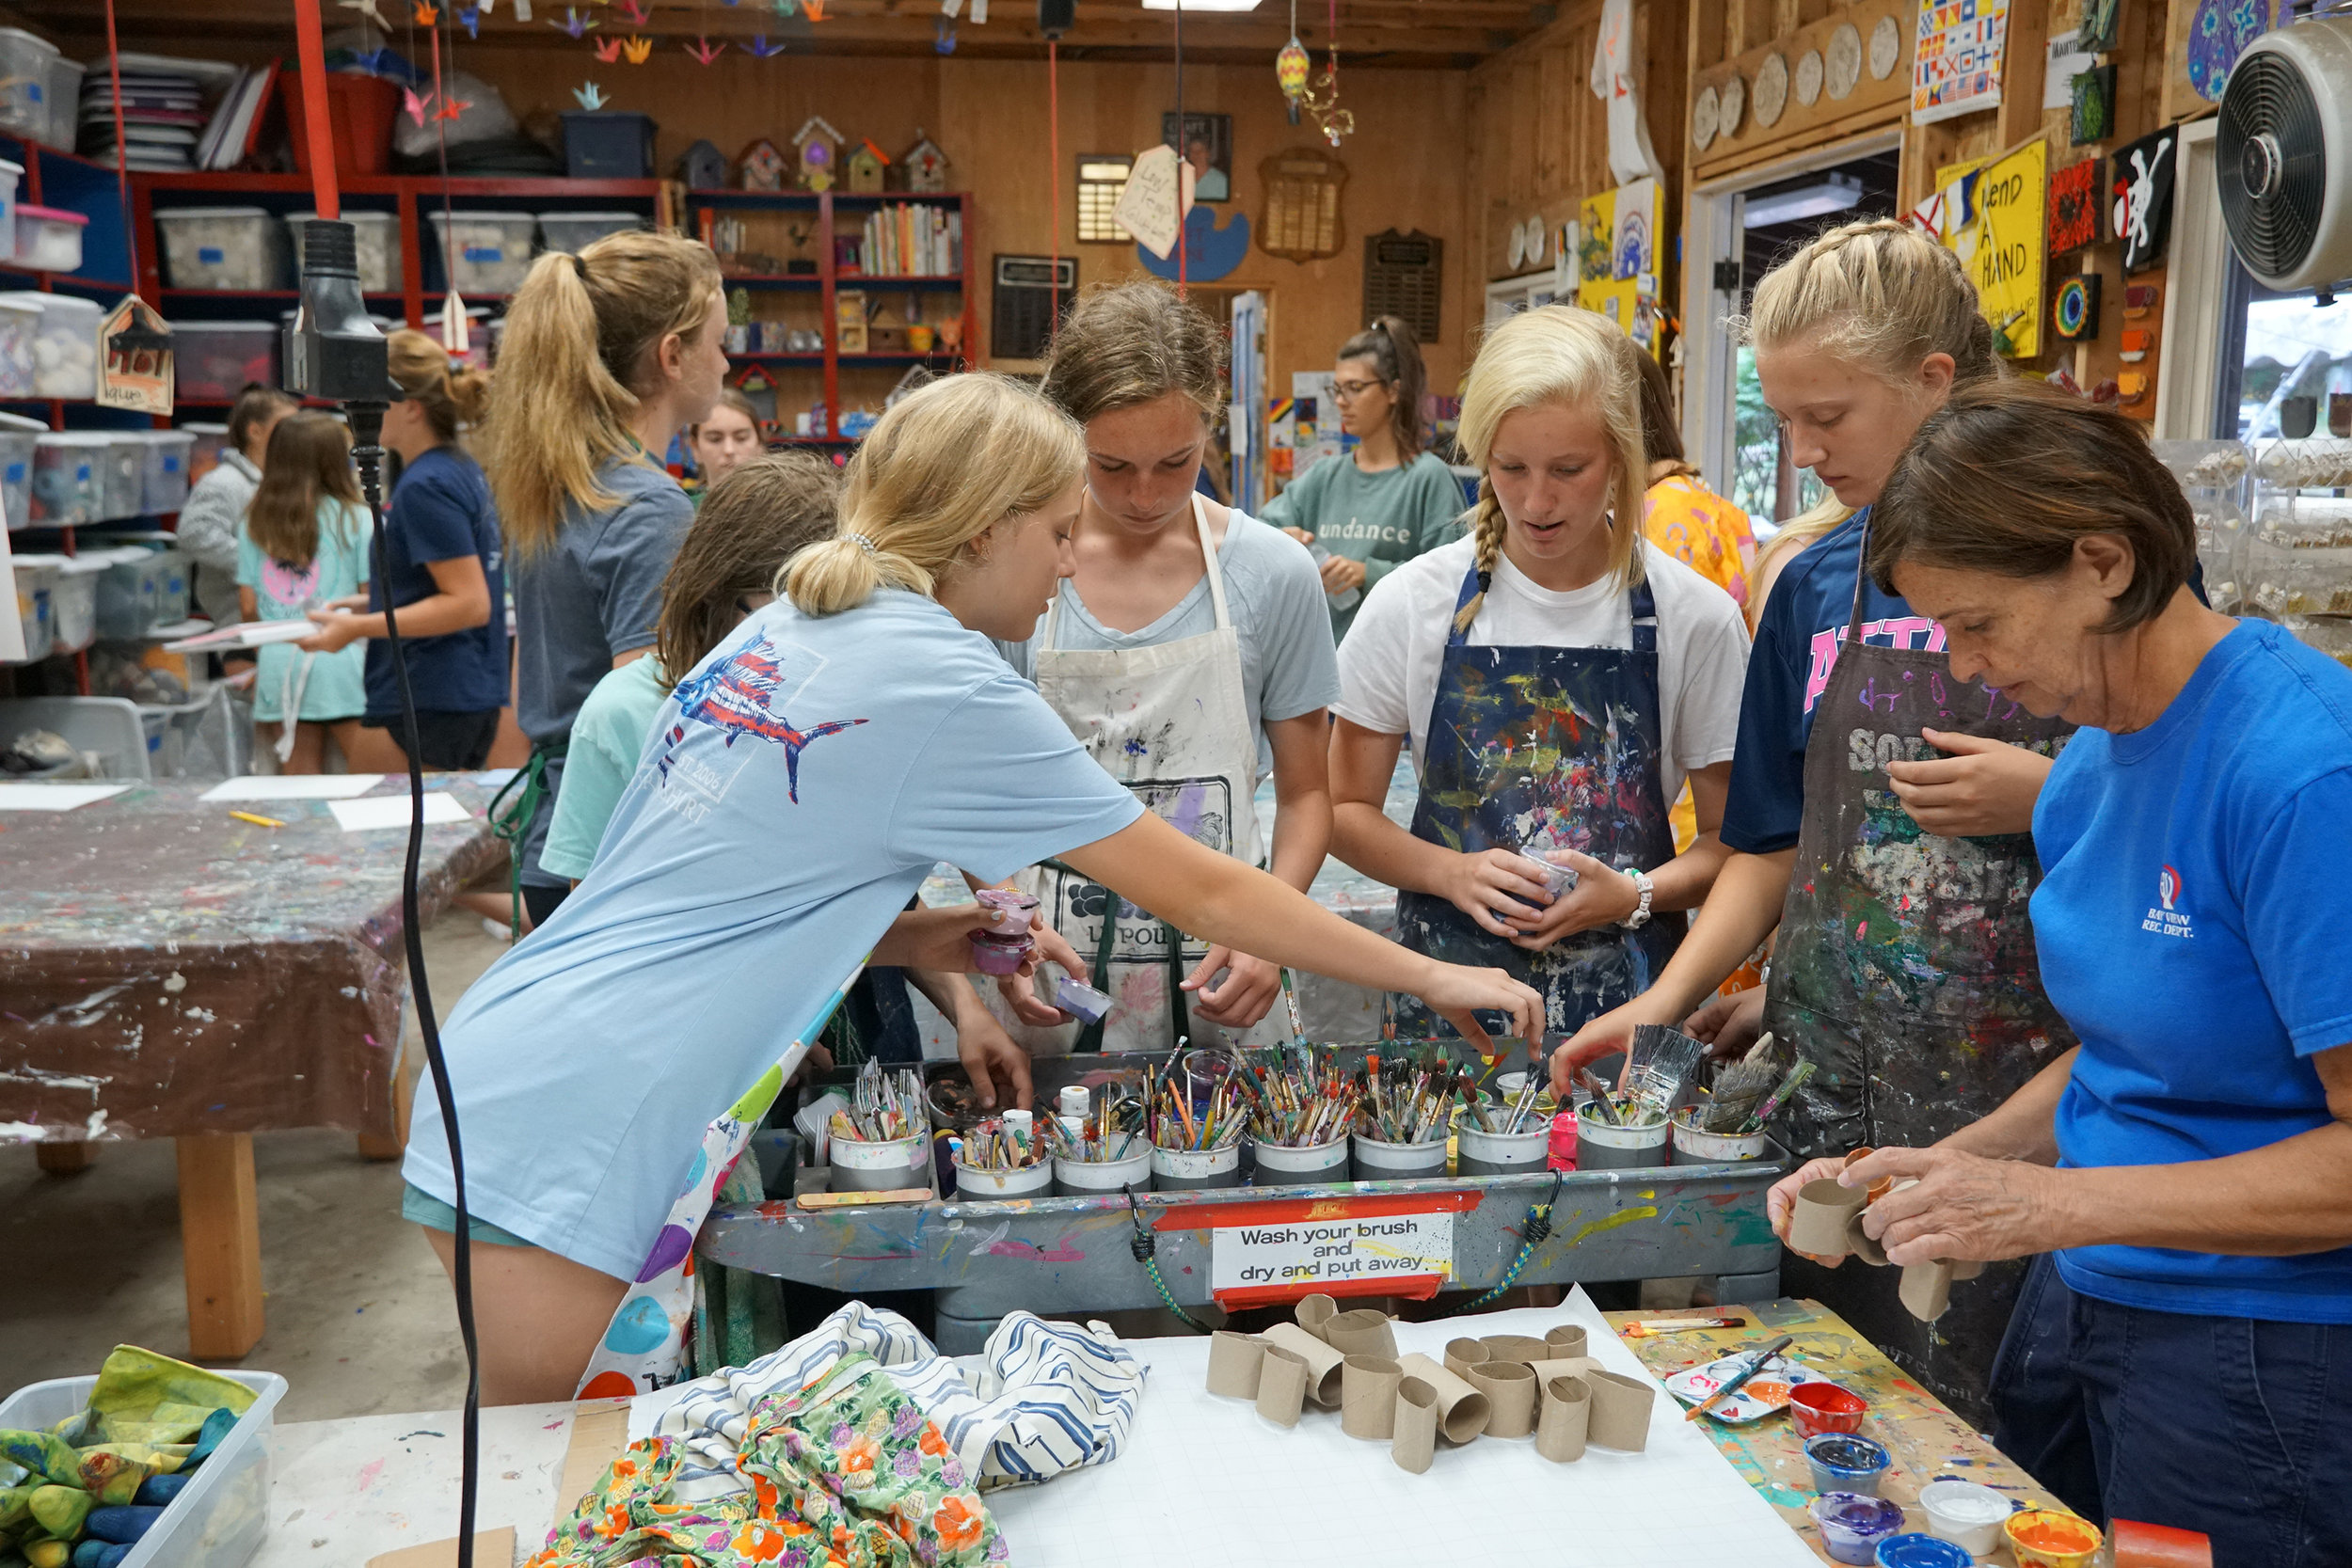
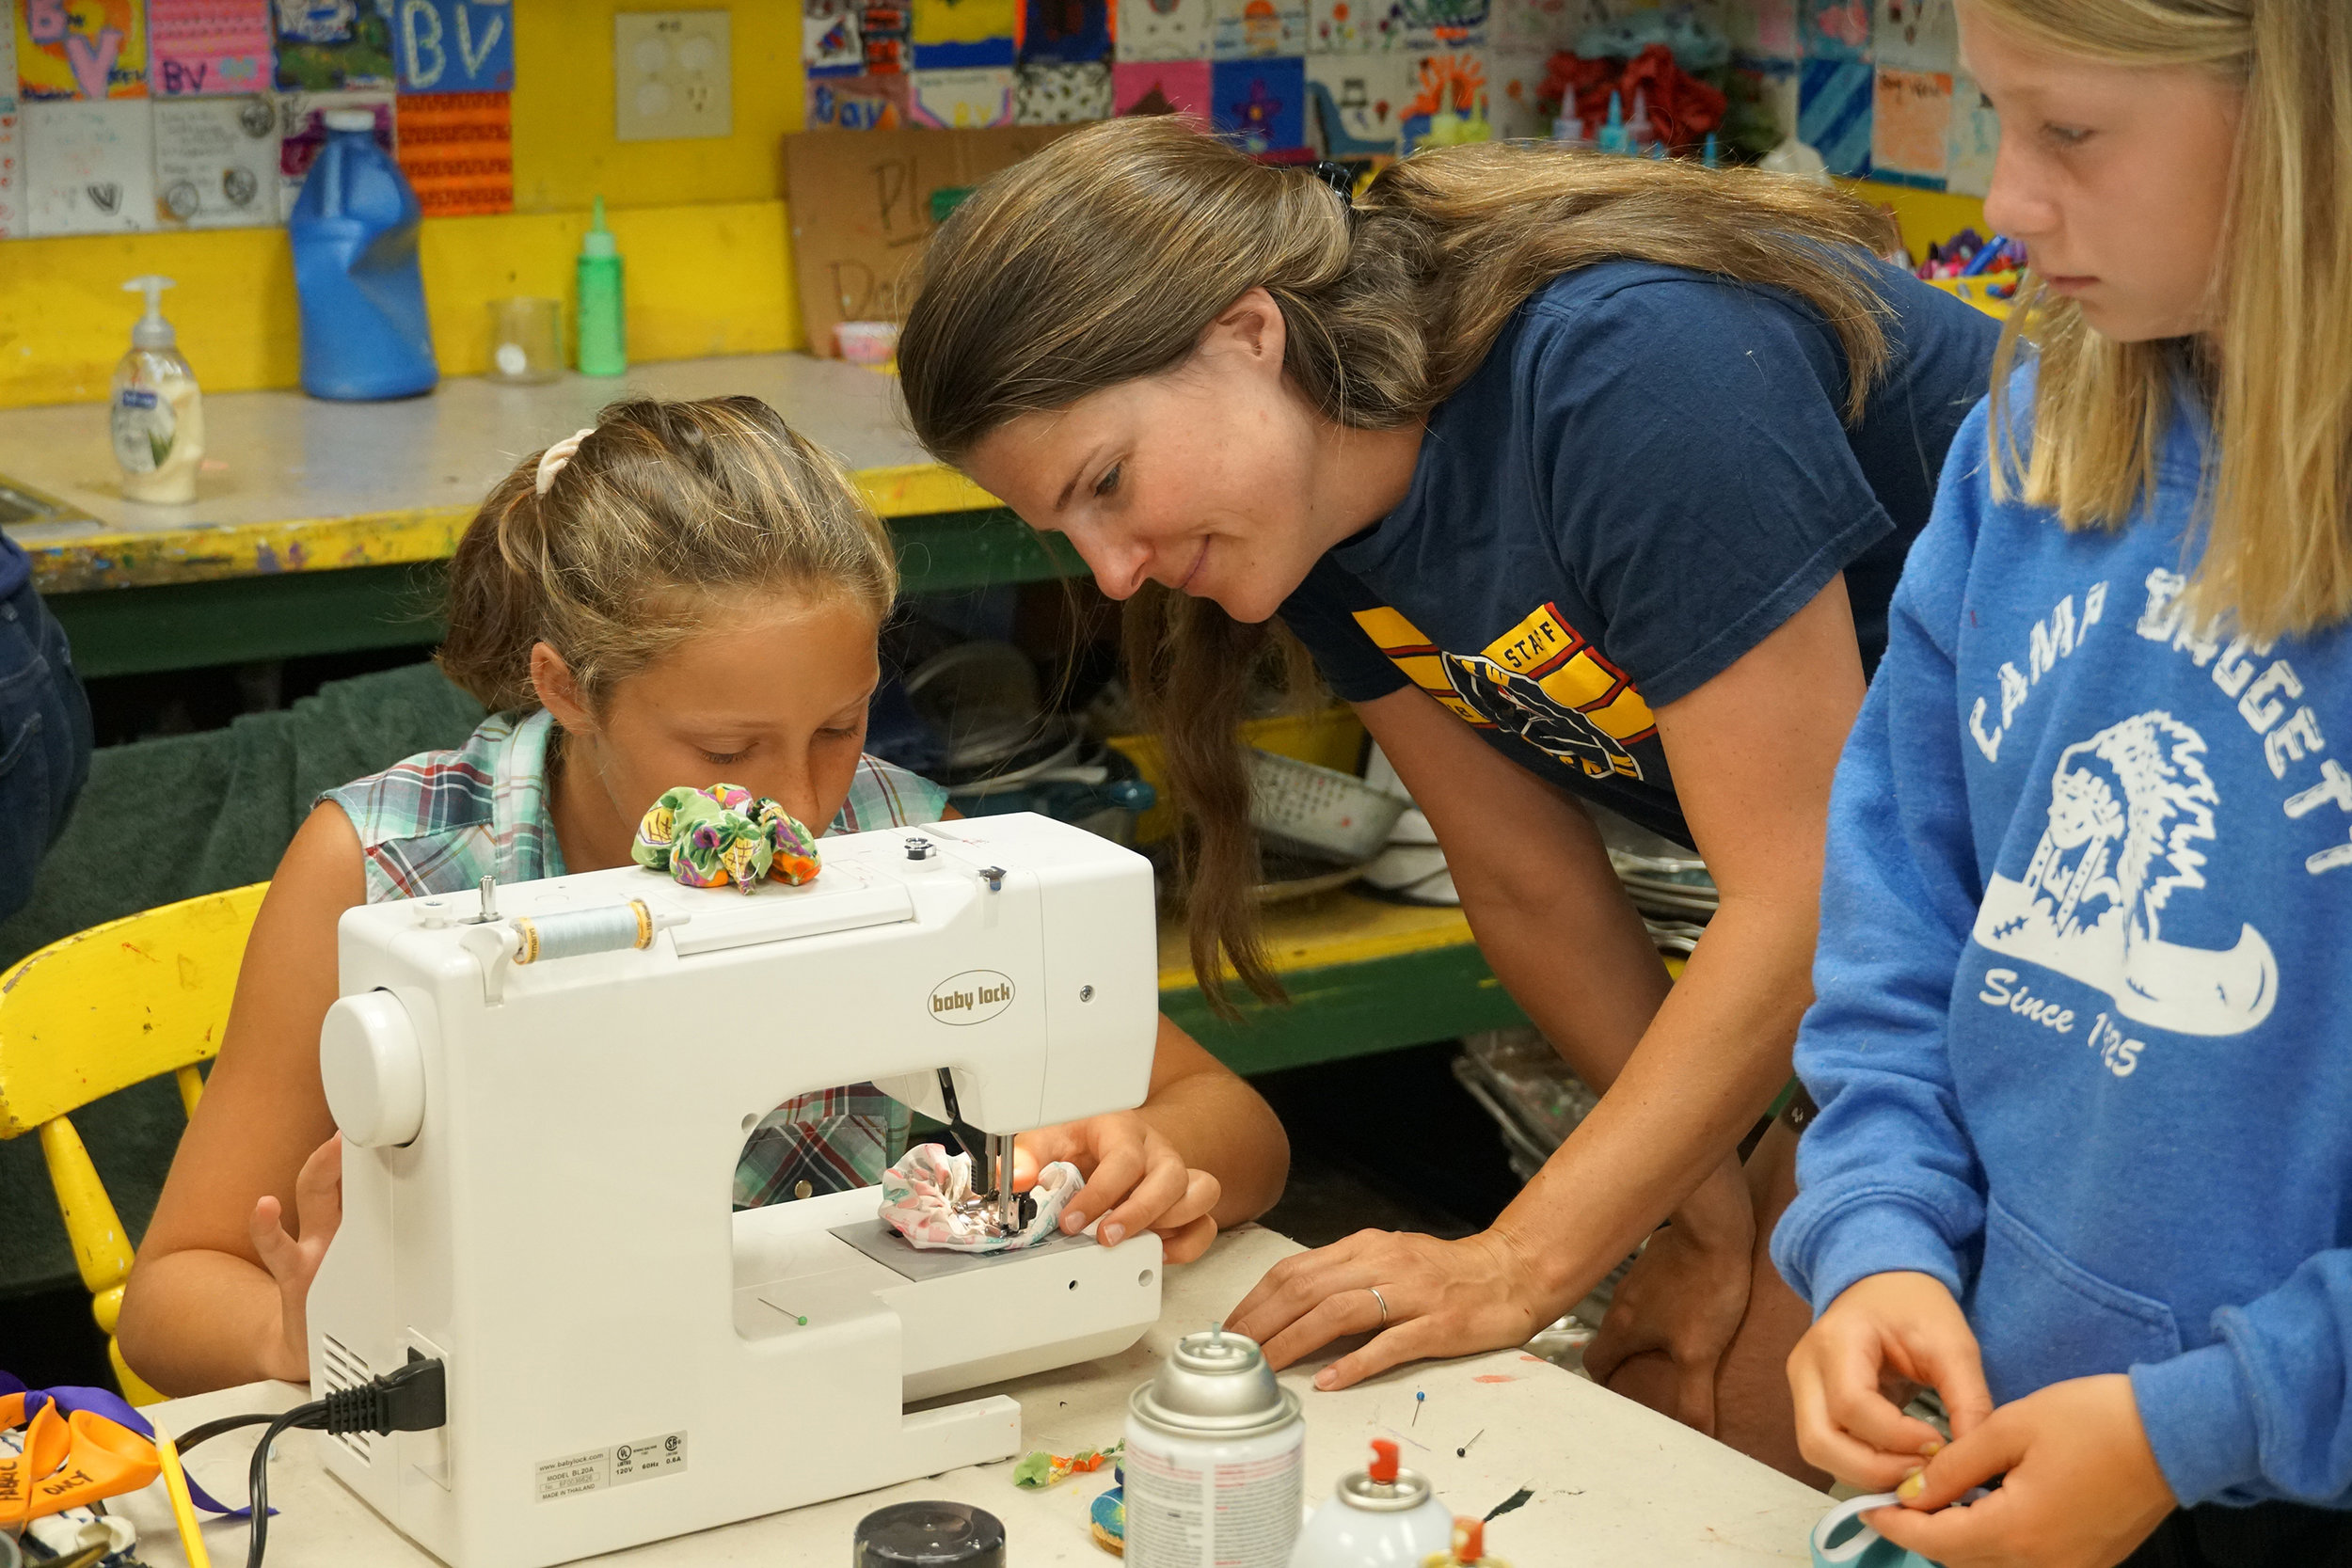
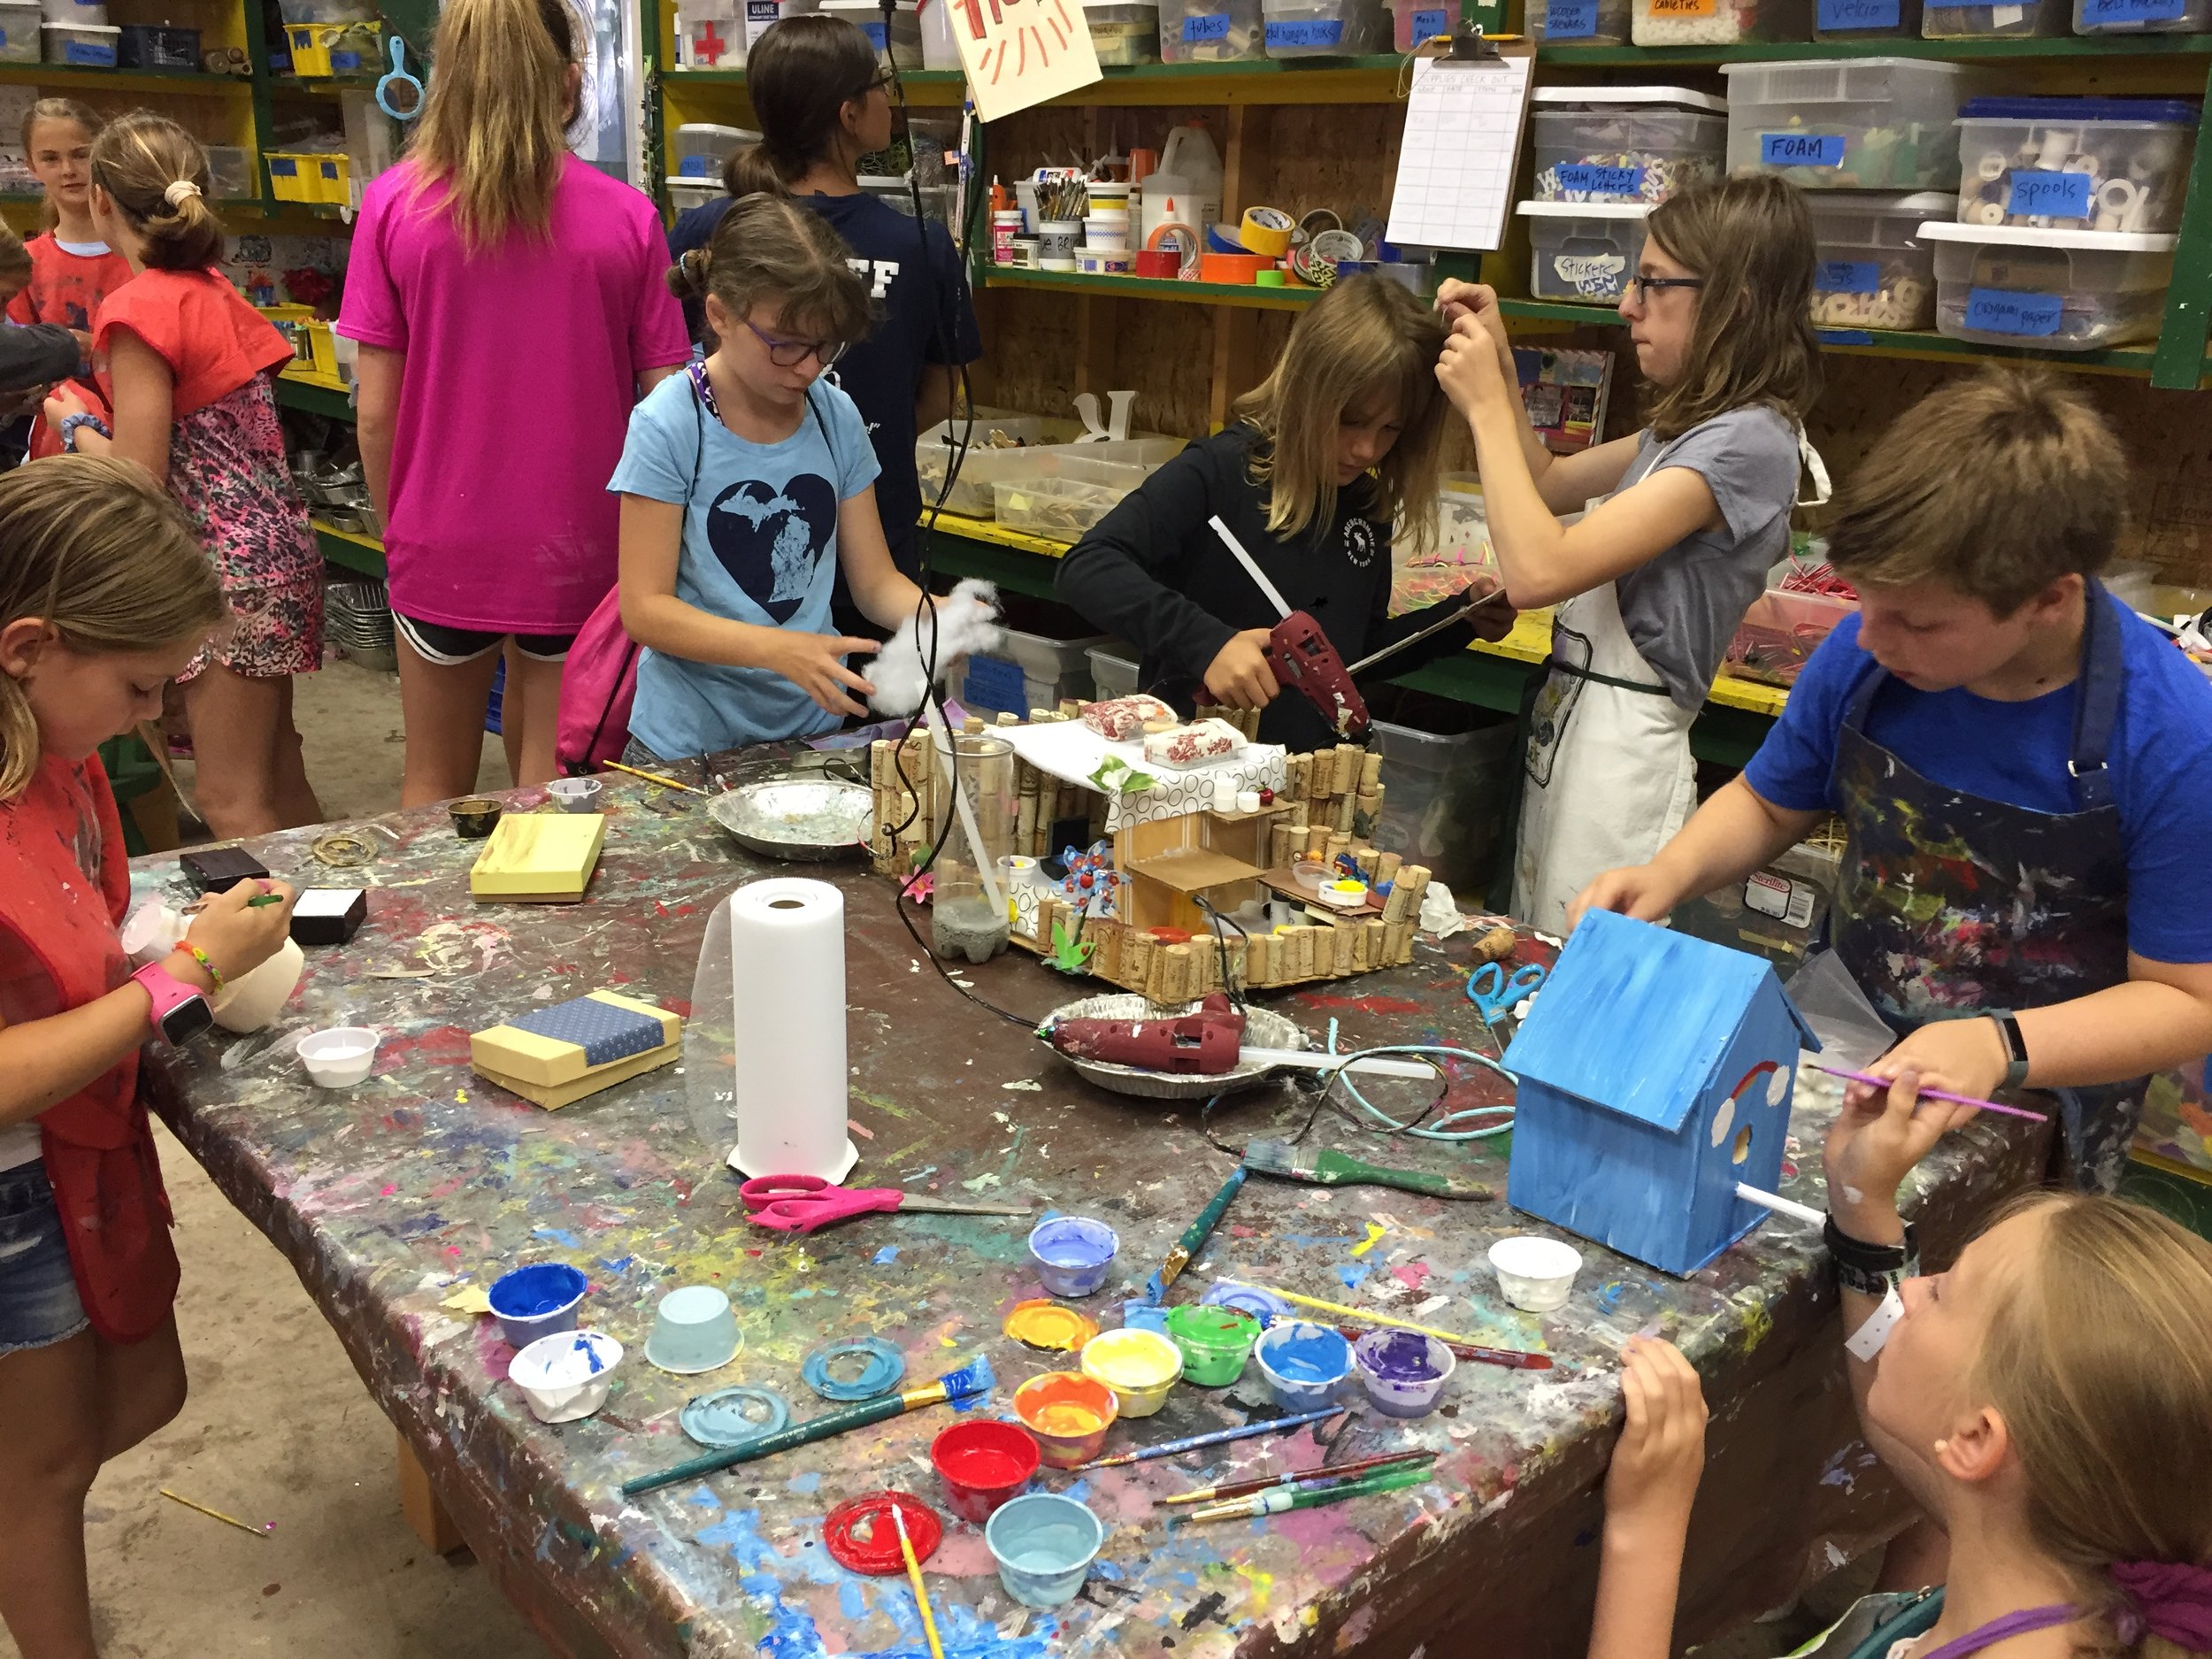
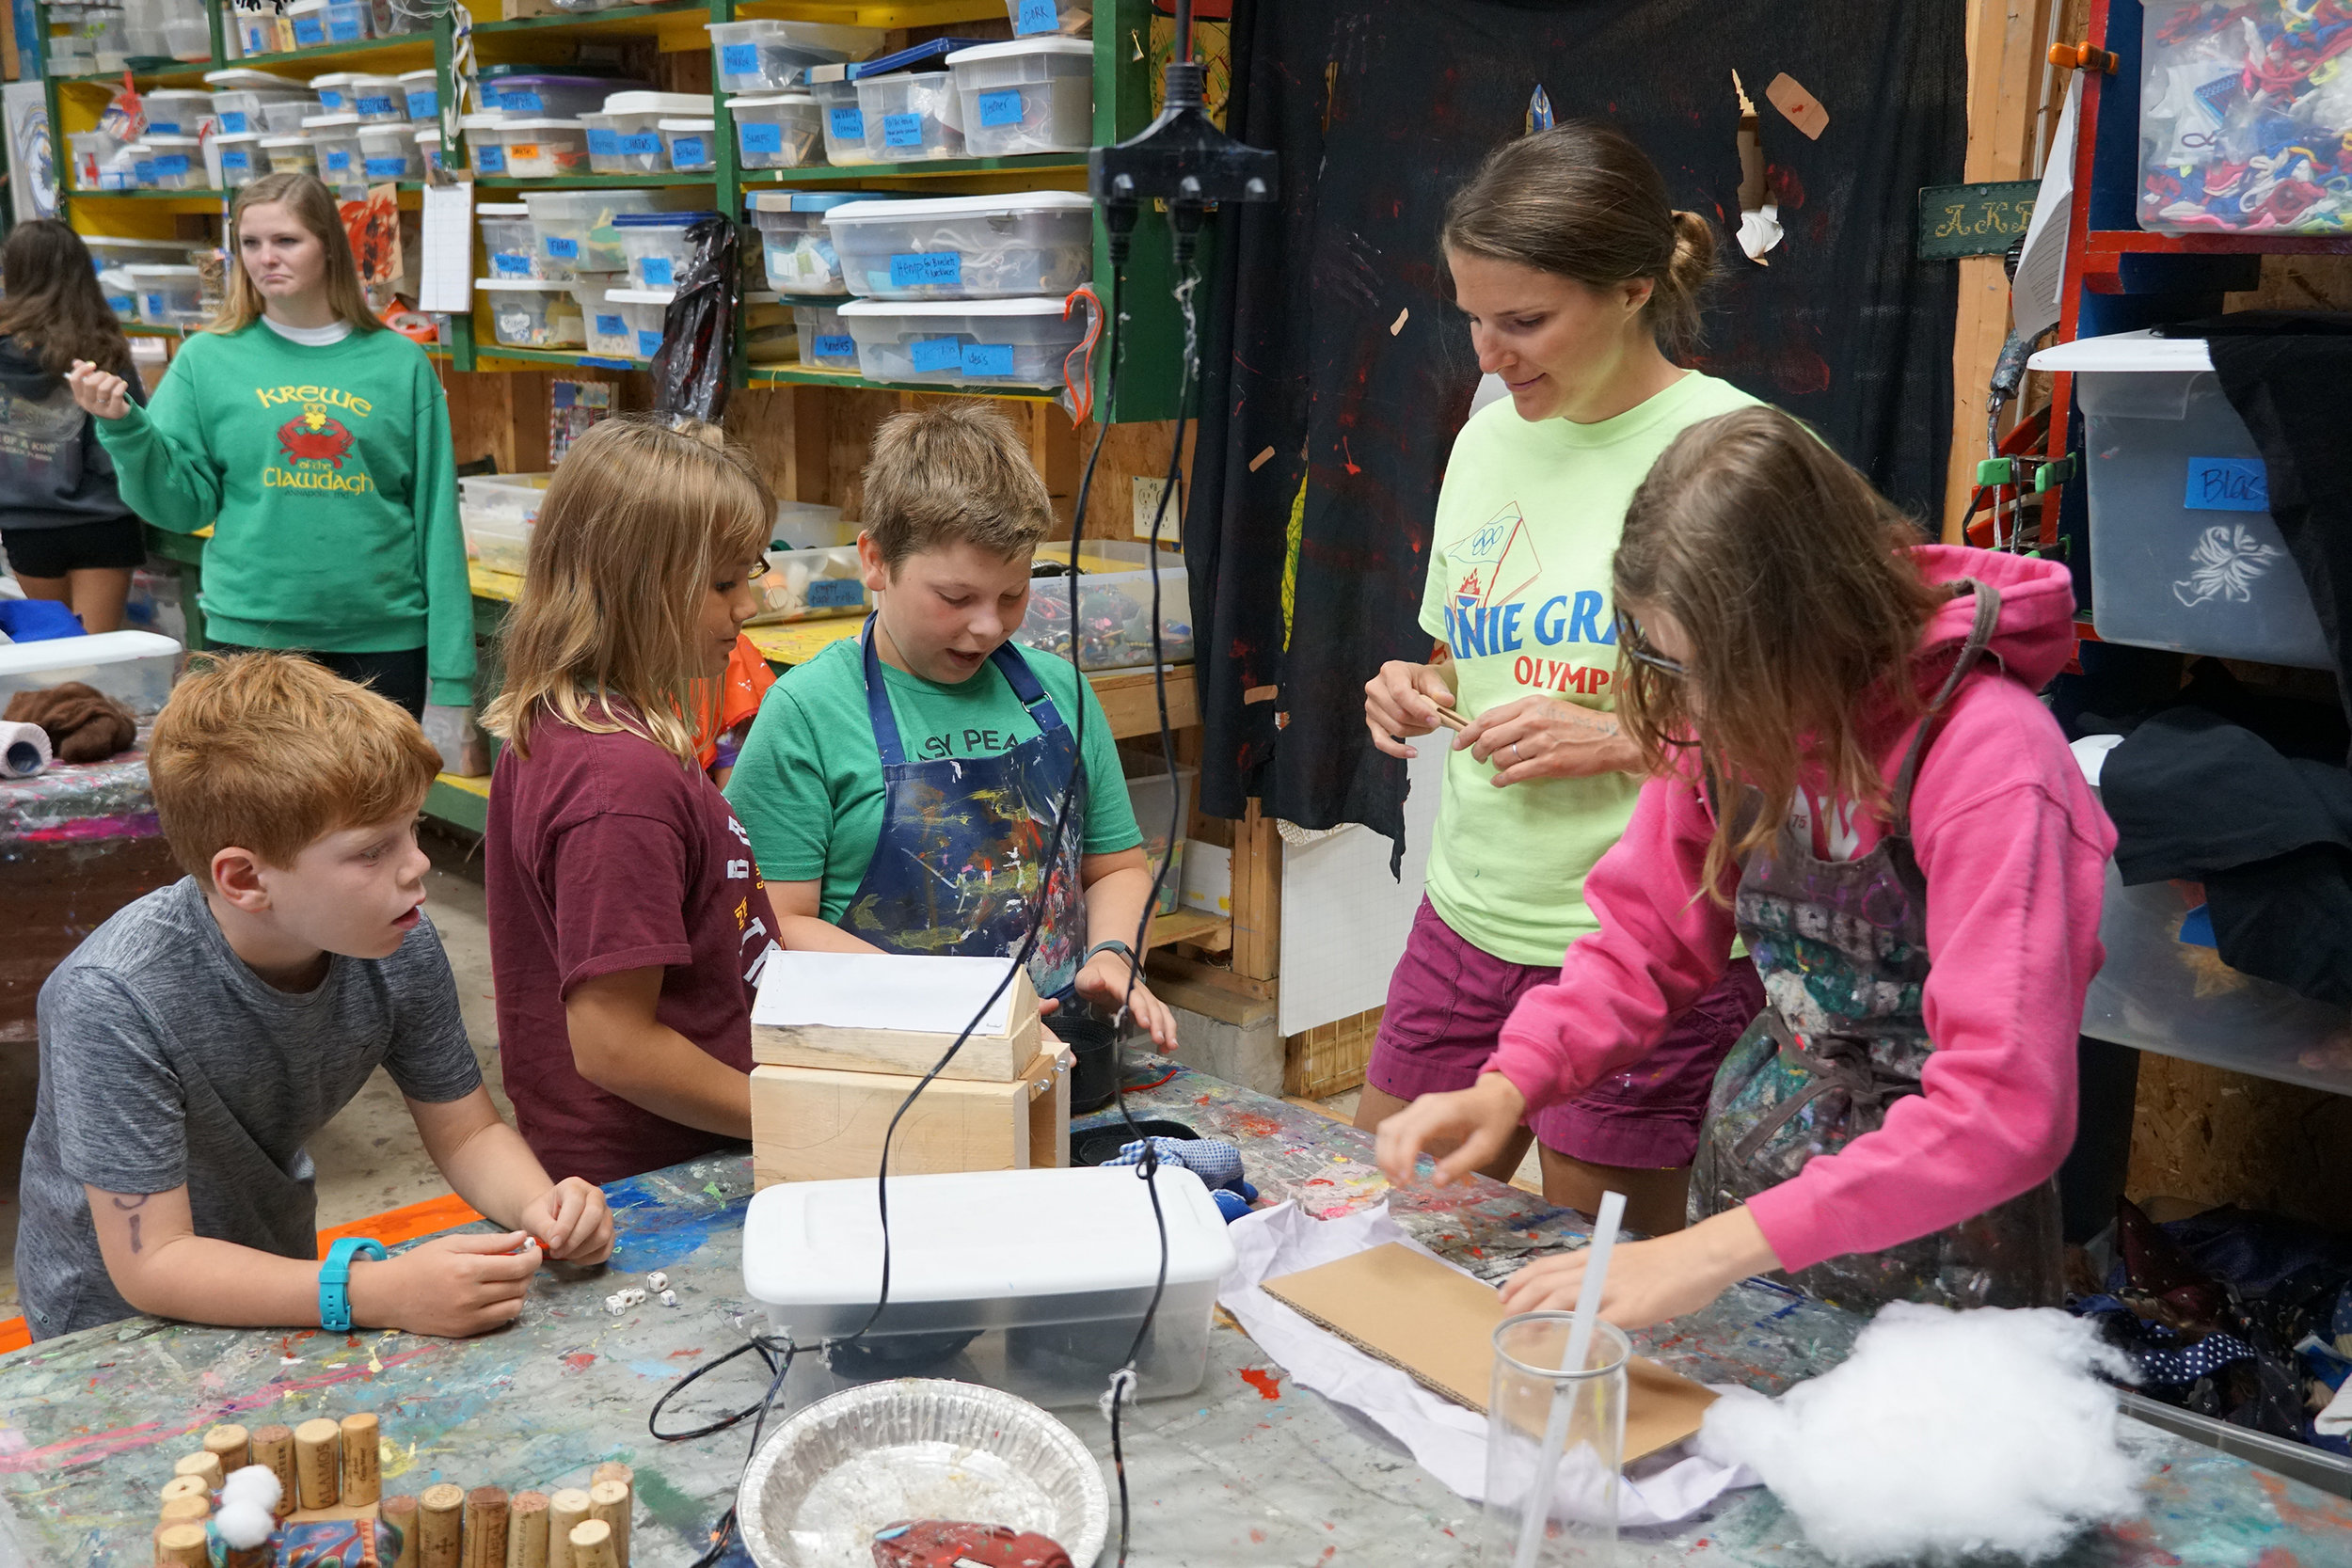
I recently wrapped up my 6th summer working with kids, ages 3-14 and my staff and assistants are 15-19. The summer went by faster than ever, now that I have a baby waiting for me to get home and feed him =) Some of the creative highlights were making and destroying piñatas with the 11 & 12 year old boys (an excellent project for this age) making Jackson Pollock dish soap resist paintings with the 13 & 14 year old girls, and the abstract watercolors the 3 & 4 year olds made that looked like they belonged in a gallery!
Mudcloth Tutorial
Here is a wonderful way to decorate fabric, ceramics, or whatever else you think needs to be patterned in your life…. a tutorial on Mudcloth from ApartmentGuide.com, simple and effective these hand done pattern techniques can be mastered by anyone willing to try them out. Have fun!
Indigo & Shibori: Itajima Tutorial
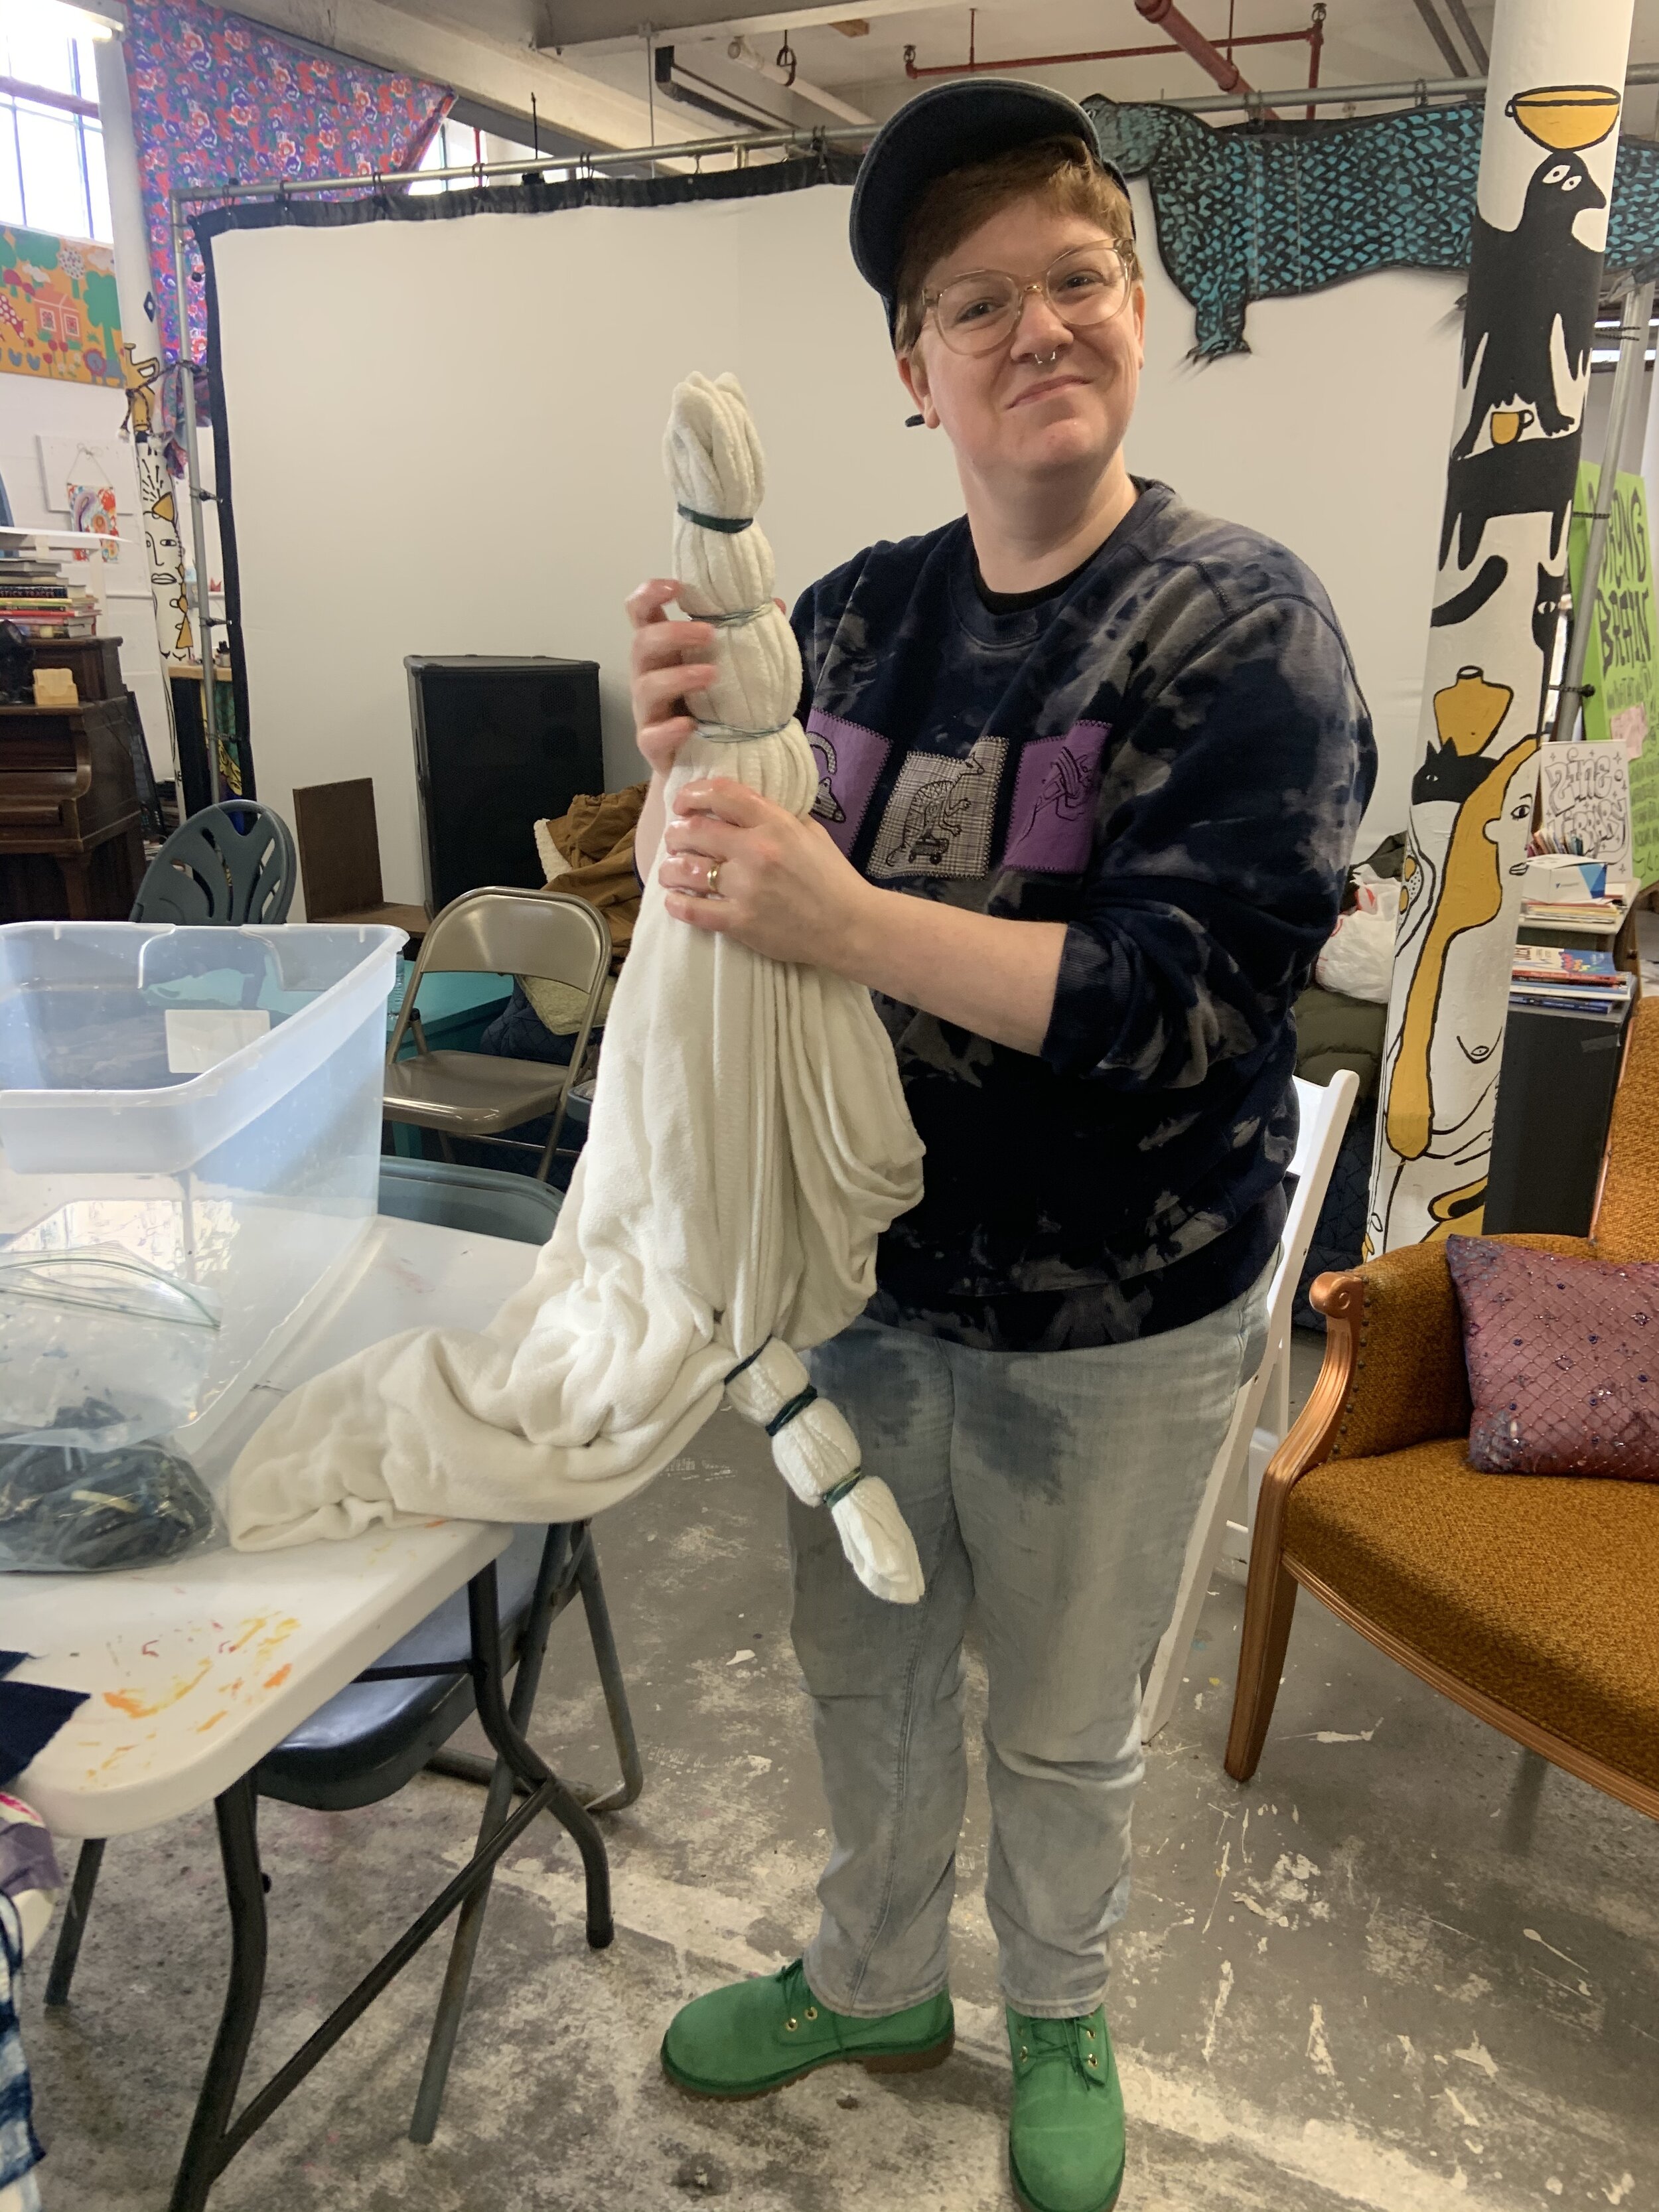
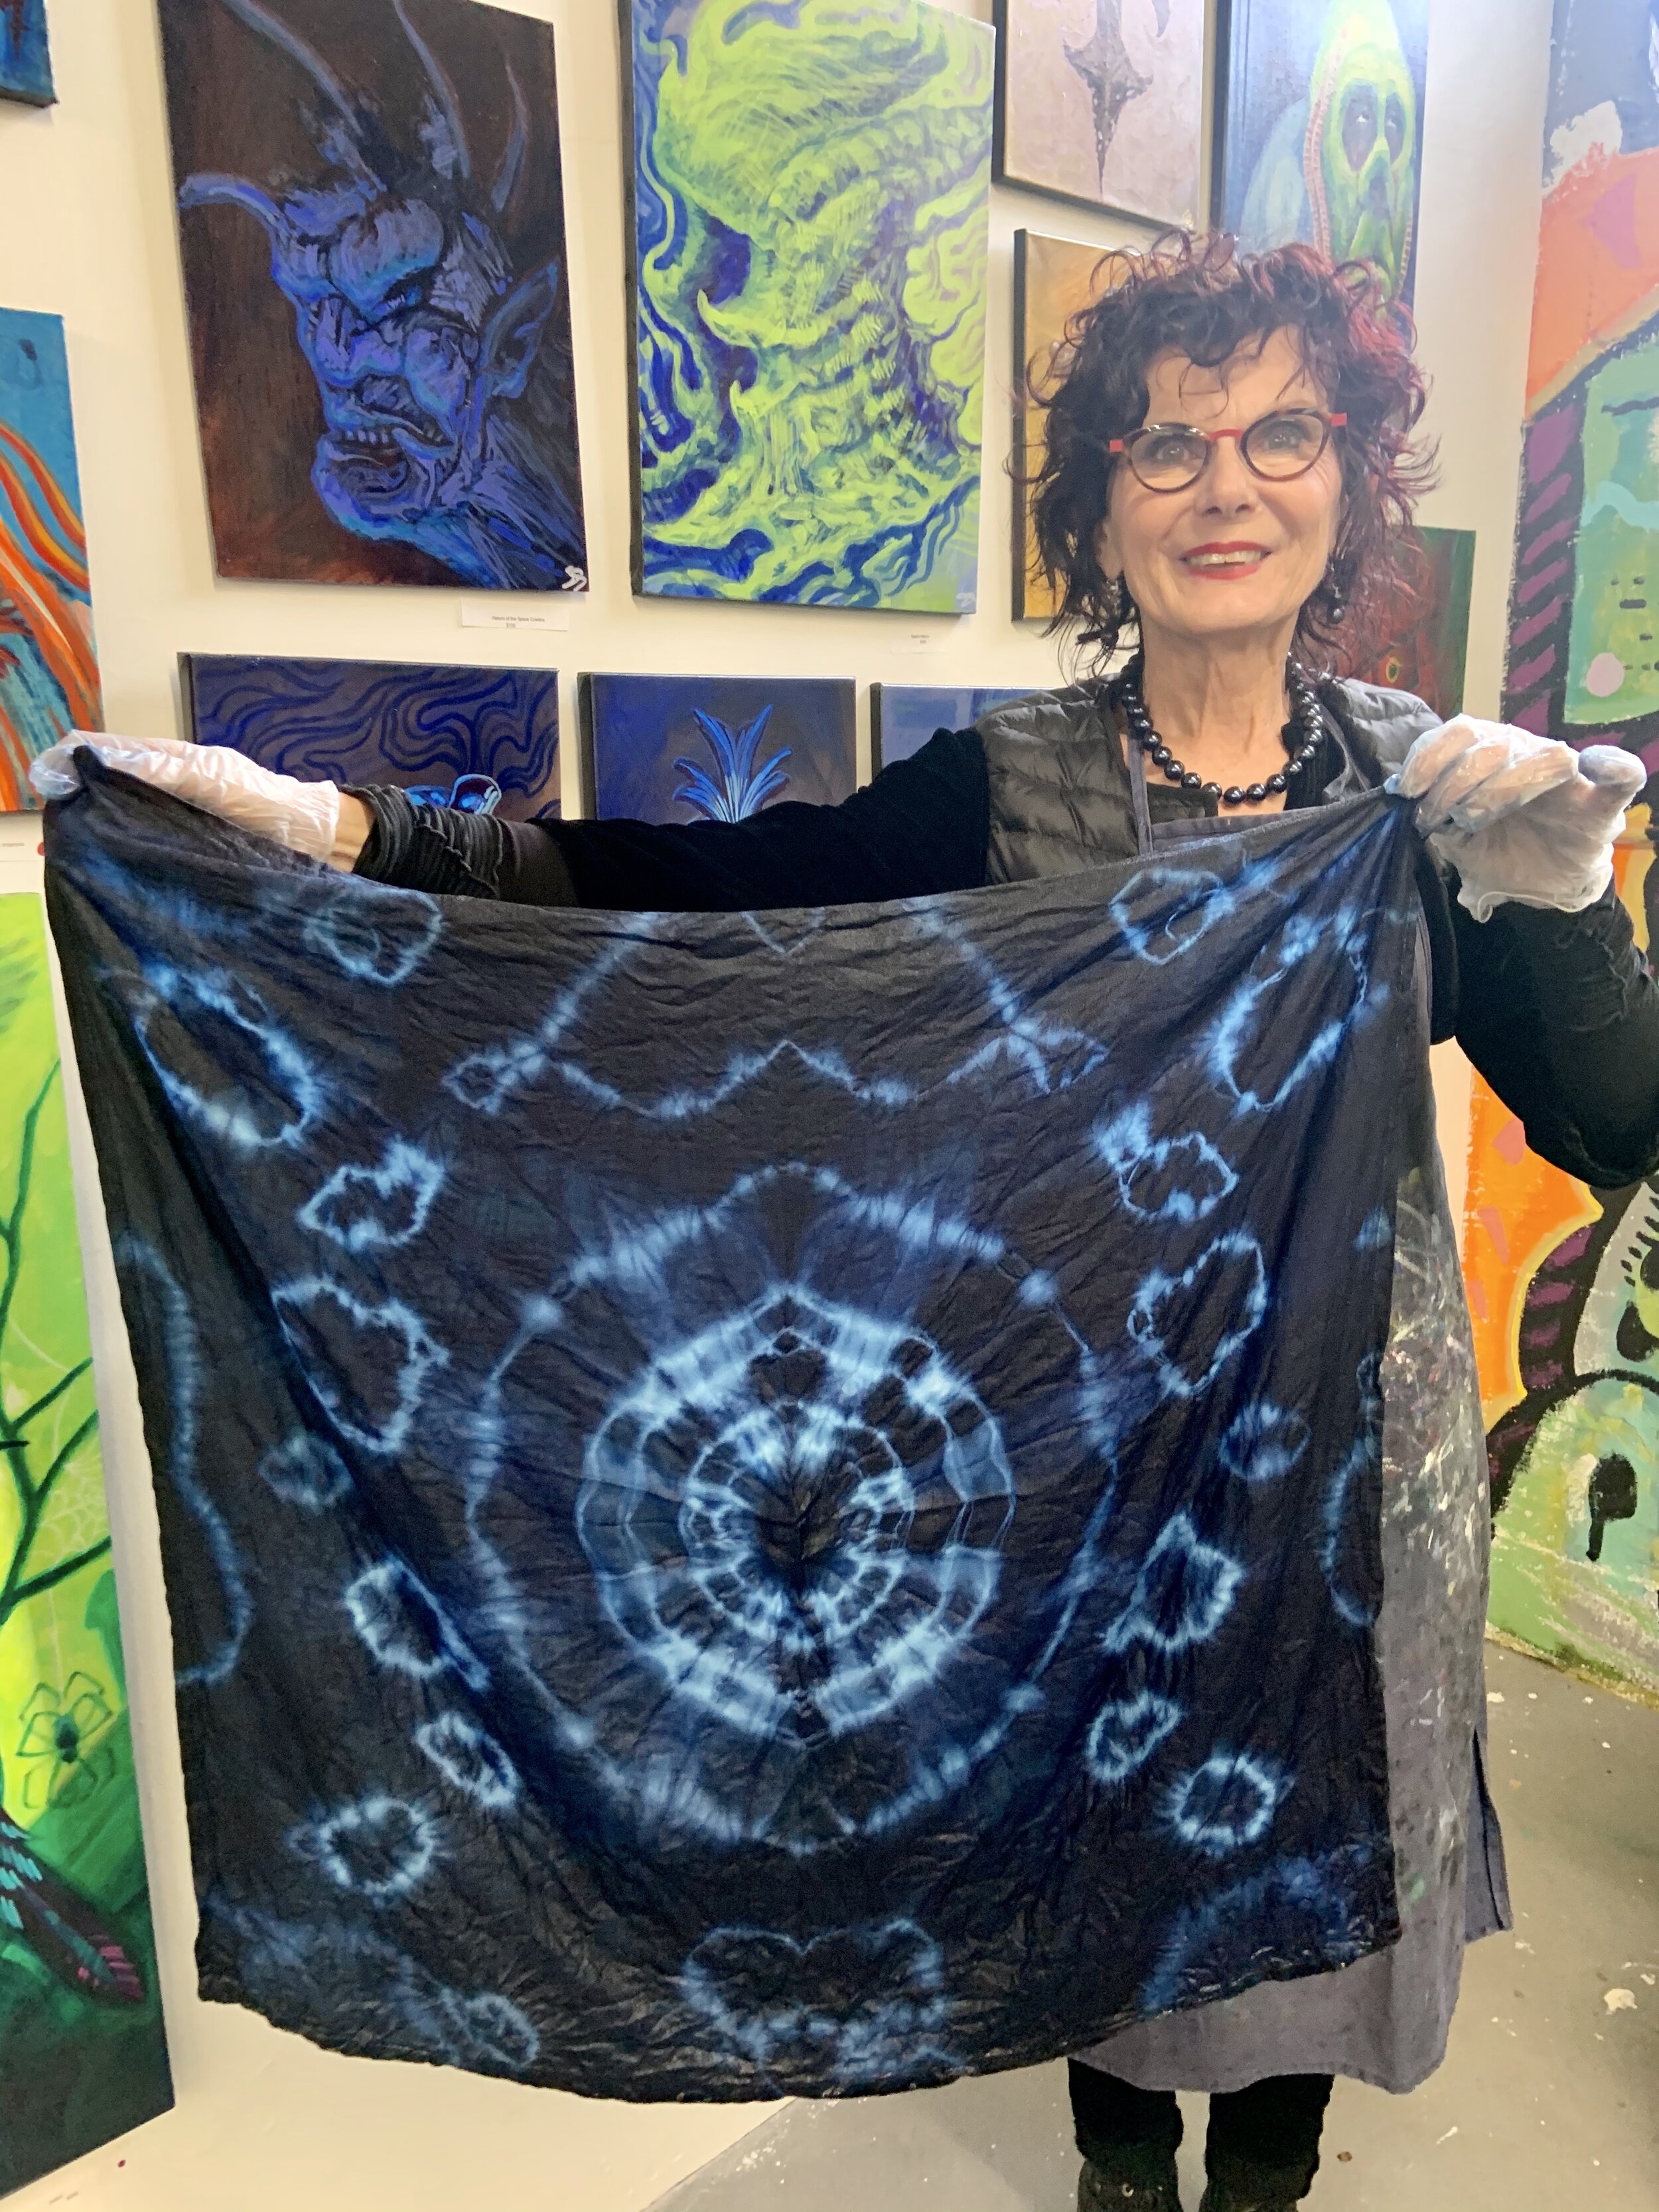
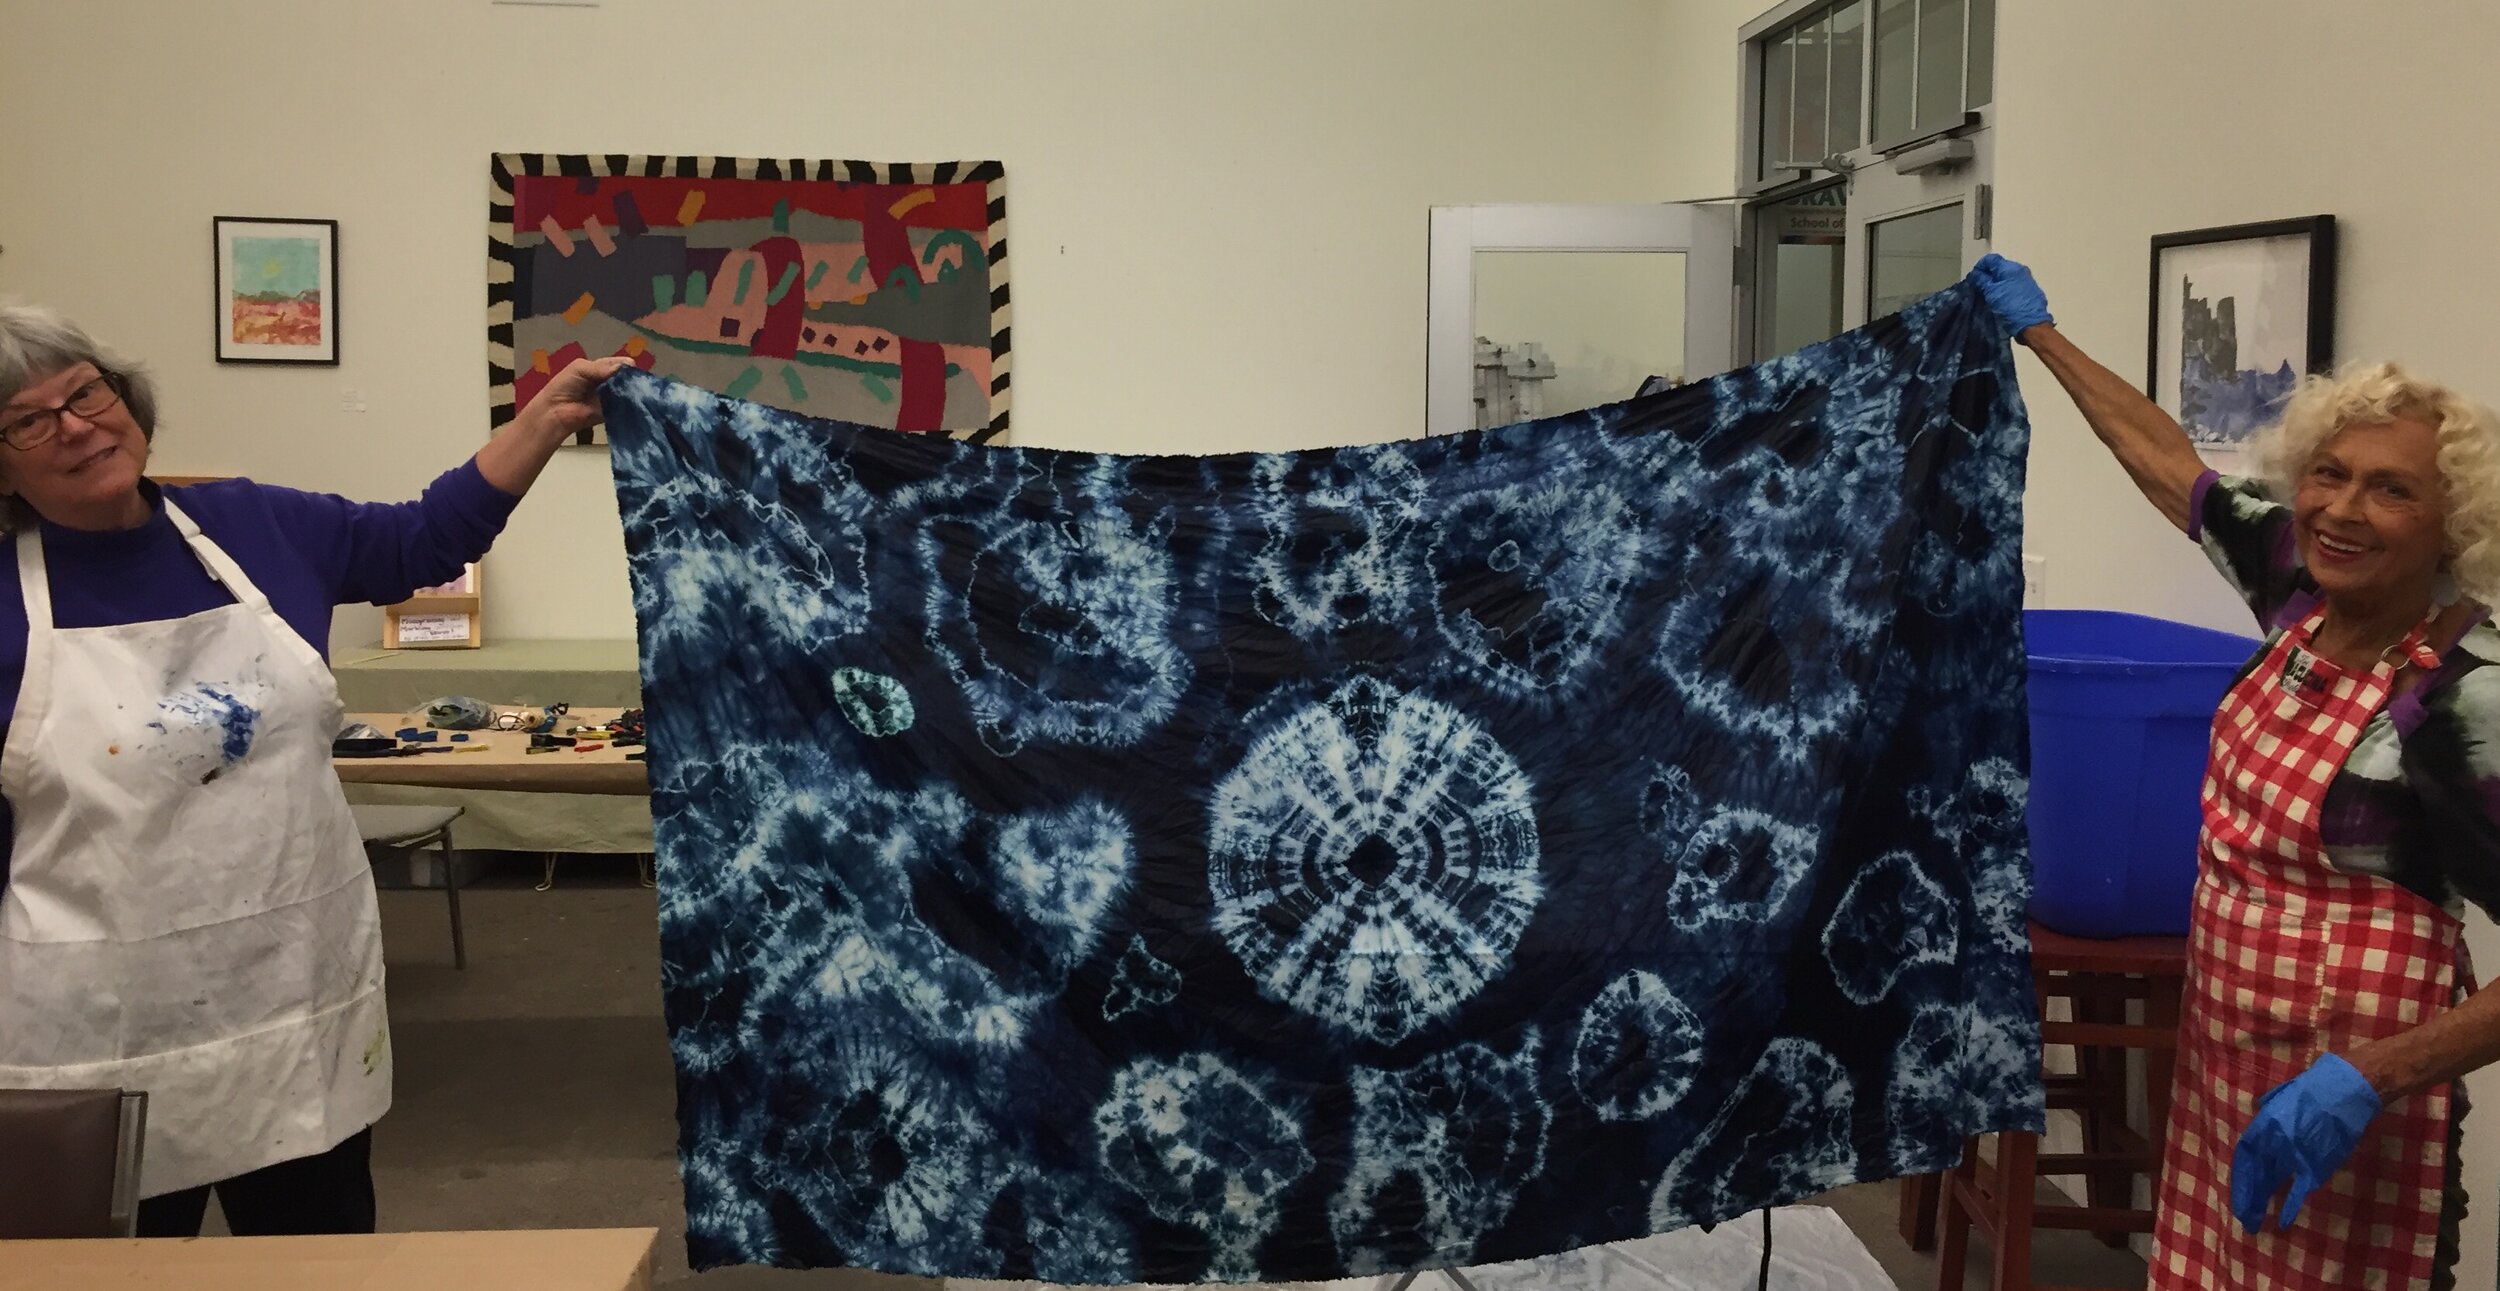
Looking to try Indigo dyeing? Or maybe you love it and want a new way to practice shibori, the ancient Japanese art of folding textiles. Shibori translates as “ to wring, press, or squeeze” it is the active way of manipulating textiles to achieve the light/dark contrast and patterns when dyeing textiles. Here is a photo tutorial of a fun Itajima pattern, notice the reflection of the pattern? That is from folding the textile in halves, this pattern works best with a square.
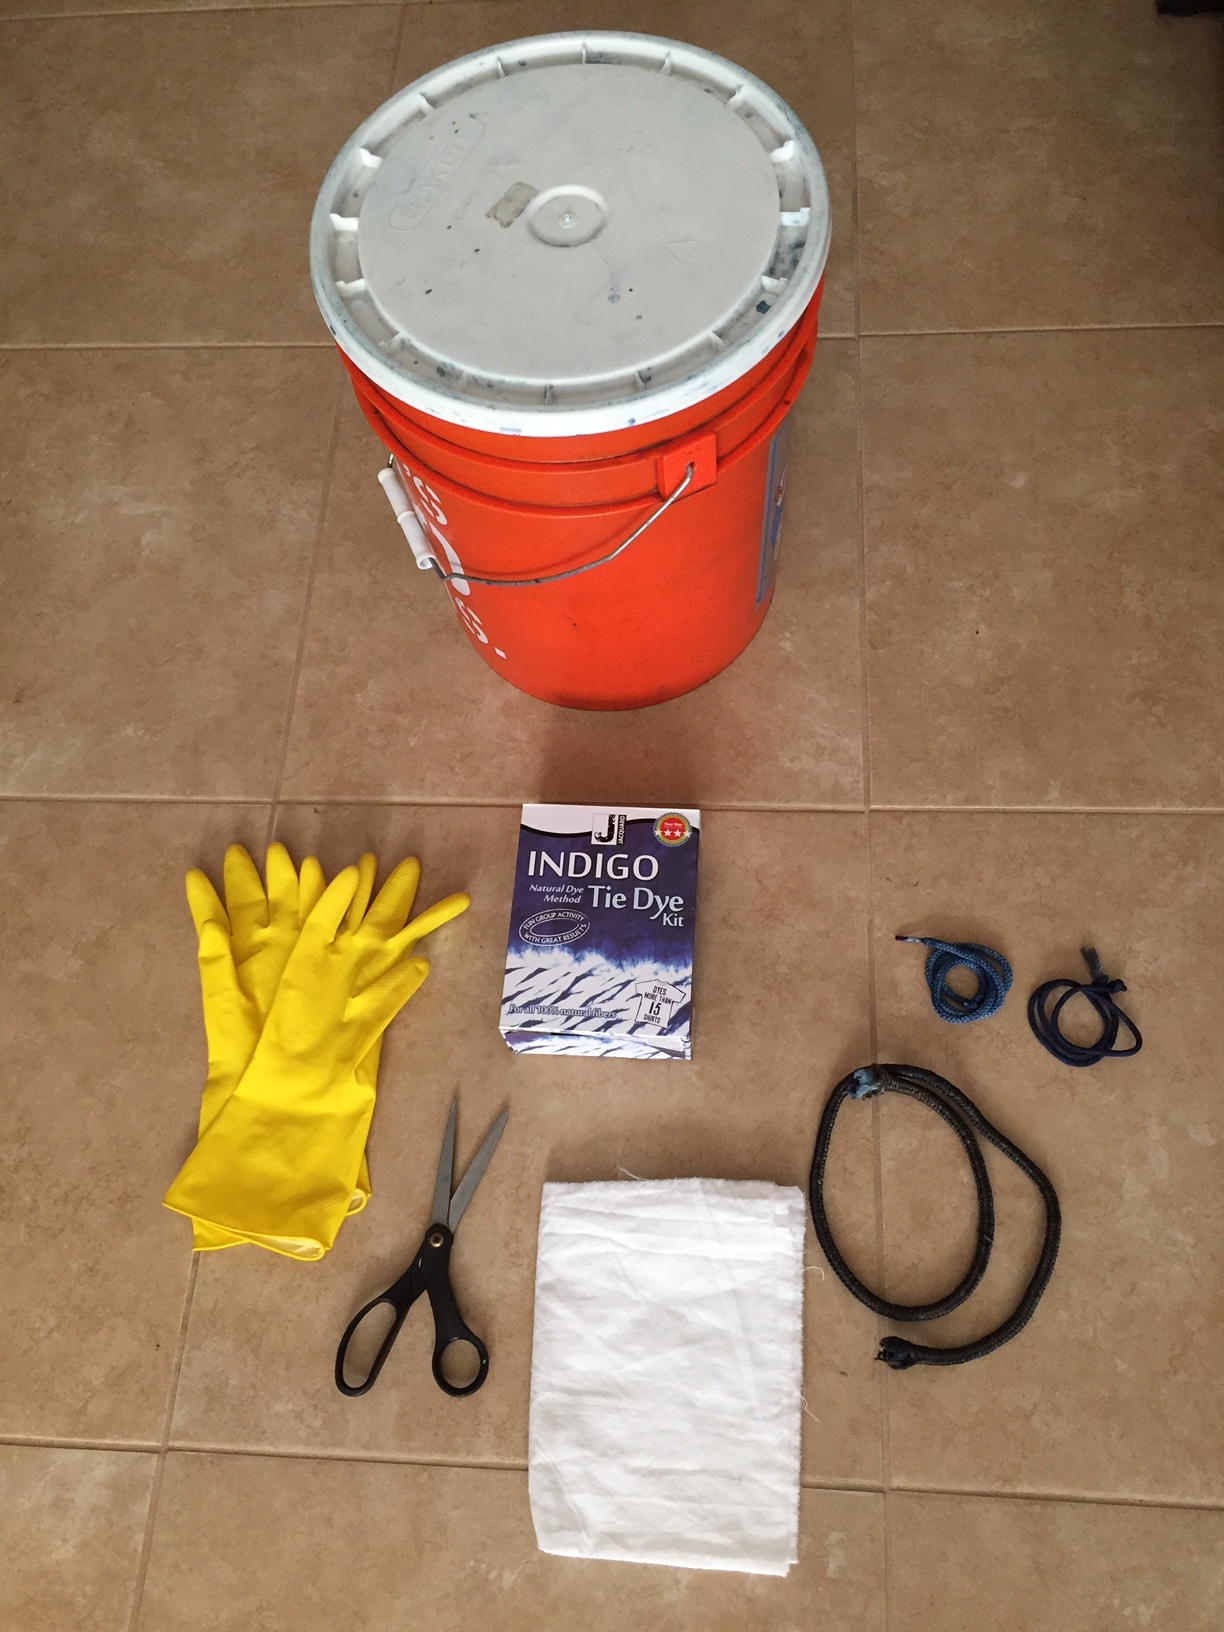
Step one: Collect supplies needed
5 gallon bucket and lid from hardware store, or some type of large dye vat capable of holding around 4-5 gallons of liquid, you will also want a lid
Natural fiber textiles, meaning cotton, hemp, lenin, silk, bamboo, some rayon fabrics, I recommend Dharma Trading Company or supporting your local fabric store. You may want to wash the fabric first in the washing machine, to remove dust and sizing.
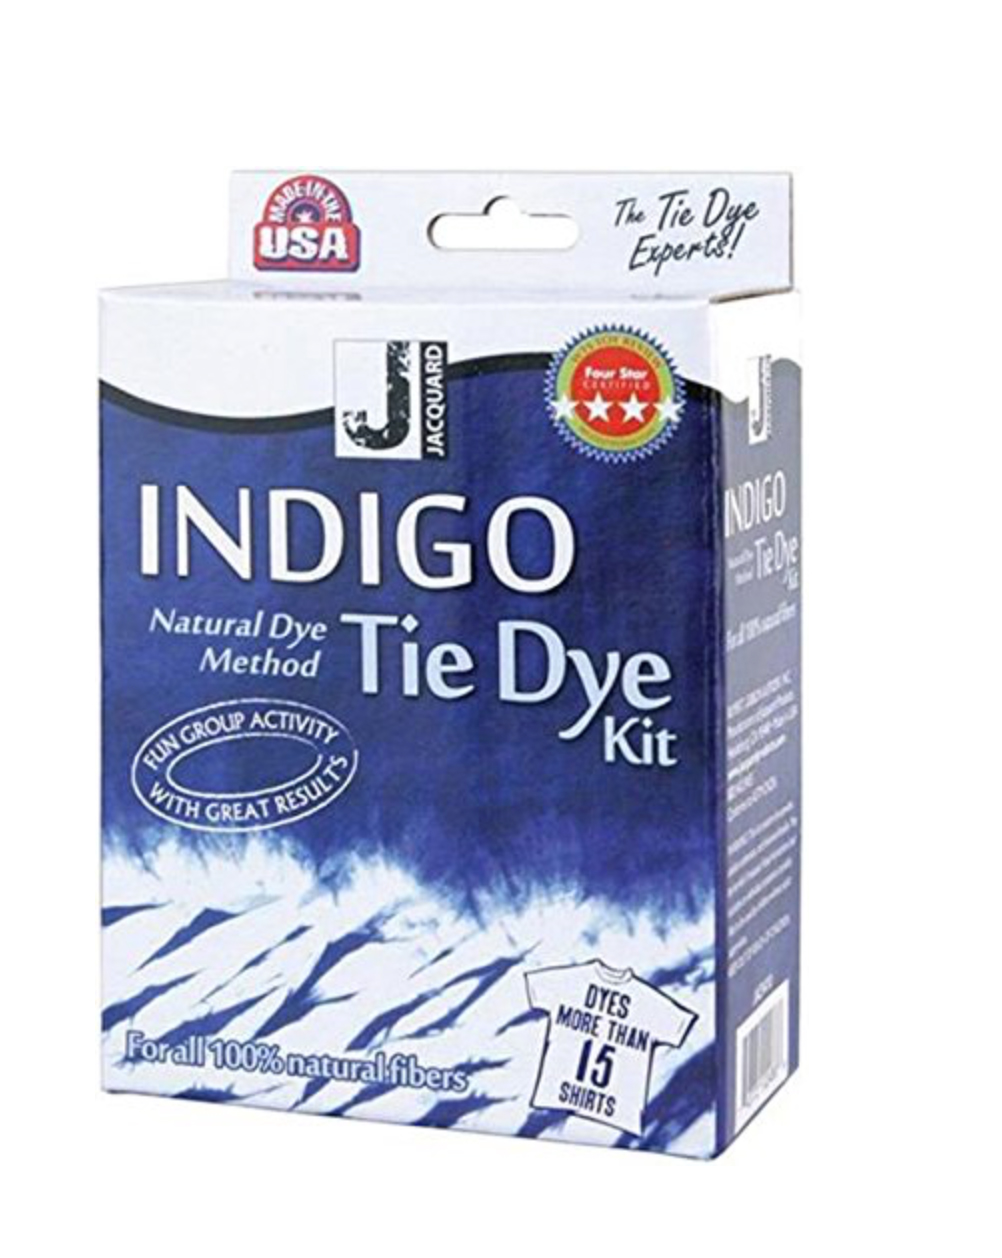
Indigo dye kit from Jacquard which can be purchased on Amazon, Dharma Trading CO, or sometimes I find them at my local Arts Store, shout out to Artist&Craftsman! see photo above for a great photo. This kit contains a small starter pack for indigo dyeing designed for a 5 gallon dye vat. You will also want a great pair of utility or dish gloves that you don't mind turning blue, wooden blocks- you can buy these or ask a friend doing some carpentry projects for their scraps, plastic clamps from the hardware store, and possibly some rubber bands (these come in the dye kit)
Some kind of tray, it could be plastic or metal, or another bucket. You will lay the pieces out to oxidize in the air and excess liquid will run off the bound fiber and drip everywhere. I frequently use metal baking pans, the kind people cook turkeys in =)
In this tutorial I dyed a tea towel, purchased on Amazon, I use these all the time and love them!
The dye kit has amazing instructions to follow, but here are some tips and some general guidance for this pattern.
Step two: Design Pattern
* As you can see there are lots of photos documenting this step, but it is easy, especially after trying this a few times. Important things to note:
This design works best from a square. As you can see, I did not iron my fabric for this one, but you may want to- depending on how small you want to accordion fold your fabric, or the type of fabric, I usually always iron silk because it is slippery, cotton like these, holds well.
Anytime you fold a fabric in half, the pattern will be reflected on the other side. One side of the fabric will be a darker shade of blue because it is the side most exposed to the air **remember the fabric that is showing and not covered by ropes, rubberbands, wood, folded in, etc. will be the darkest blue shades because that part oxidizes the most with the air. If you want to have an even color of blue throughout the whole textile, you should dip the fabric two or three times, then unfold the fabric, let it oxidize, refold the fabric following the same fold carefully, this time place the outside darkest blue folds on the inside, so essentially you fold up the fabric in the other direction, then dip two to three times and it should have an even color throughout.
You can accordion fold the fabric any width you would like and you can also change the direction of the accordion fold, I started the fold from a diamond shape. There are some examples below, the possibilities are endless!
Place one wood block on either side of the folded fabric and clamp or tie it with rope or rubber bands tightly and evenly. Where the pressure is applied the least amount of dye will penetrate the fiber.
Step Four: The dyeing process
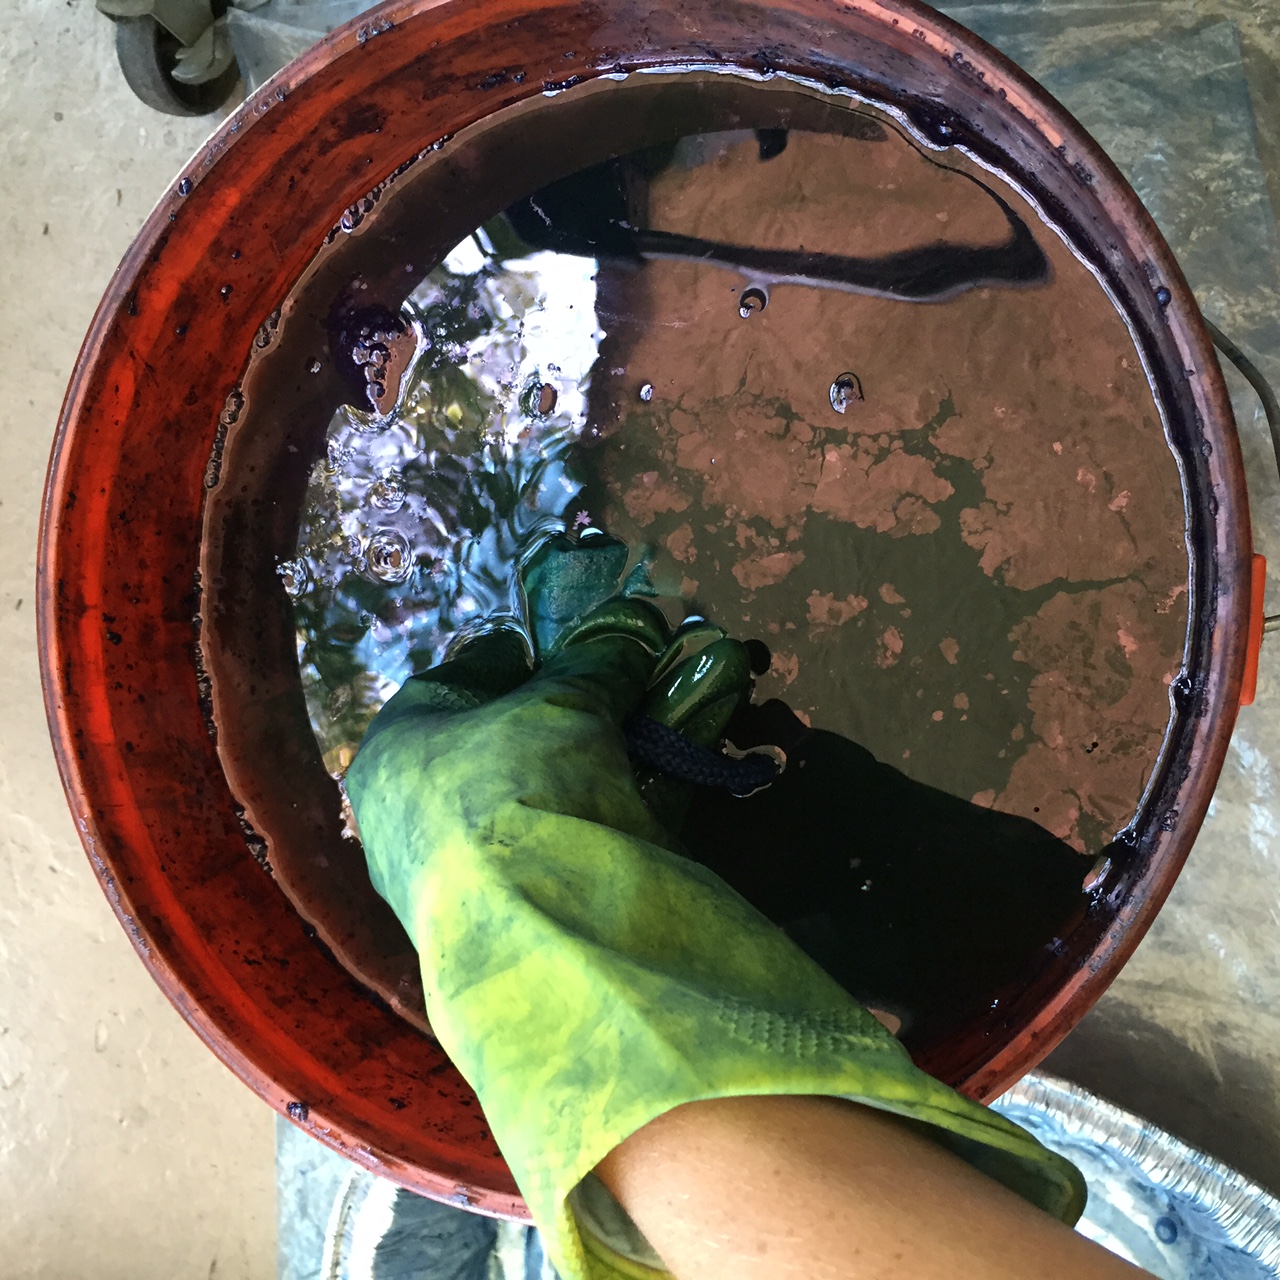
* Indigo has a very unique dyeing process, because it is a natural dye, there is a chemical reaction involved with the oxygen in the air, which turns the fabric blue. You obtain darker richer shades of blue by continually dipping the fabric in the vat and letting it oxidize over time and then redipping. There are excellent instructions in the dye kit. Keep in mind that it is possible to dye fabrics over several days, leaving your fabrics out and the dye vat covered. However, the dye will be strongest the first few days.
* You might want to do this outside, on a patio, or in a local park. If you do this inside you will want to have lots of plastic sheeting underneath for stray splashes and drips that always happen. Also you might want some type of storage container to rest your piece in as it oxidizes, something to catch all the excess dye.
* Also it is important to flip your pieces over as they oxidize, you will see they are green/teal where the air is not getting to the fabric. After 15-20 minutes dip again
* What I tell my students all the time, is the most deceiving thing about this process is how dark blue the fabric looks when you are in the middle of dyeing the fabric, but this is because the fabric hasn't been washed/rinsed and dried. After the fabric dries it will be much lighter than you realize. Therefore, it is important to have patience with this process and dip the fabric as much as you can. (The dips are only 2-5 minutes, the time in between can be 15+ minutes) Sometimes I set this up and dip fabrics throughout the day or over a few days. The dye will be strongest the first day you make it, so be ready to dye when you make the vat. It will last for a few days if you keep it covered and are gentle with the vat, not adding too much oxygen and bubbles. After your last dip, you can immediately open it, you do not need to wait 15 min for oxidizing on your last dip.
Step Five: The reveal
* Now for the most exciting part! The revealing! When you are sure you have dipped your fabric enough, I usually try to do 5-6 dips. Unclamp or unwind the wood pieces and unfold your fabric.
* As you can see in the photos below, the fabric will be that light teal/greenish color that we started out with, this is normal! The oxygen hasn't been able to penetrate this part of the fabric, overtime the whole fabric will oxidize and the piece will change right before your eyes!
* Keep in mind the white will stay white, the teal will turn lighter blue, the already oxidized blue will be the darkest part.
* Hang your fabric to oxidize and dry, when the whole piece is blue and white you can rinse the fabric in cool water until the water turns clean. Then you can hand wash with mild soap and more dye will come out again, wash and rinse until the water runs clear again, hang to dry and you are ready to wear your new garments or sew a new project!
Landscape pillows
Here are some striped abstracted landscape pillows inspired from places I have visited in the United States, a country of SO many different landscapes, this country is beautiful!! Get out there and check it out. These patterns are intended for larger scale items like these pillows below. The patterns are in my Spoonflower shop and are available for wallpaper, fabric, and gift wrap…
https://www.spoonflower.com/profiles/rousehousedesign
Mural Party at Wrong Brain, Dover New Hampshire
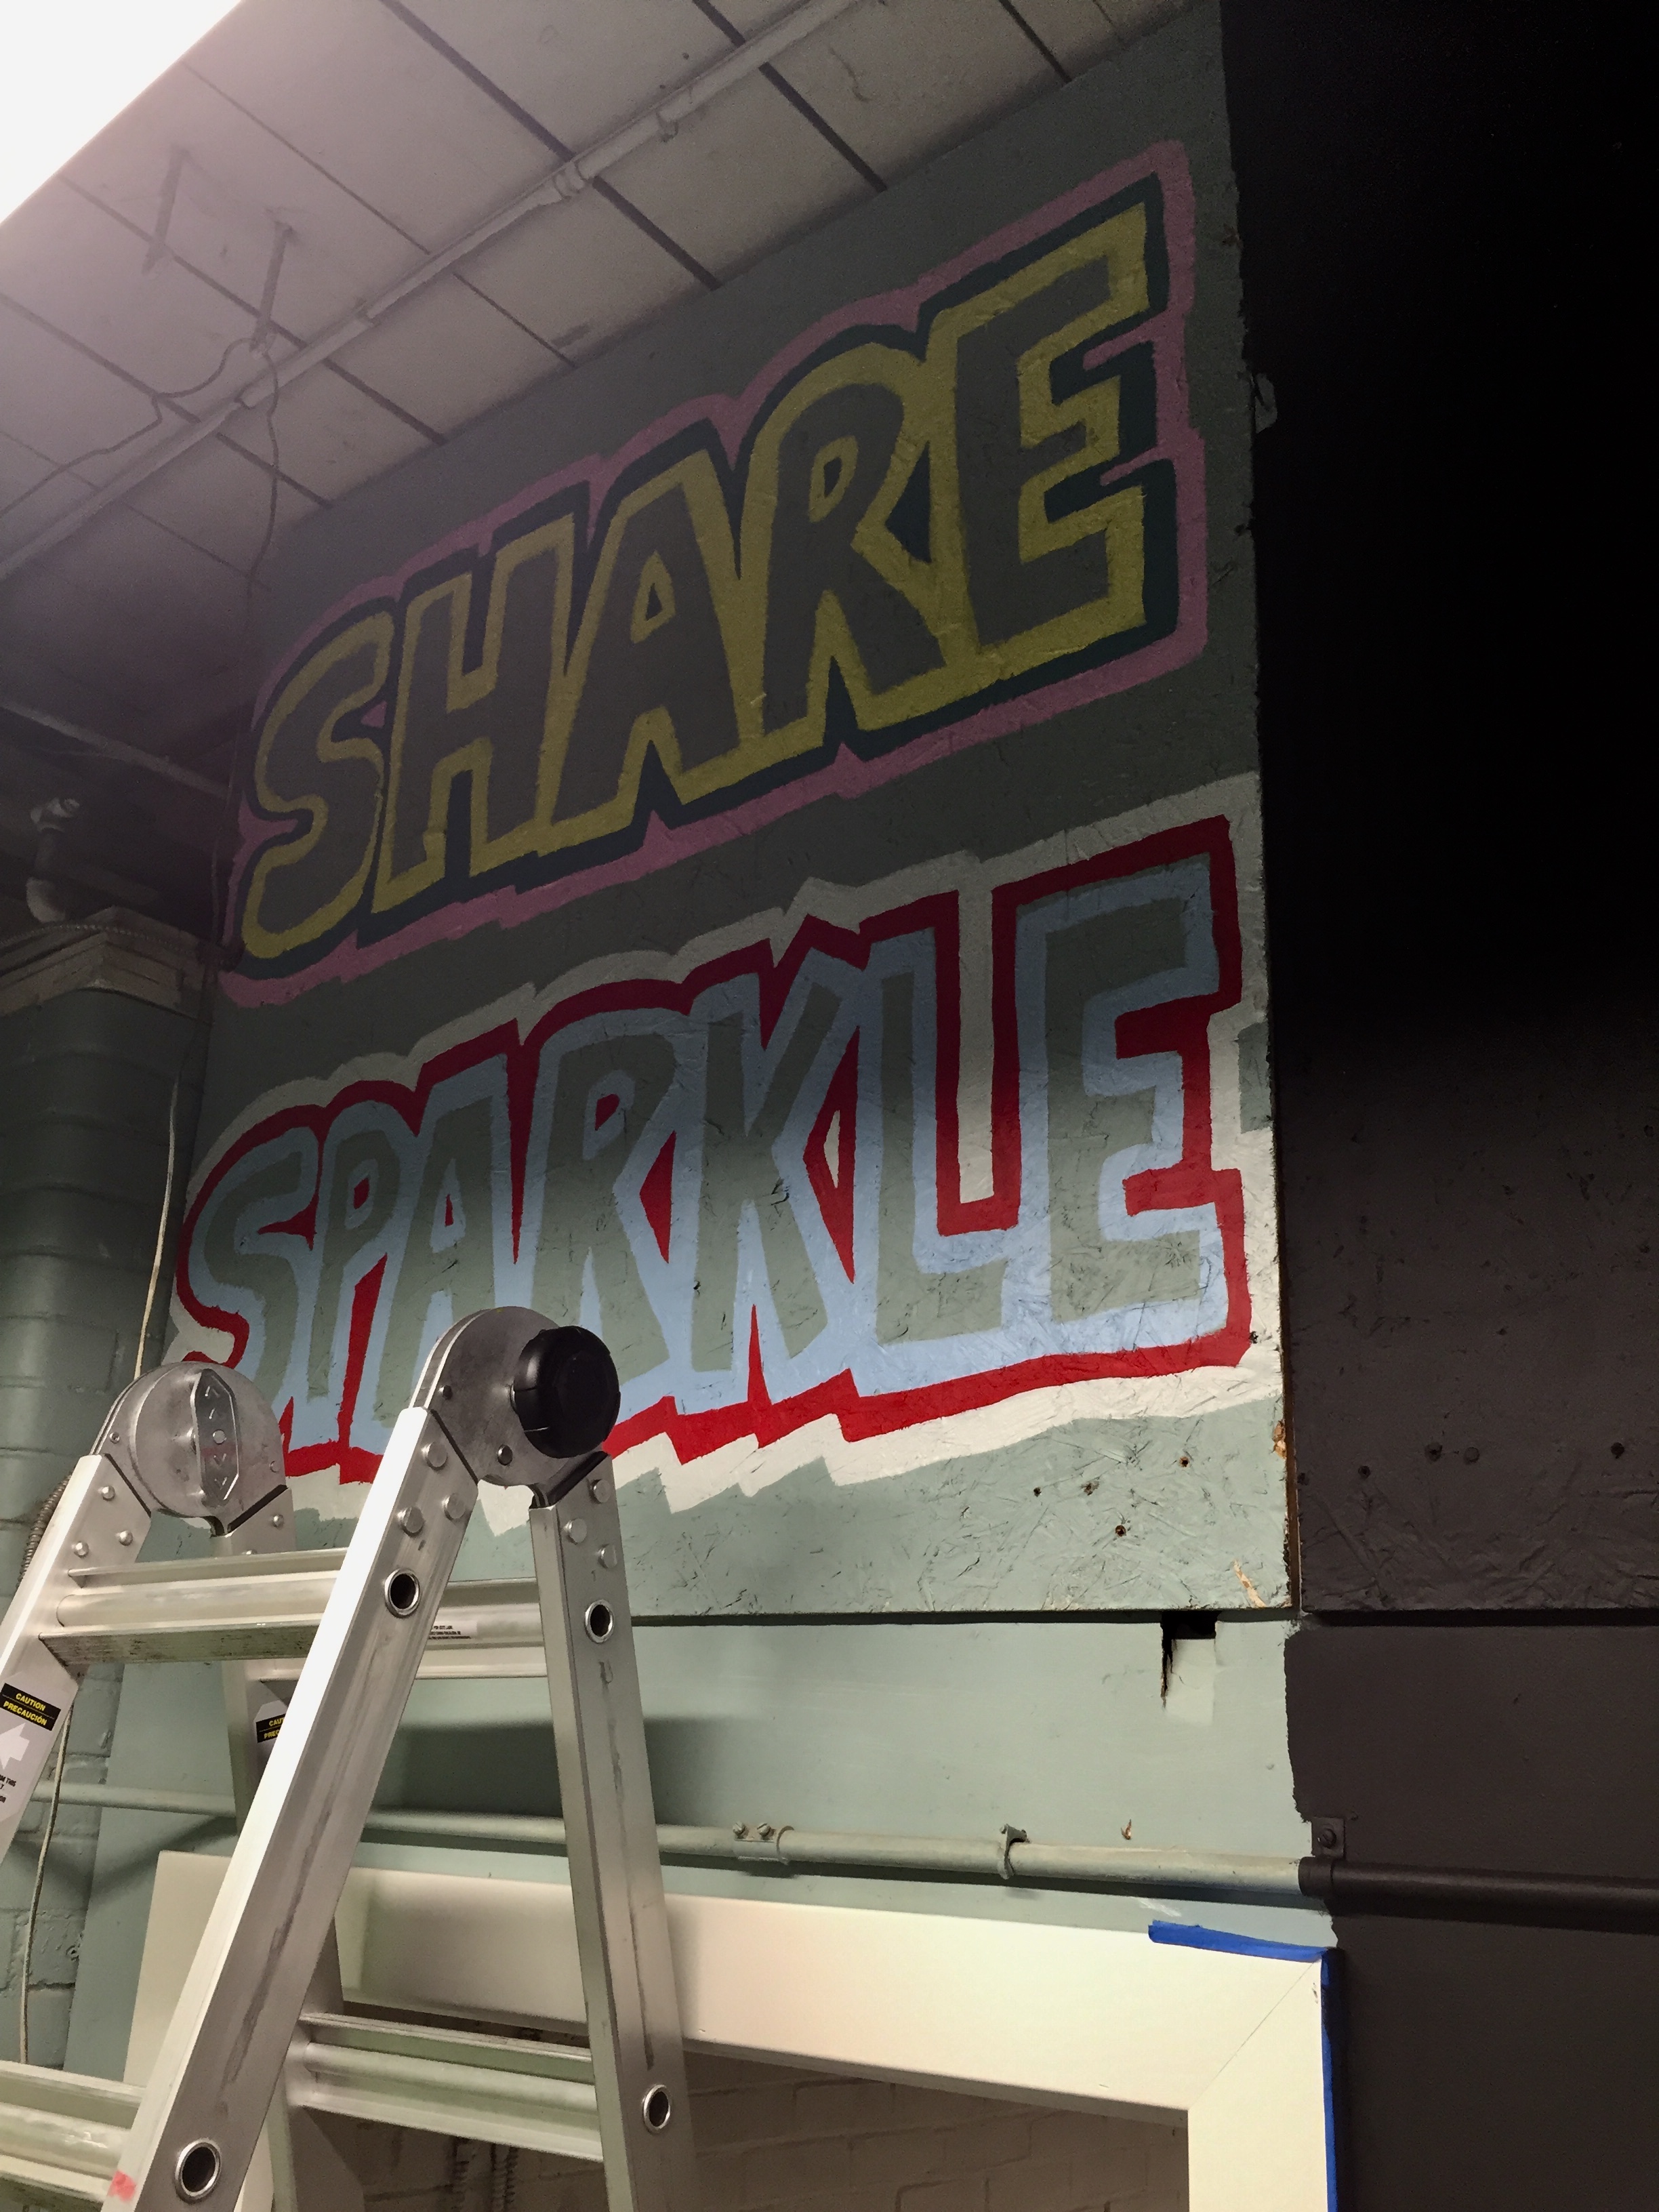
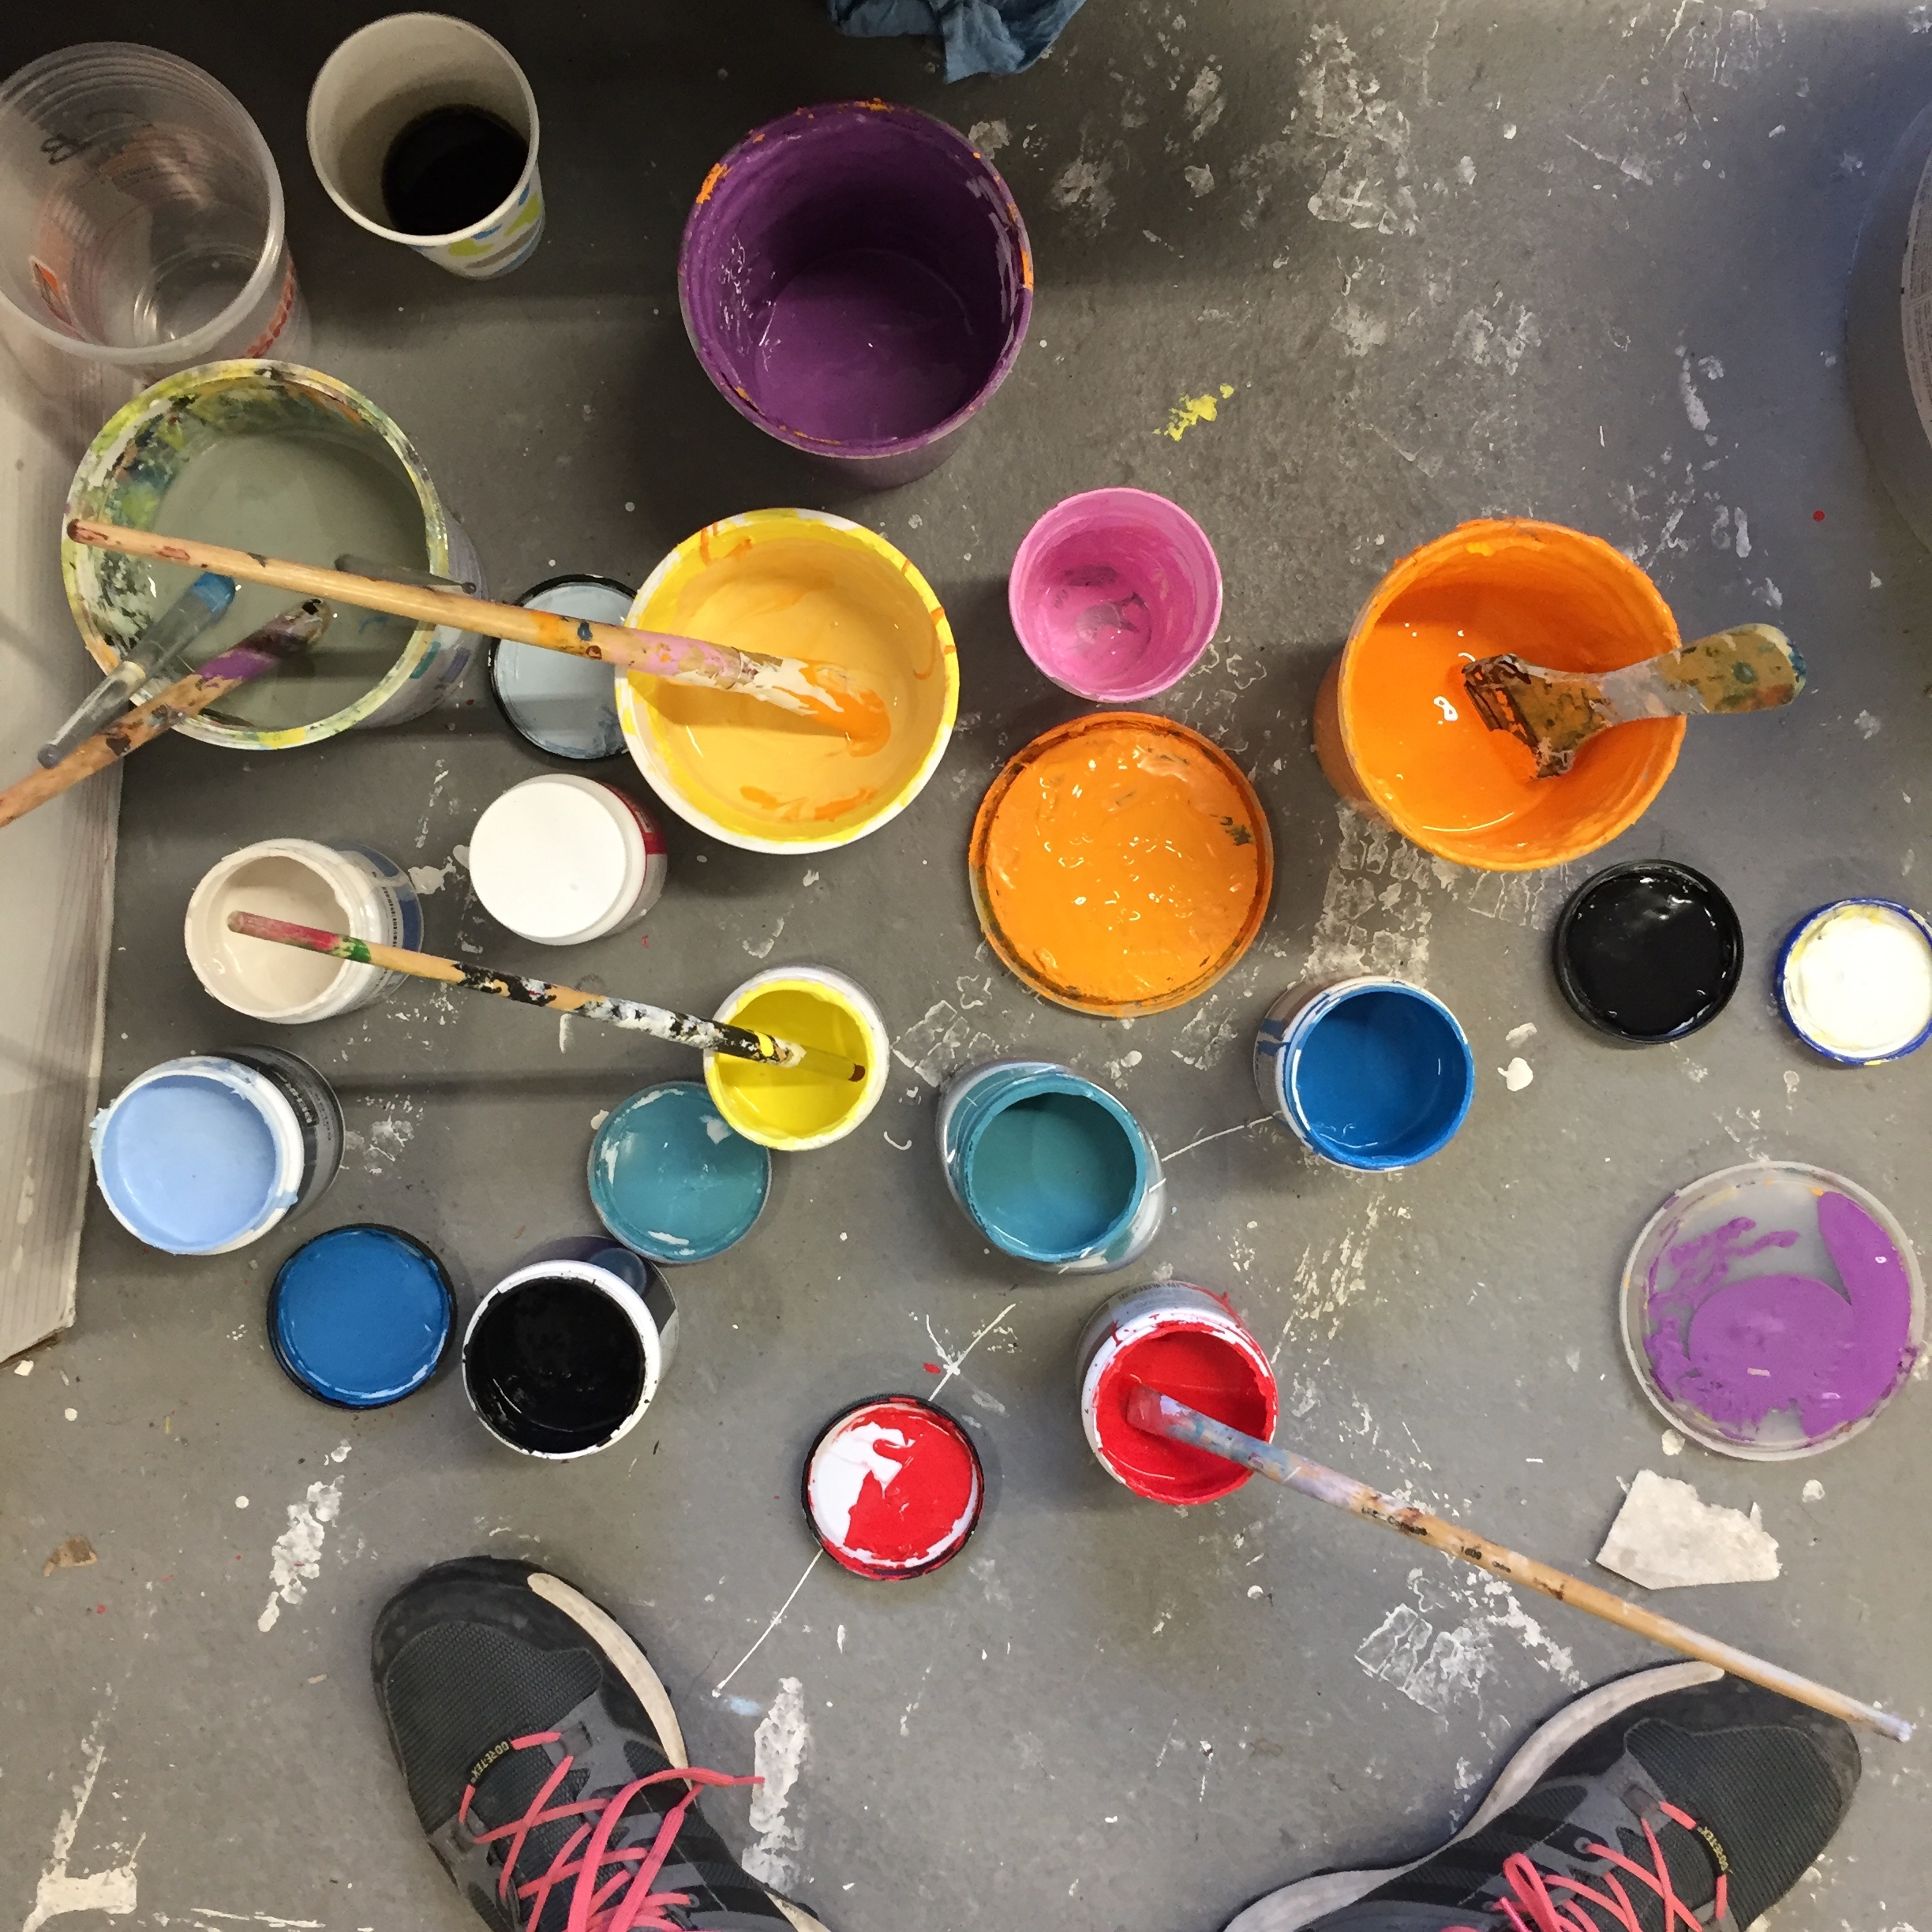
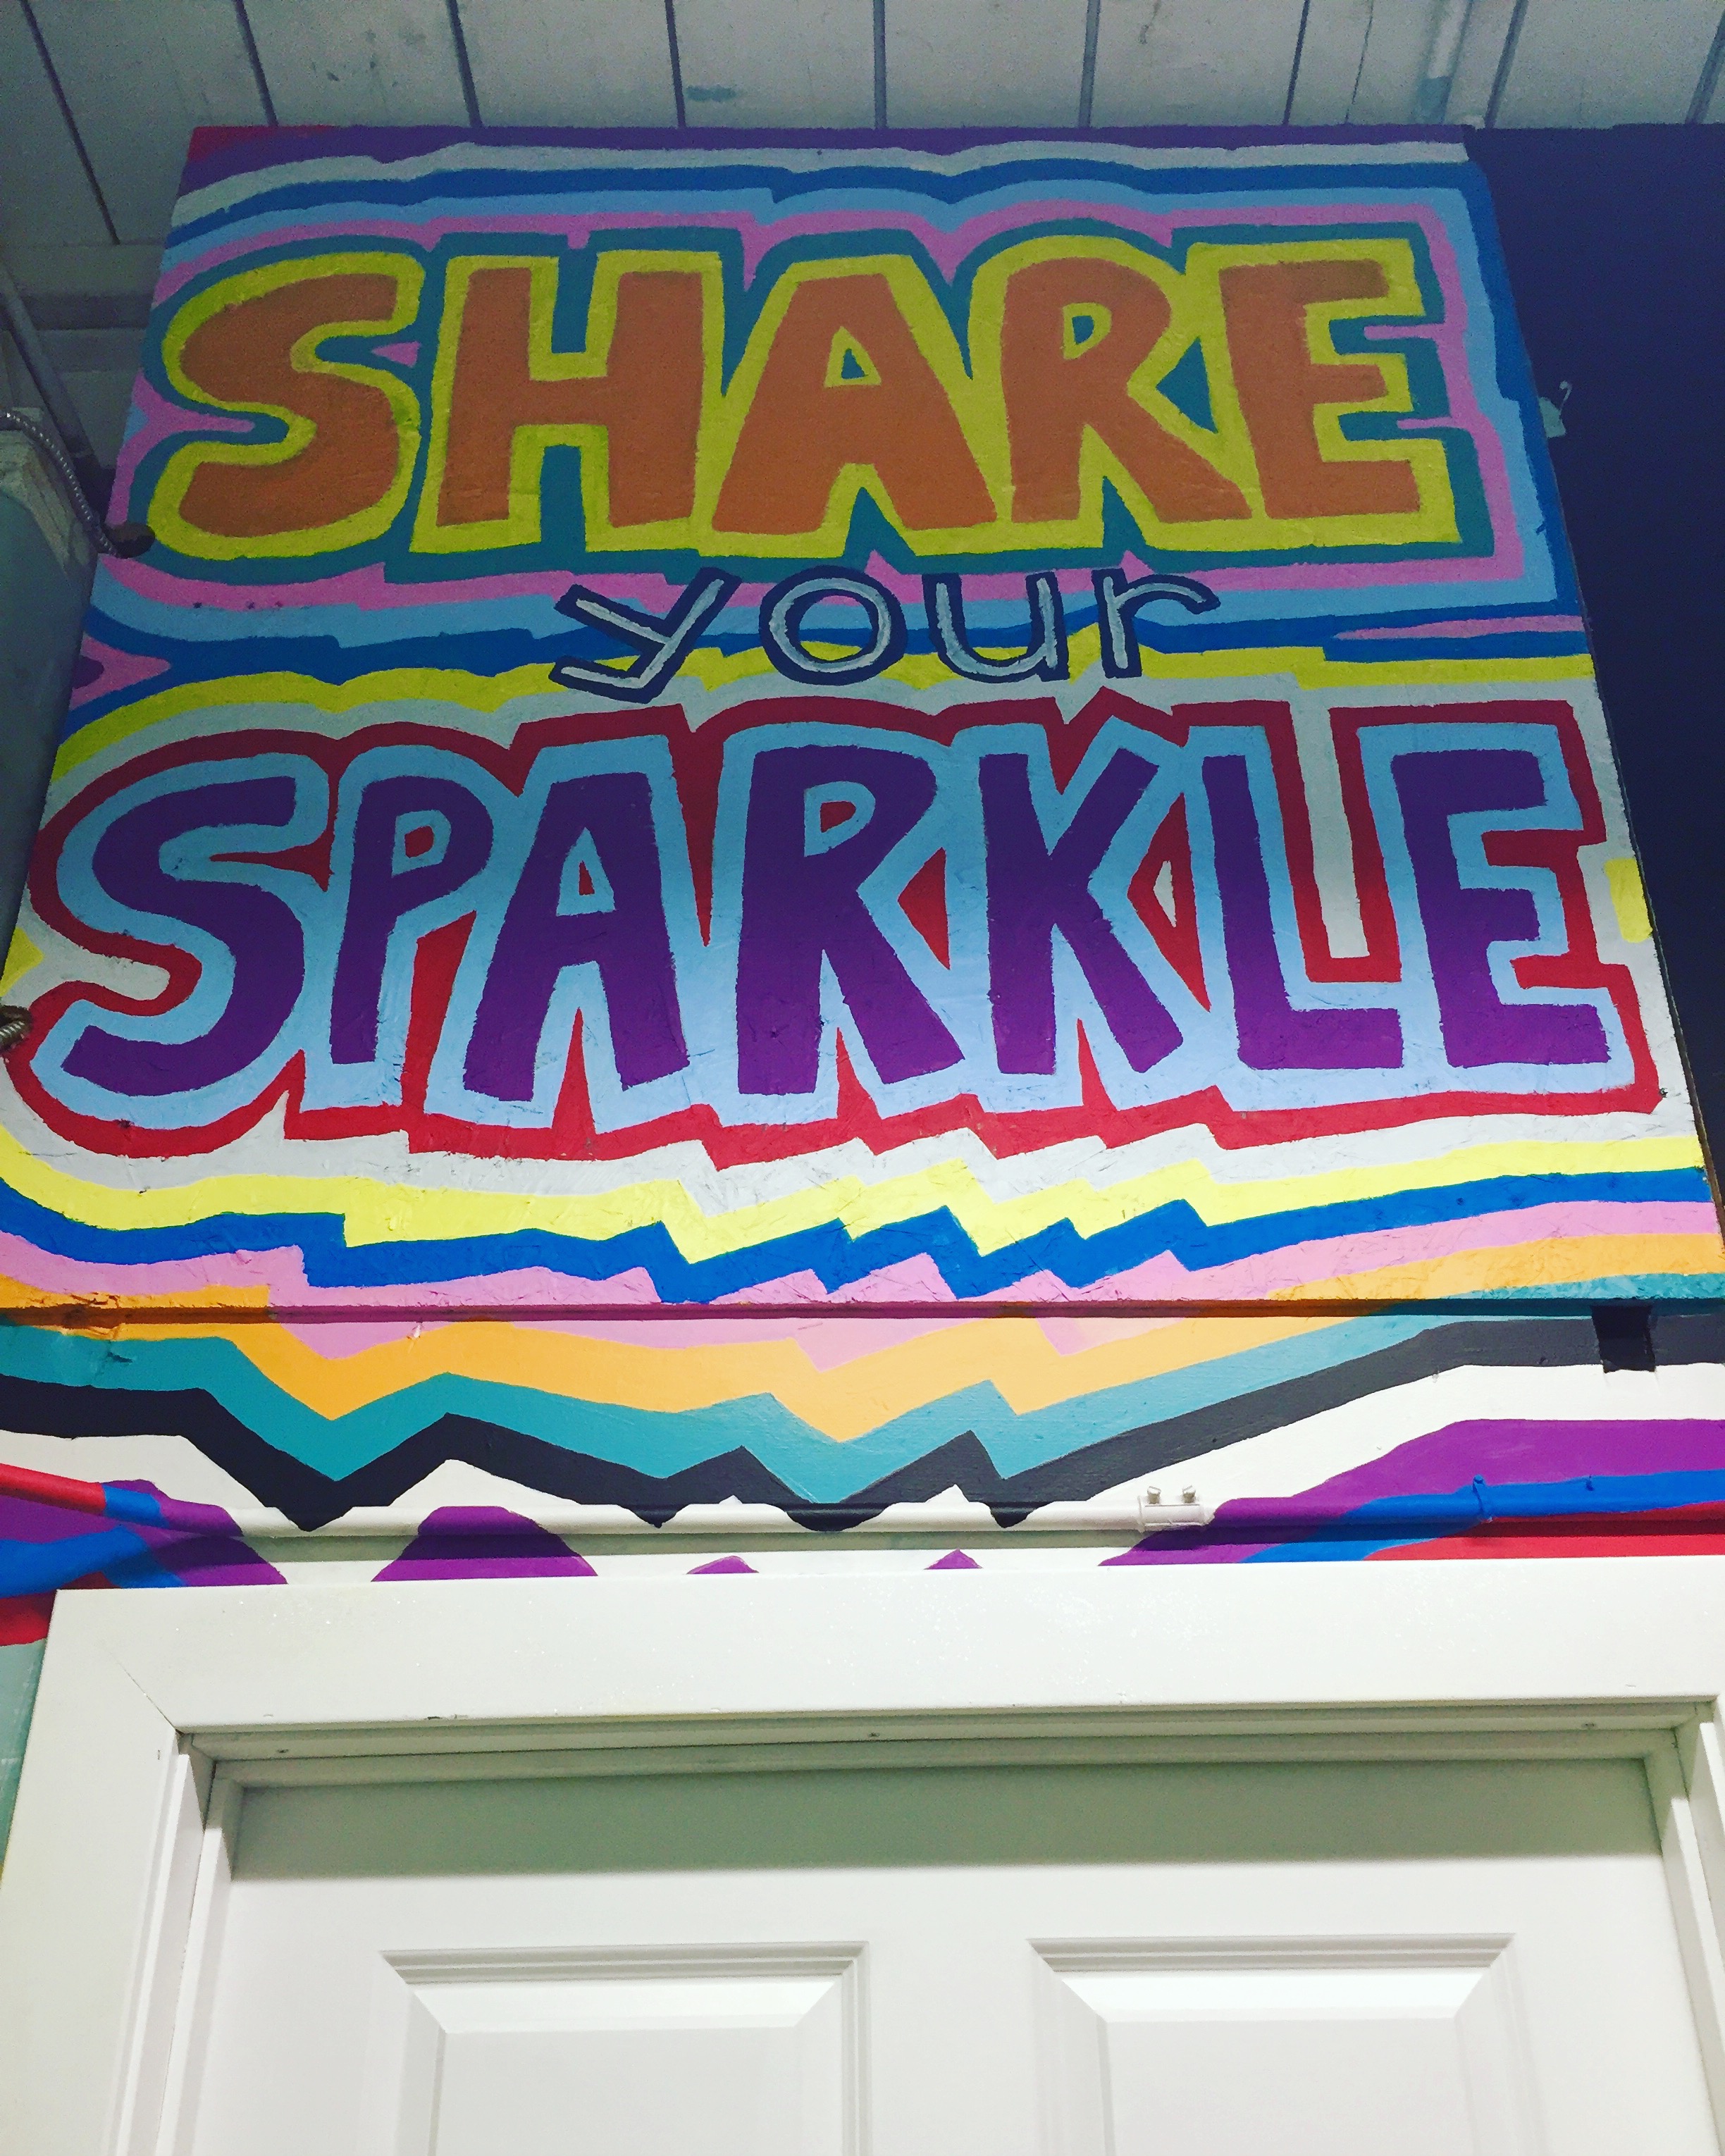
This month kicked off with a mural extravaganza at Wrong Brain’s new headquarters in Dover, New Hampshire. Artists from around New England came by to jazz up the space! My spot was over a doorway so I was inspired to write a positive message and paint the doorframe with a glitter Mod Podge (which doesn’t show up that well in photos) So go check it out and Share Your Sparkle today and everyday ;)
Indigo Baby
I hand dyed these adorable onesies this summer with natural indigo dye. At the time I didn’t know if I was having a boy or girl, turns out a boy is on the way anytime in the next week! Looking forward to this new adventure!!!
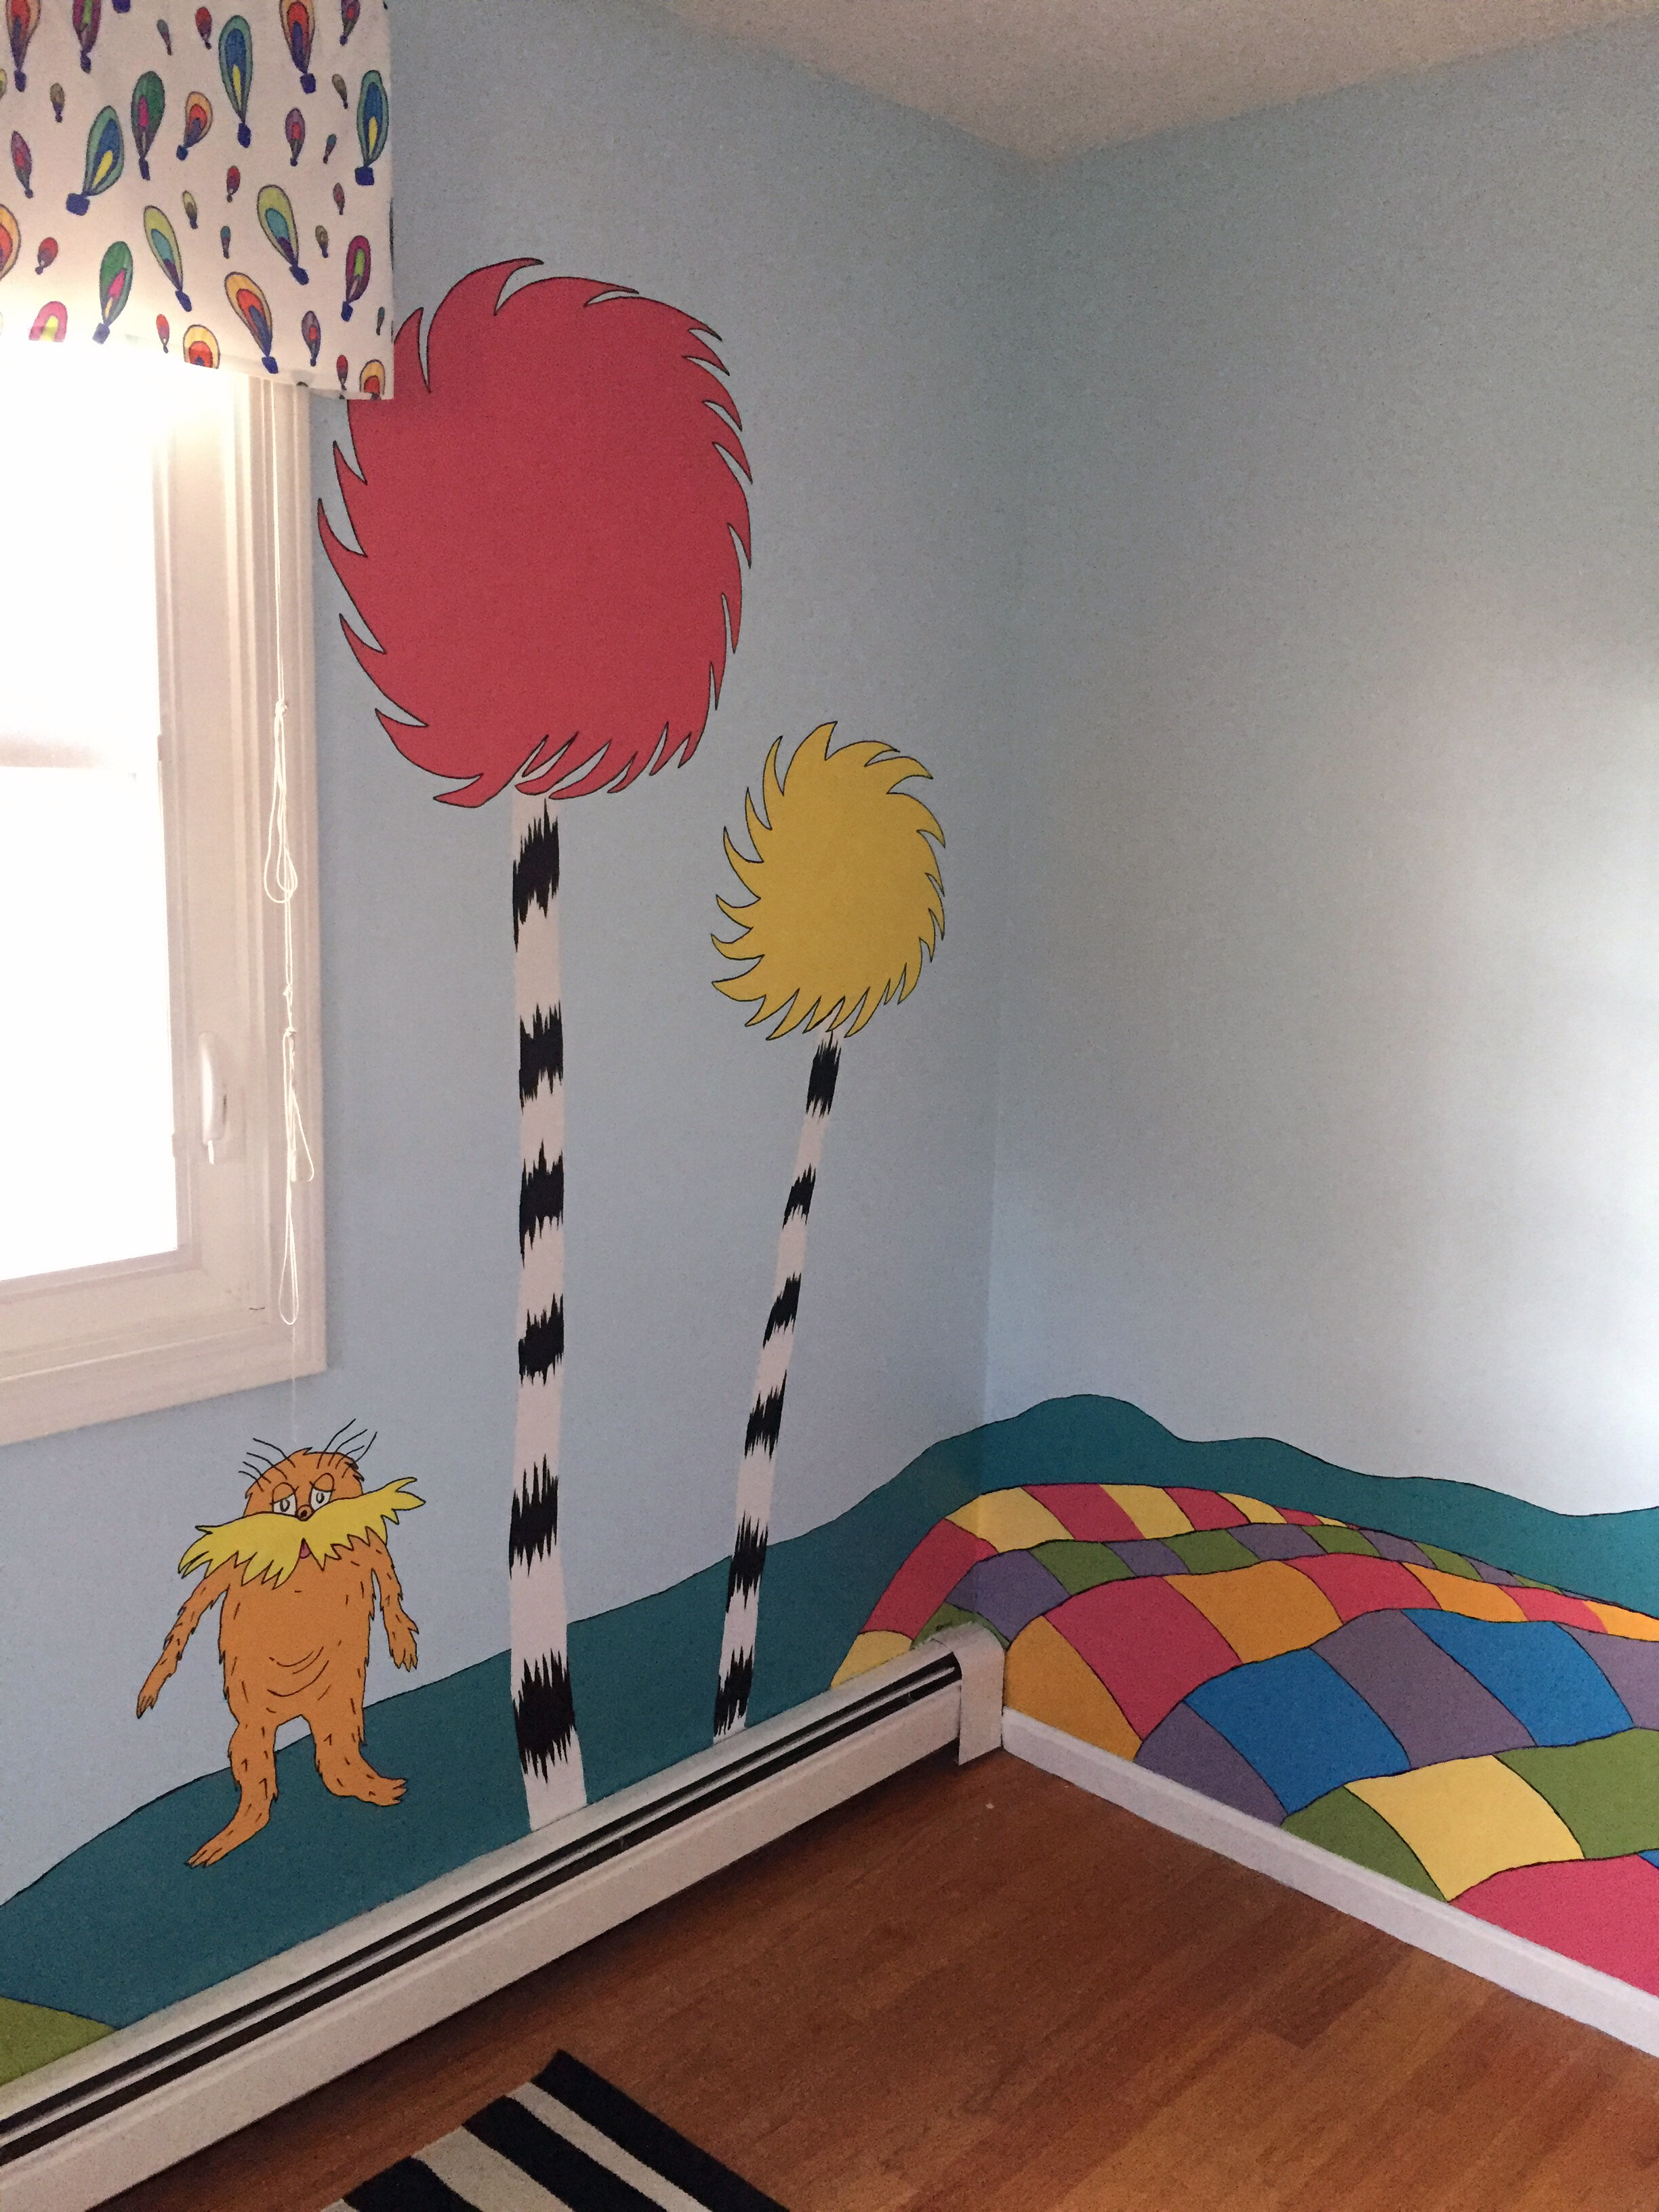
Dr Suess Mural
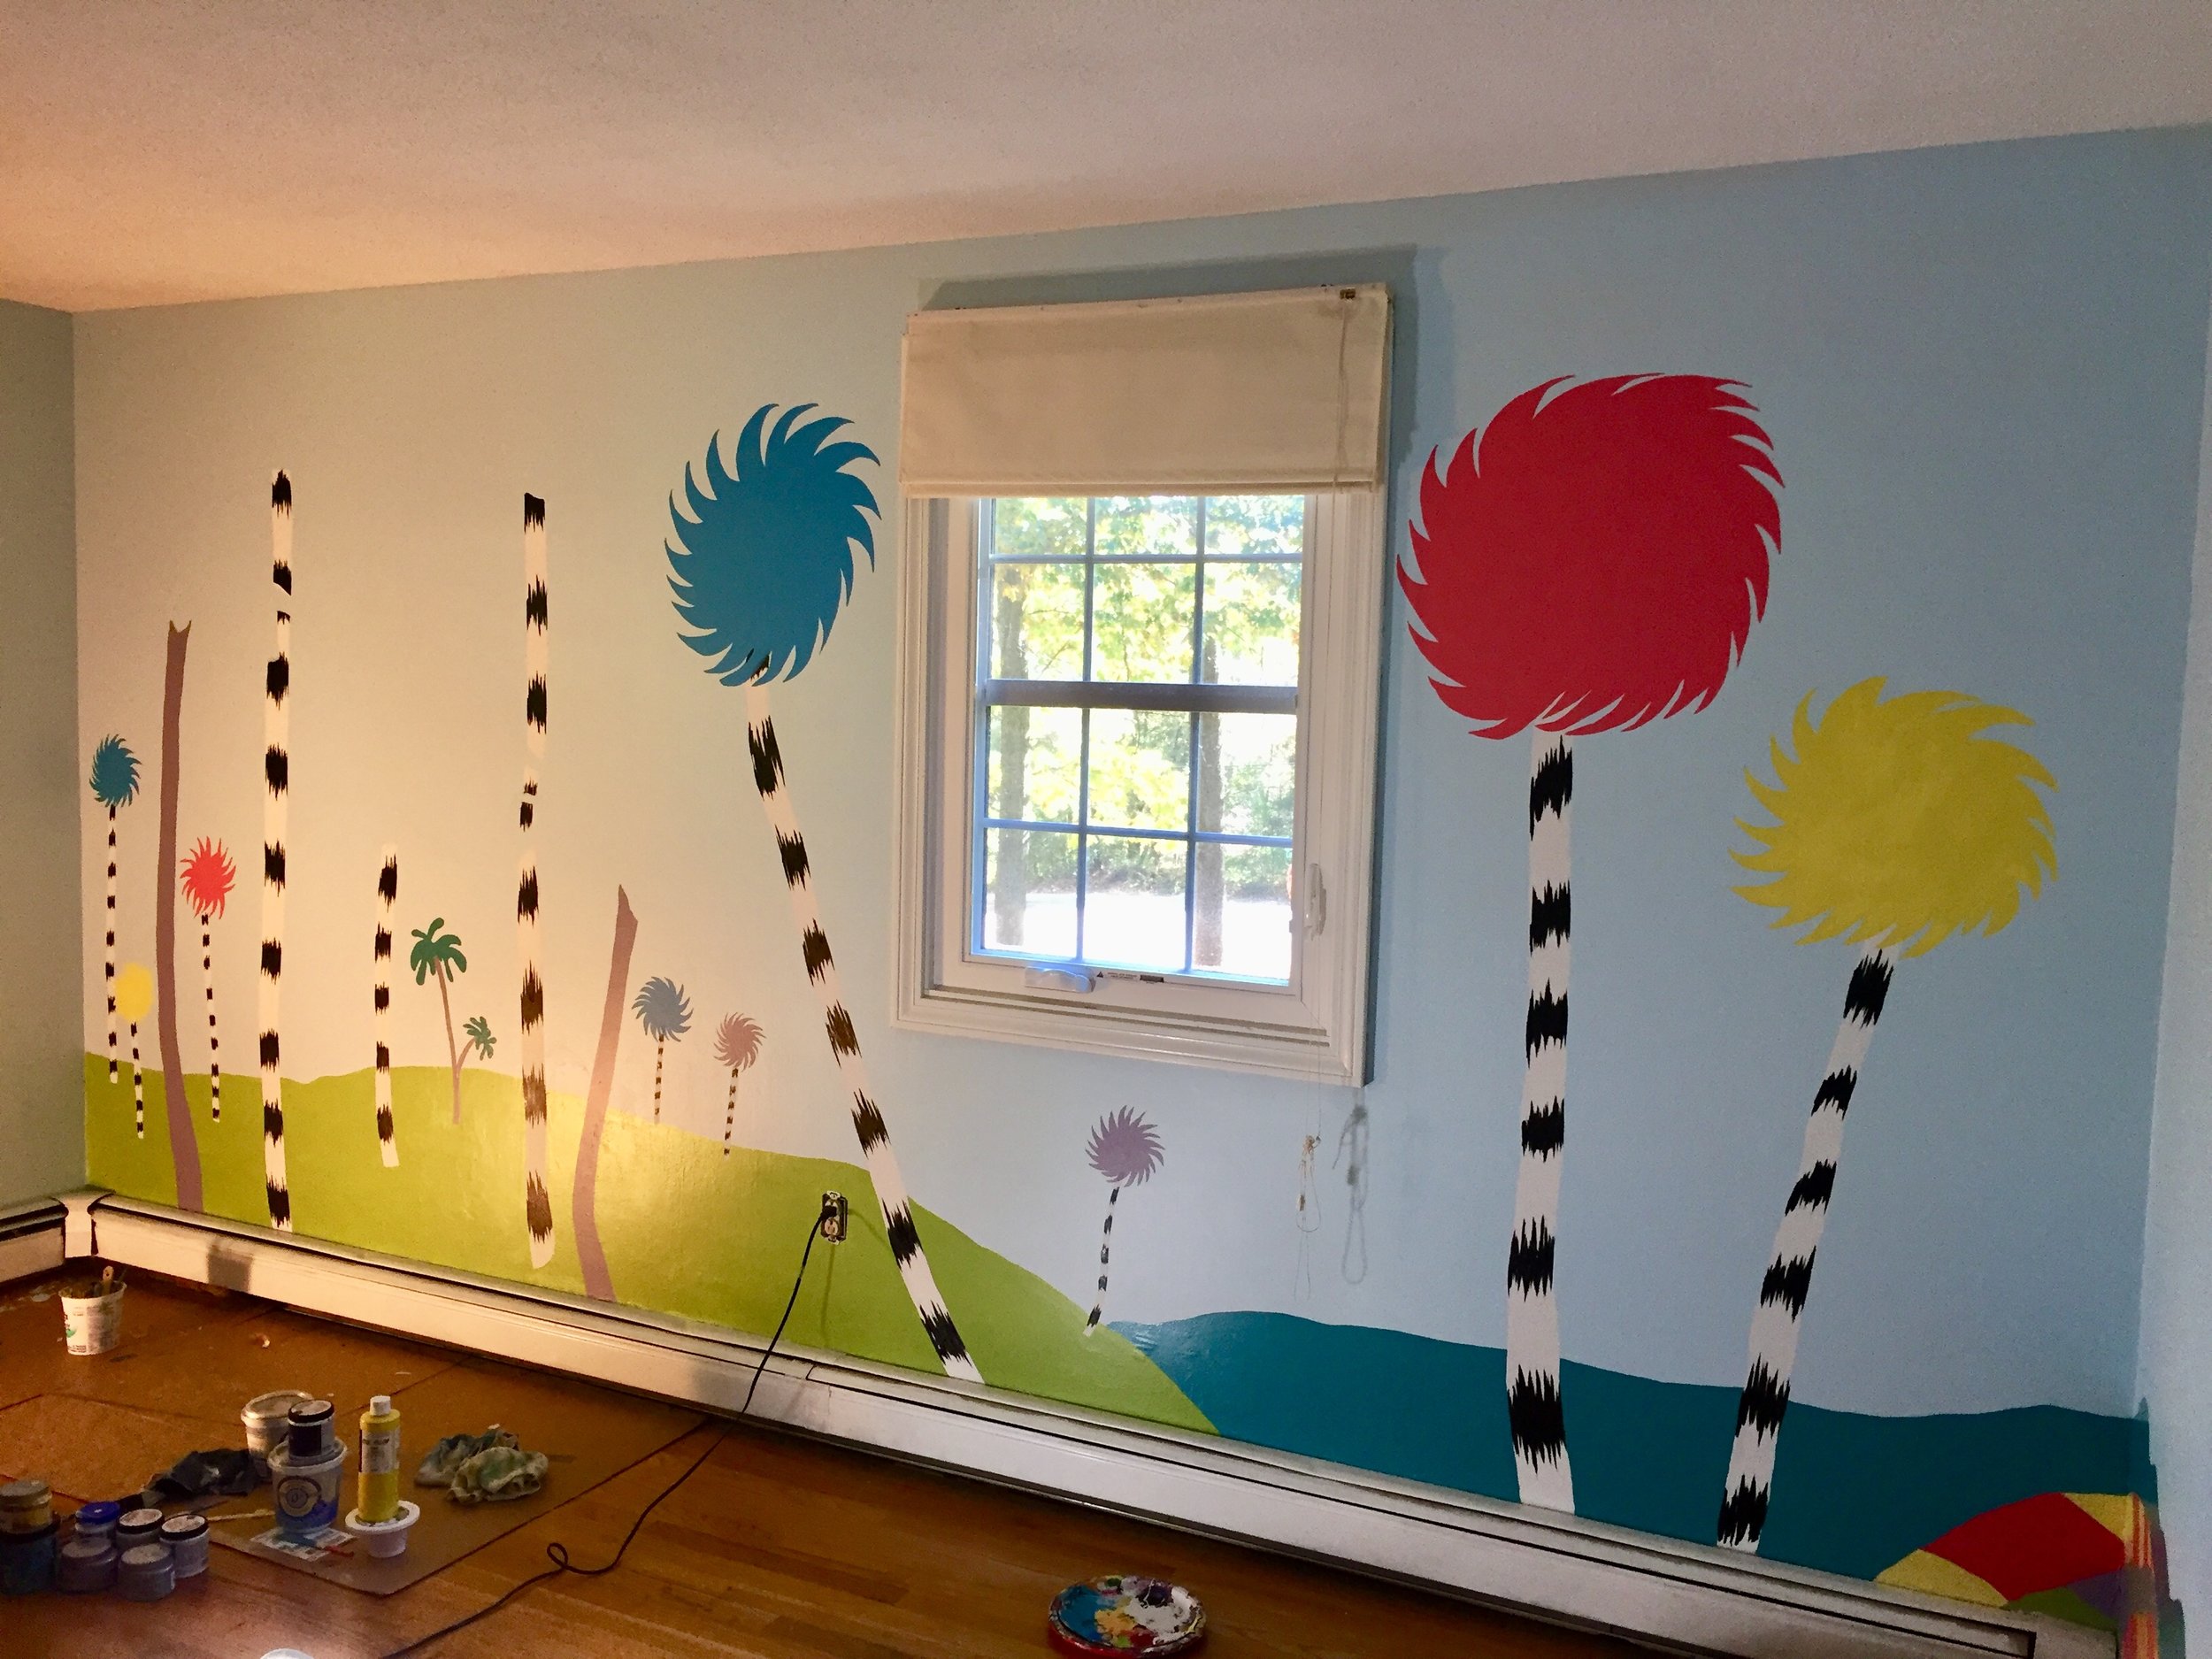
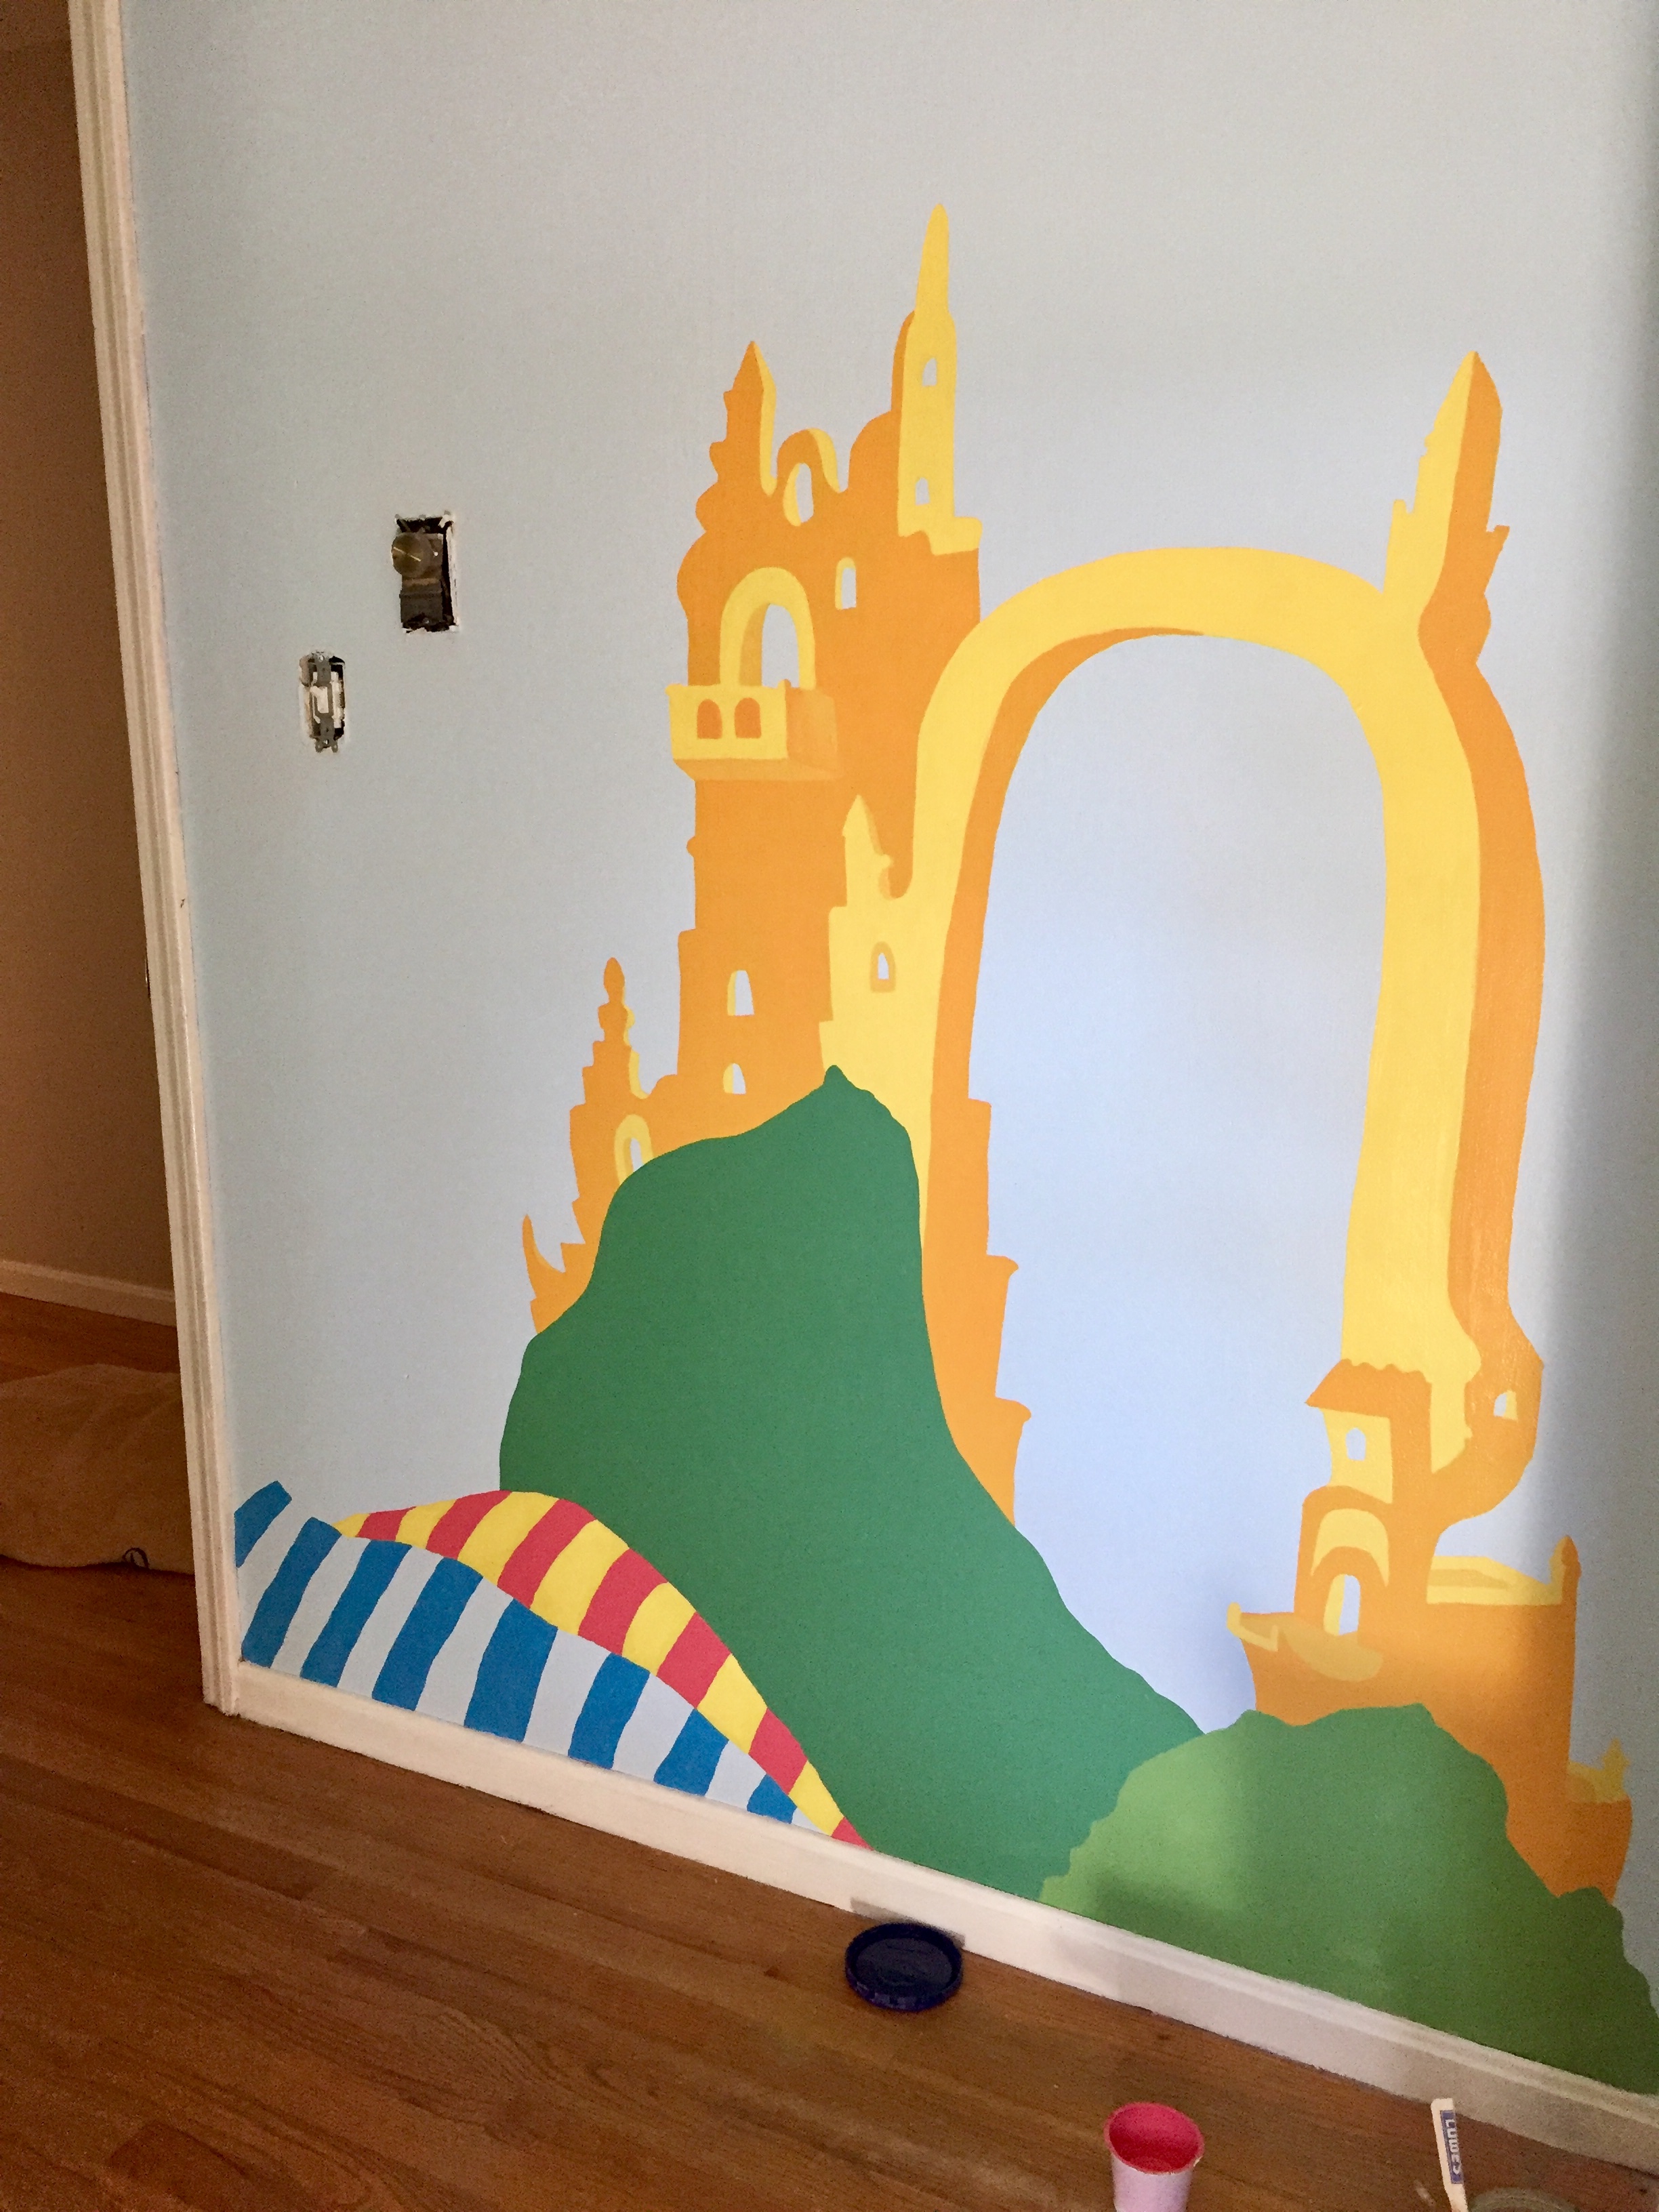
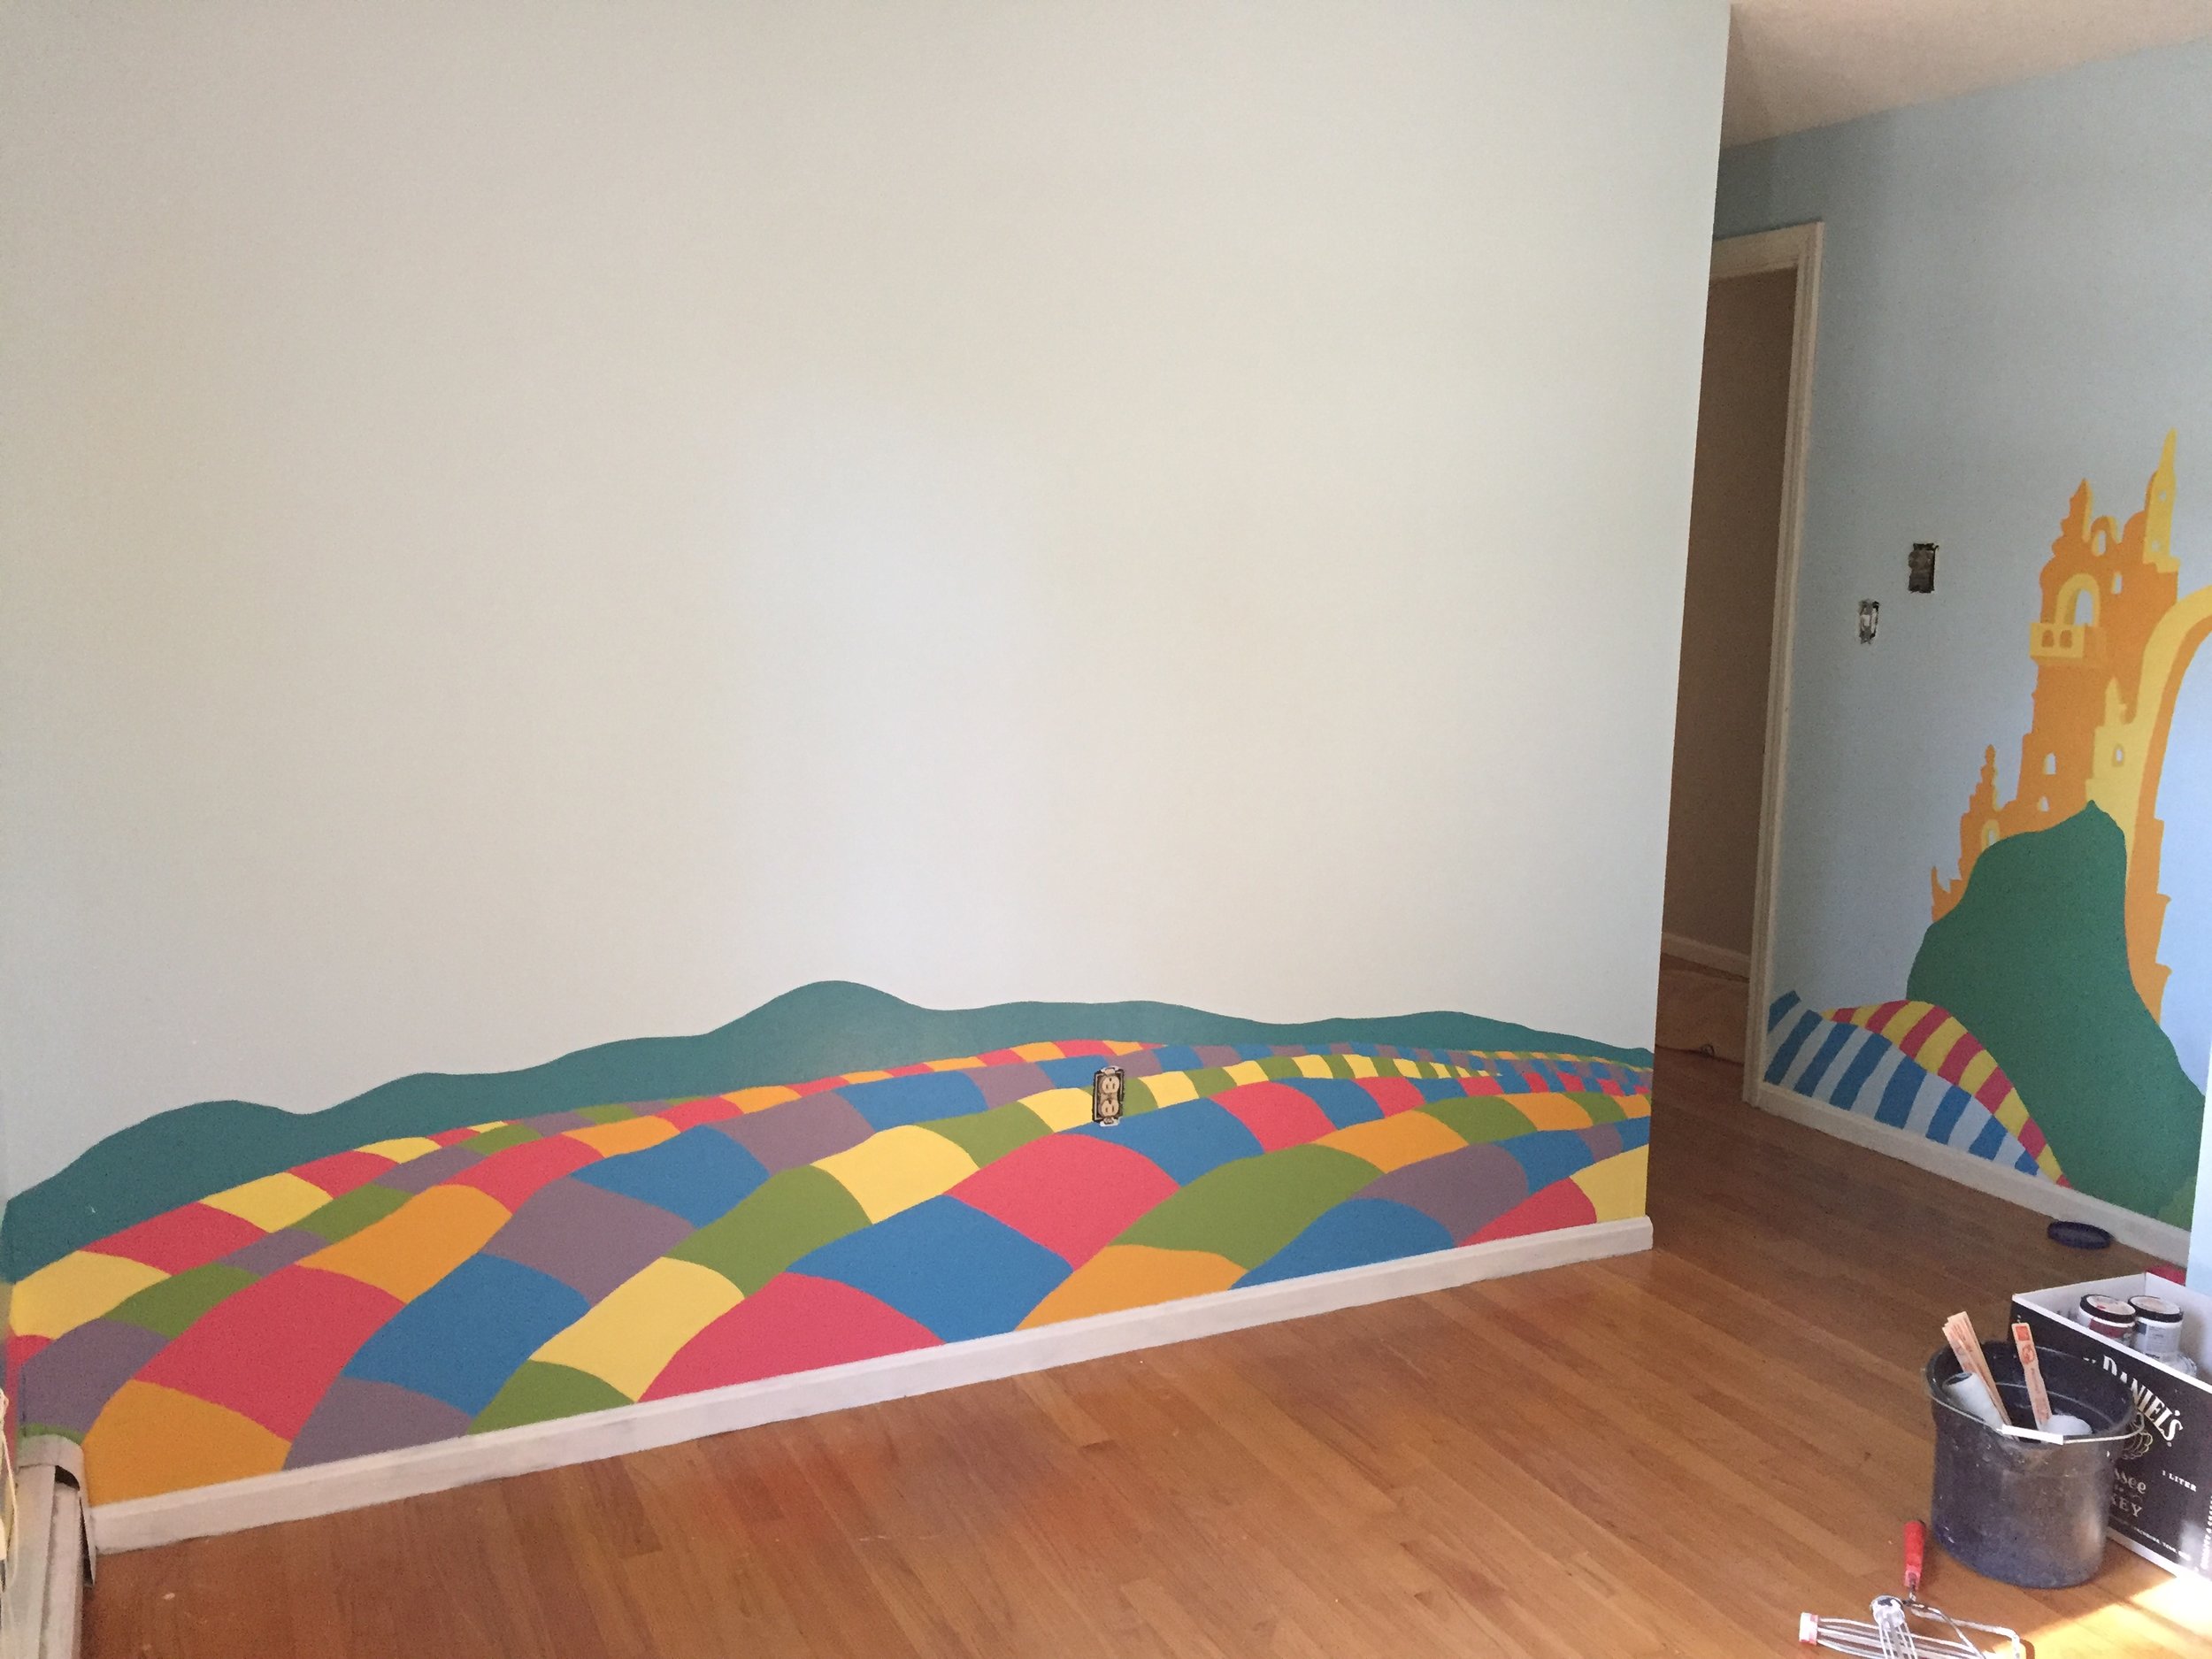
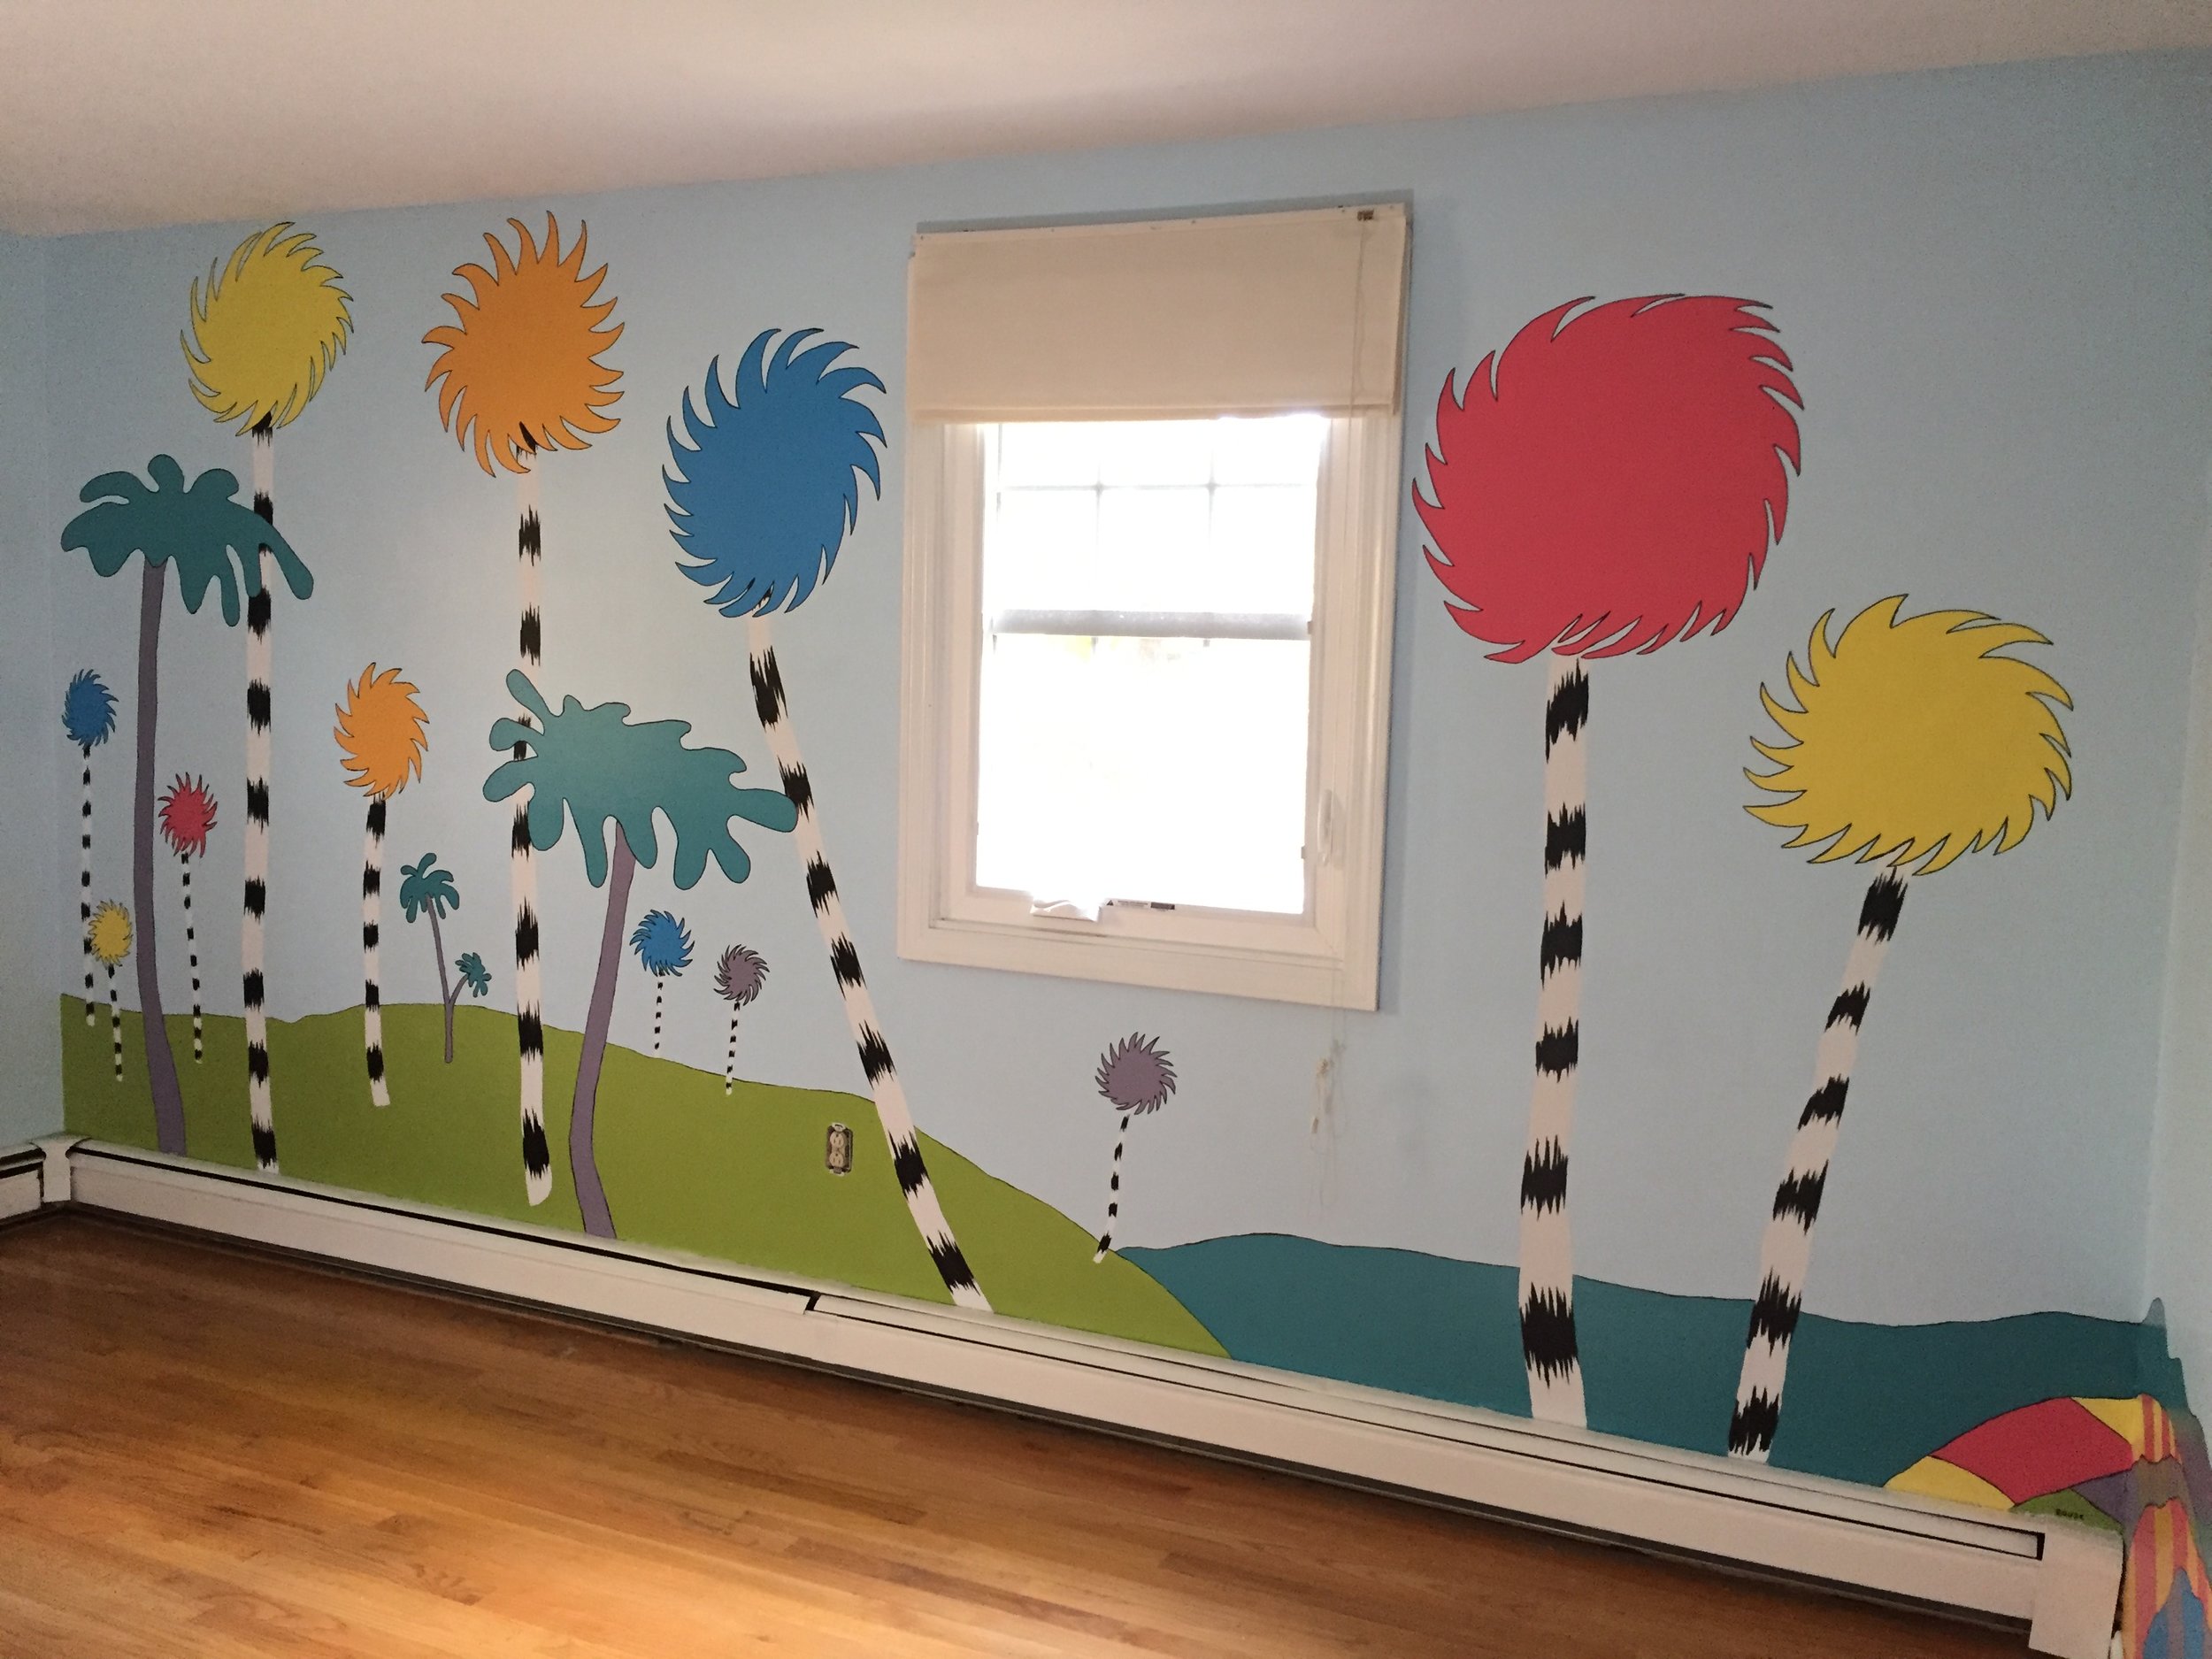
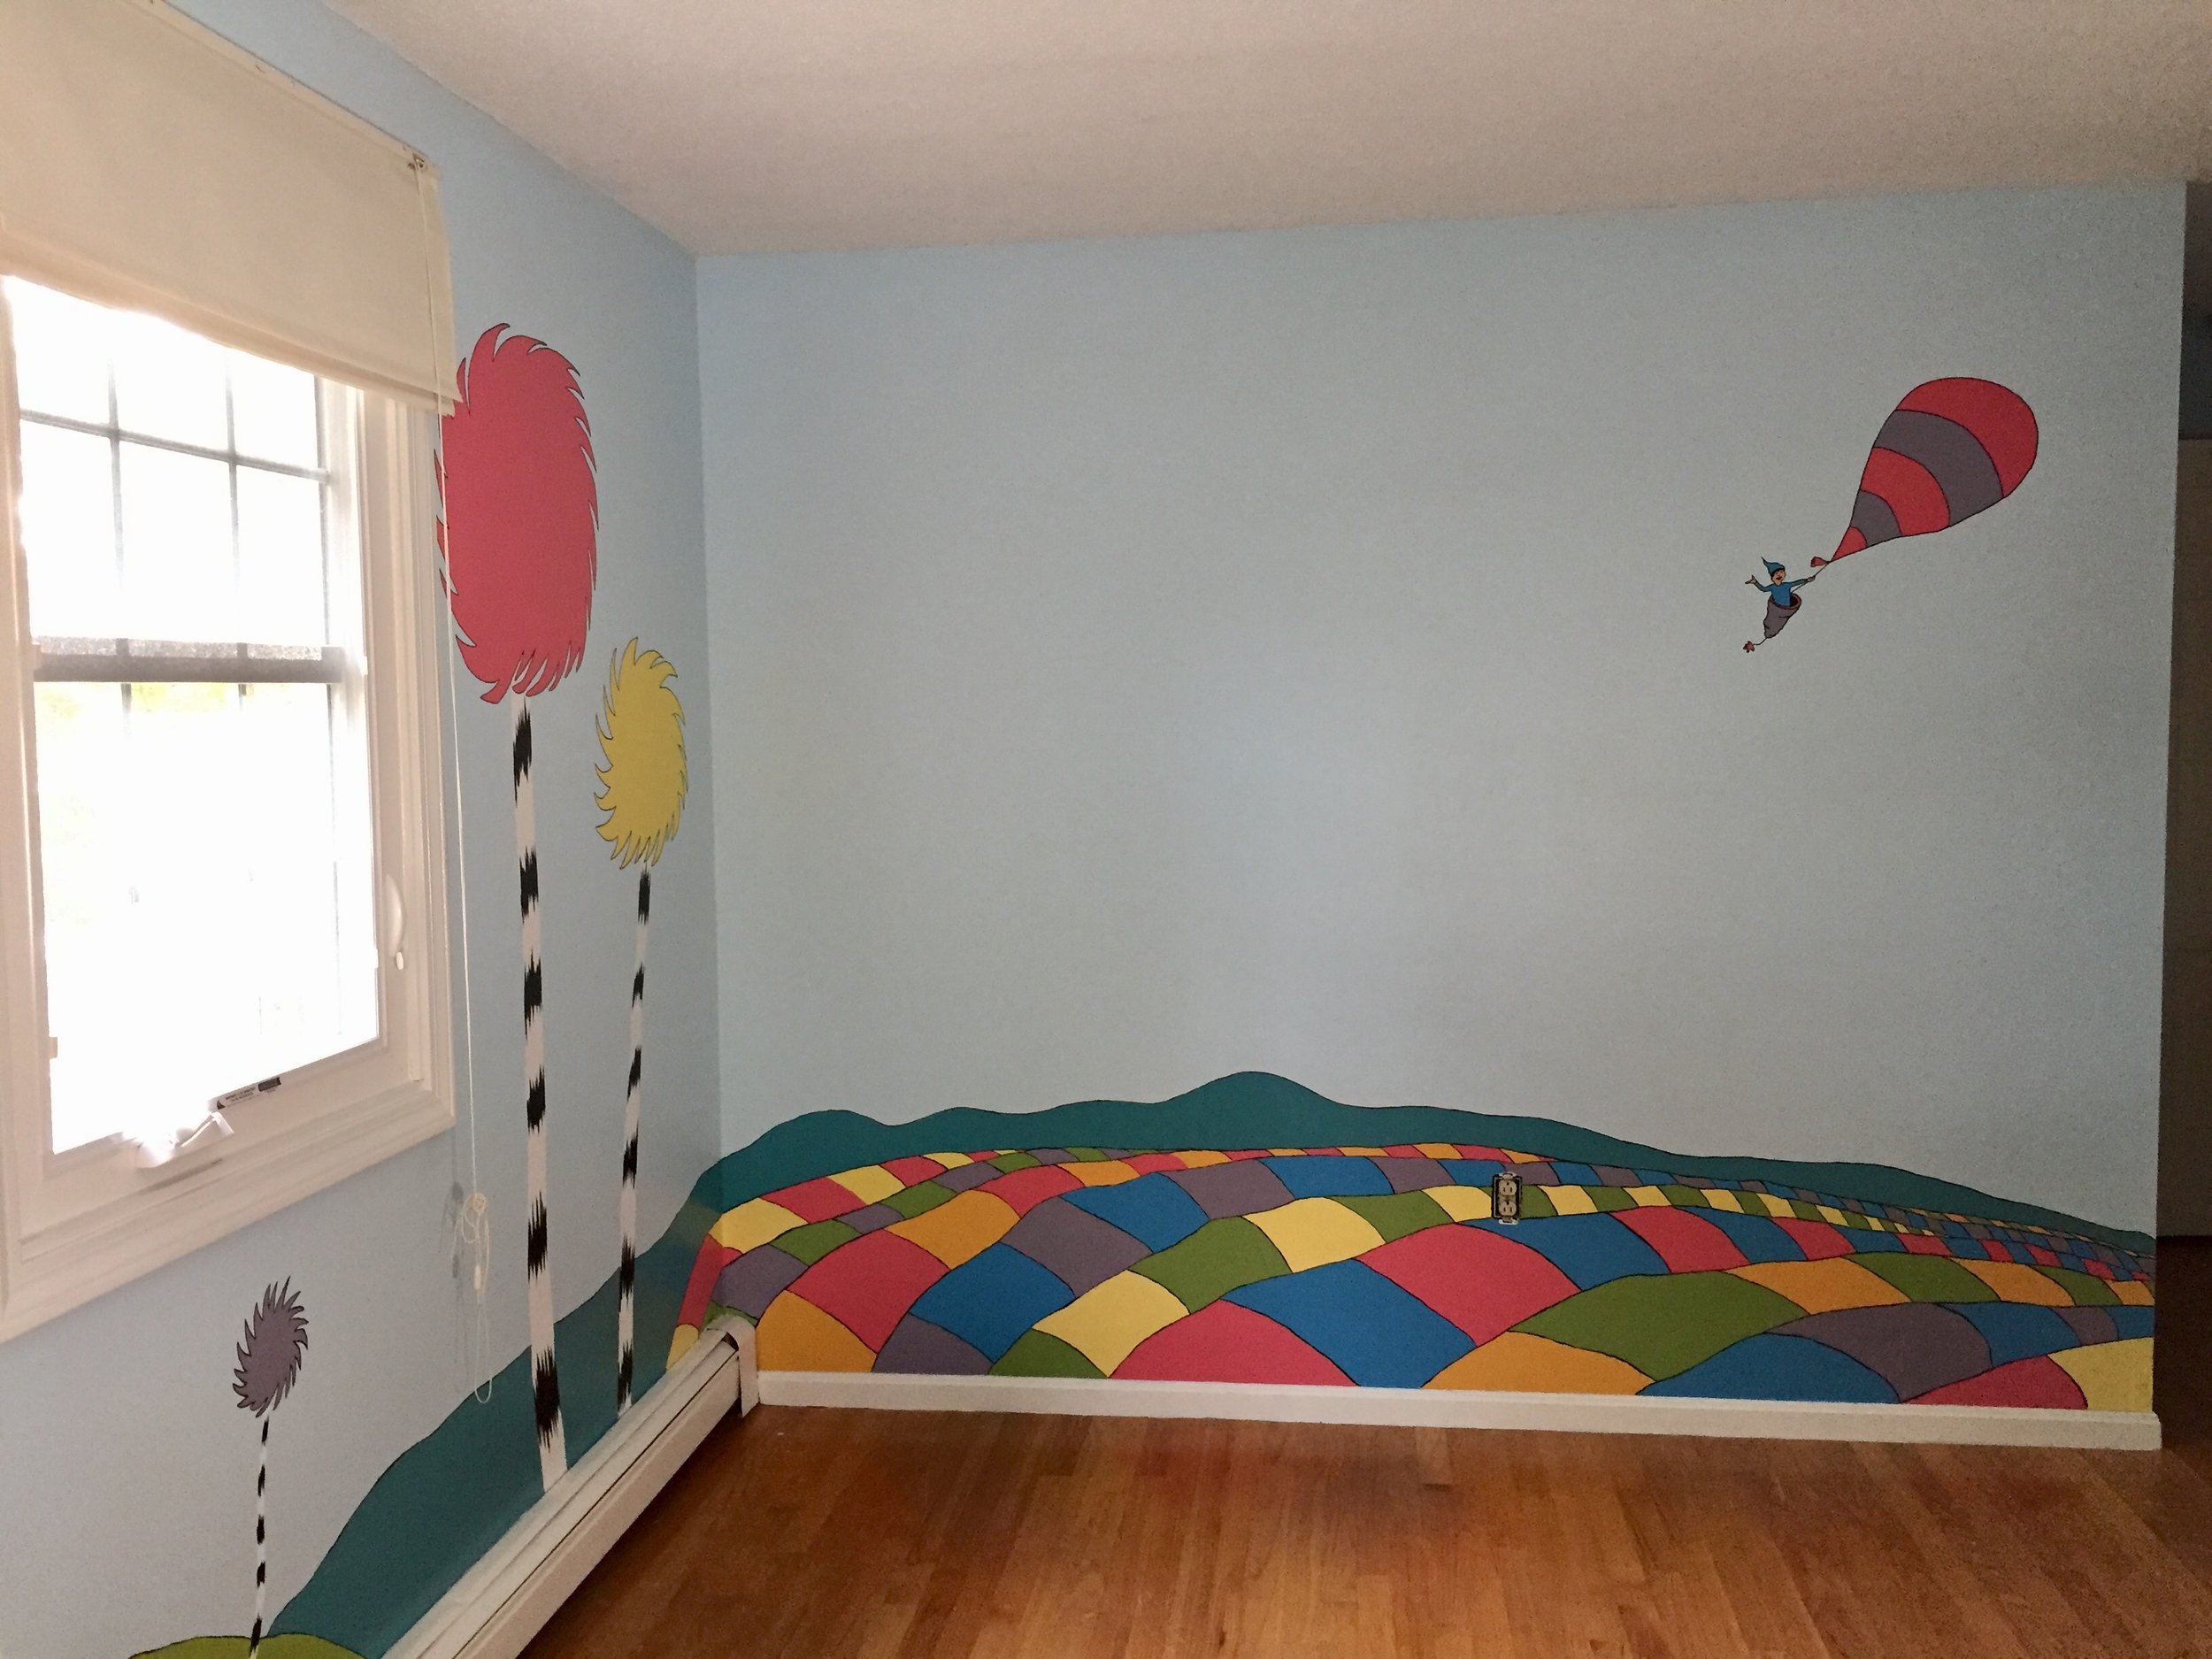
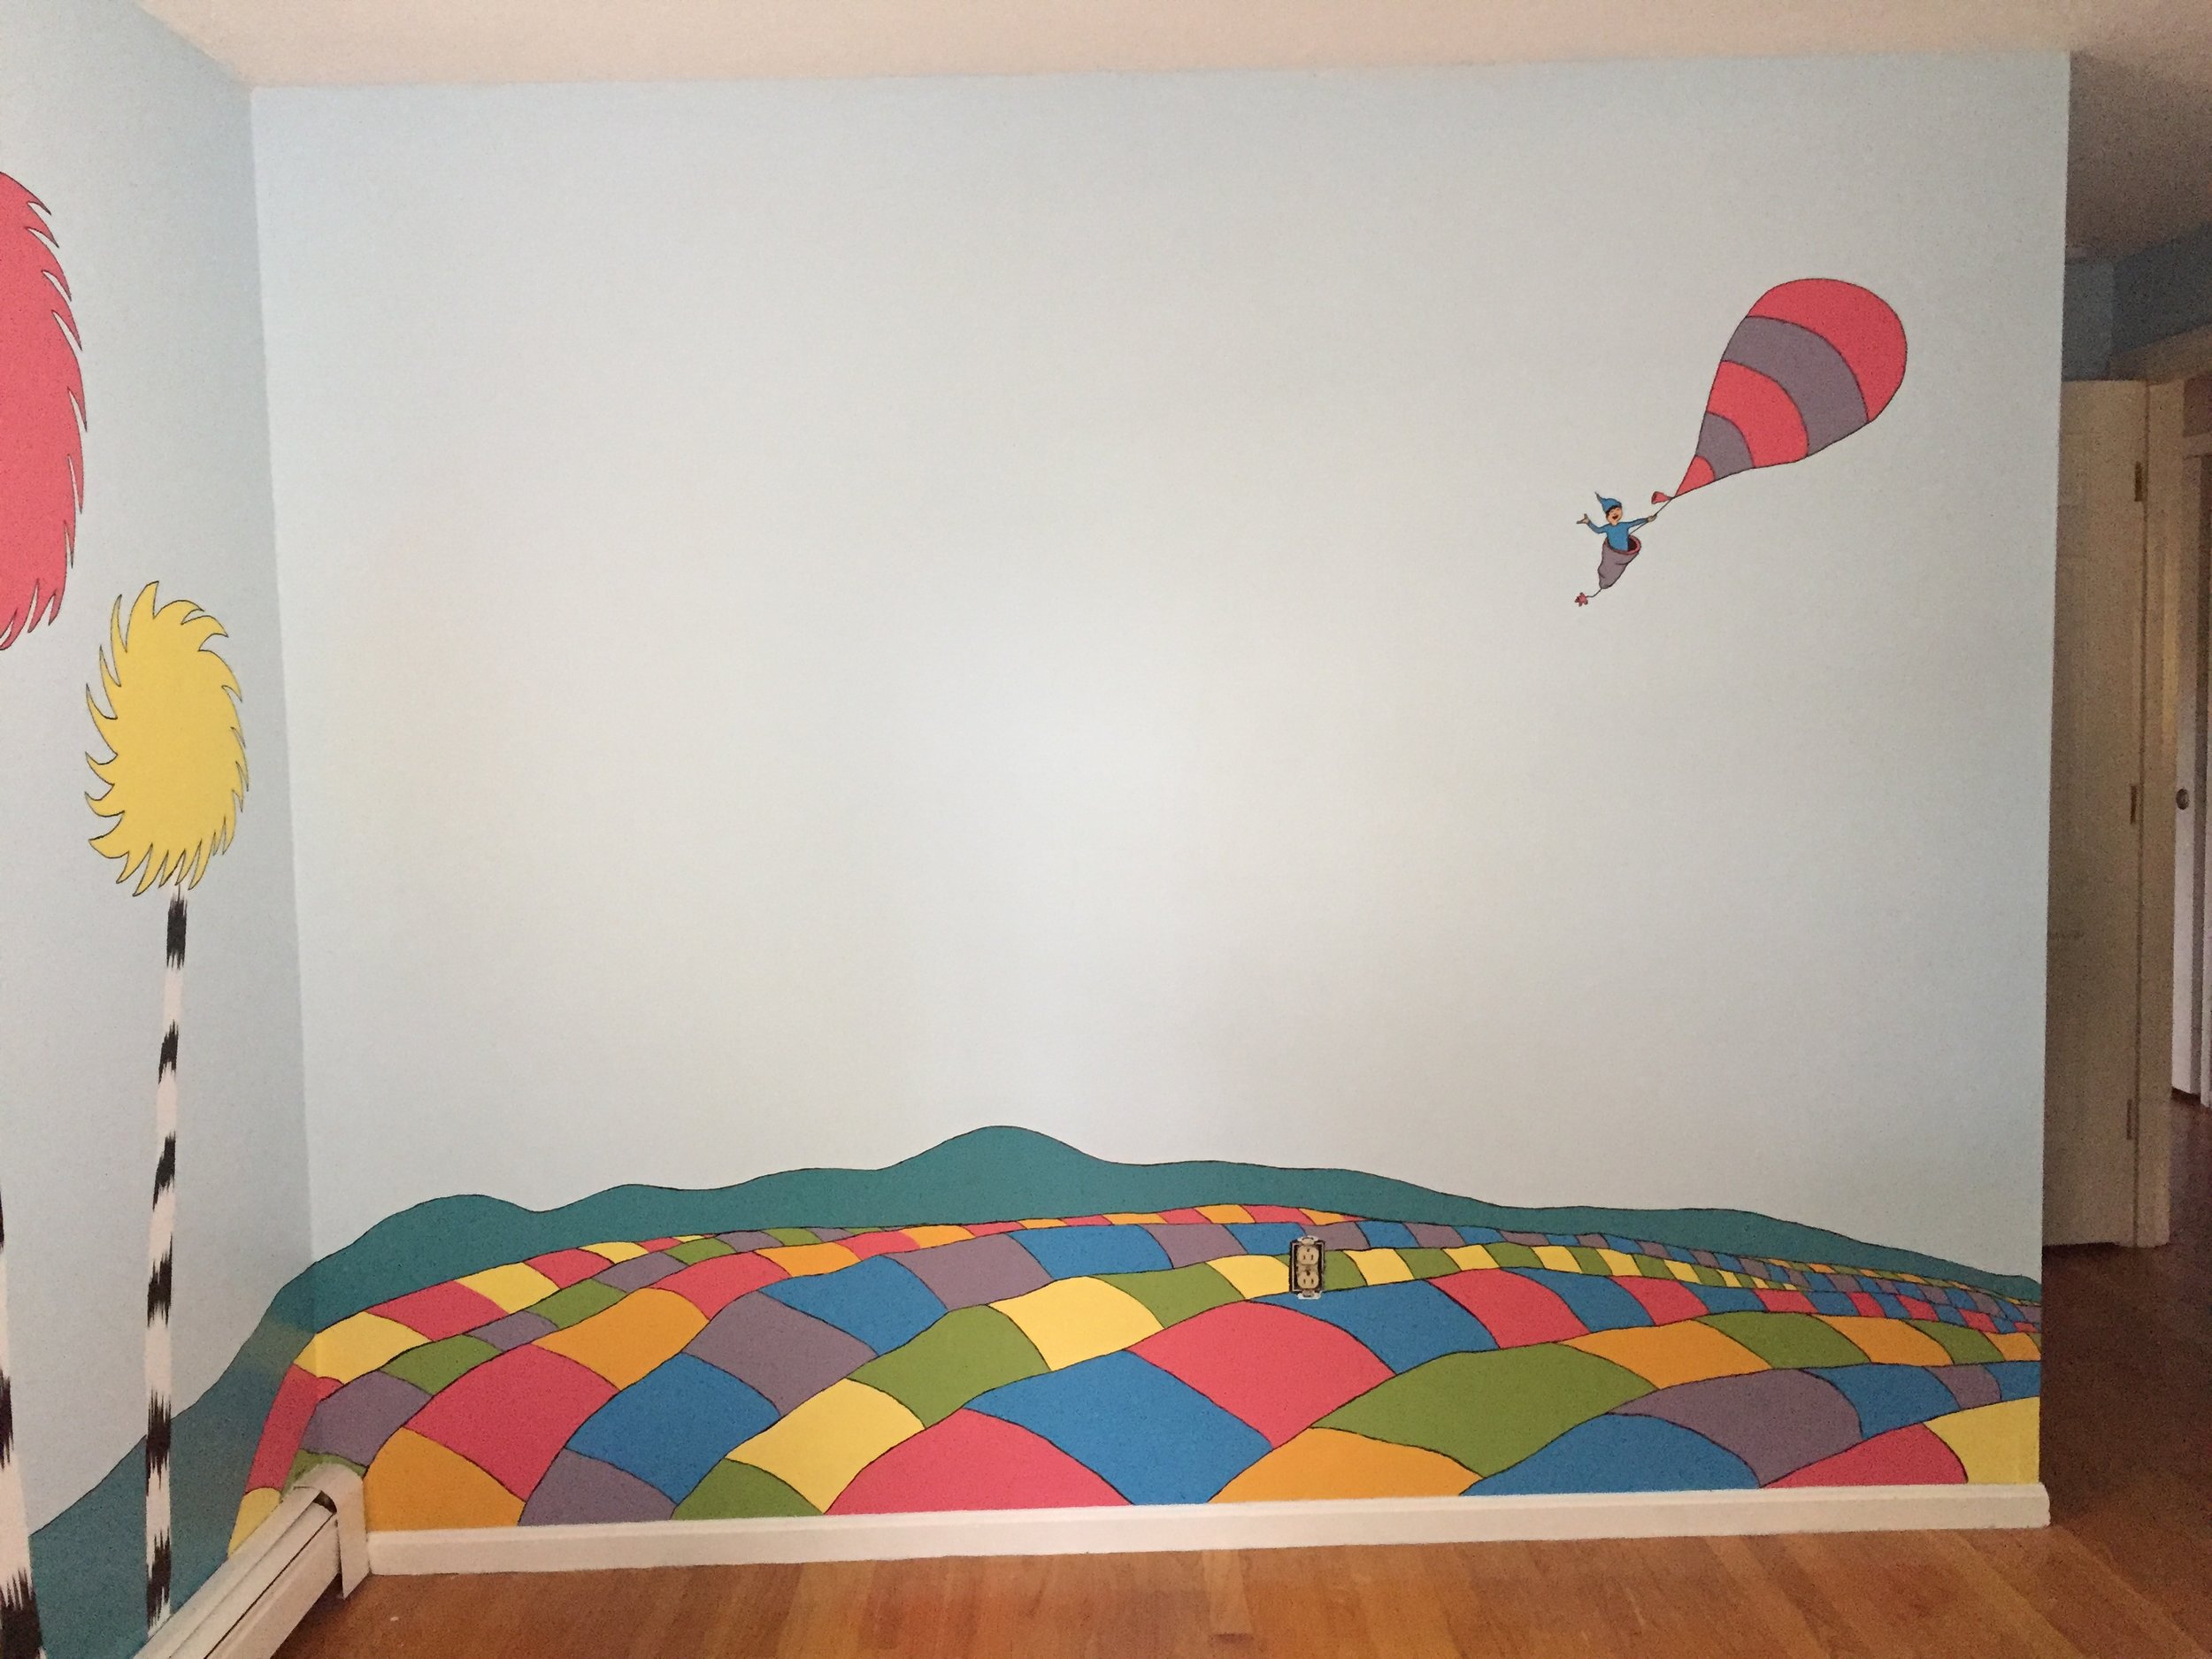
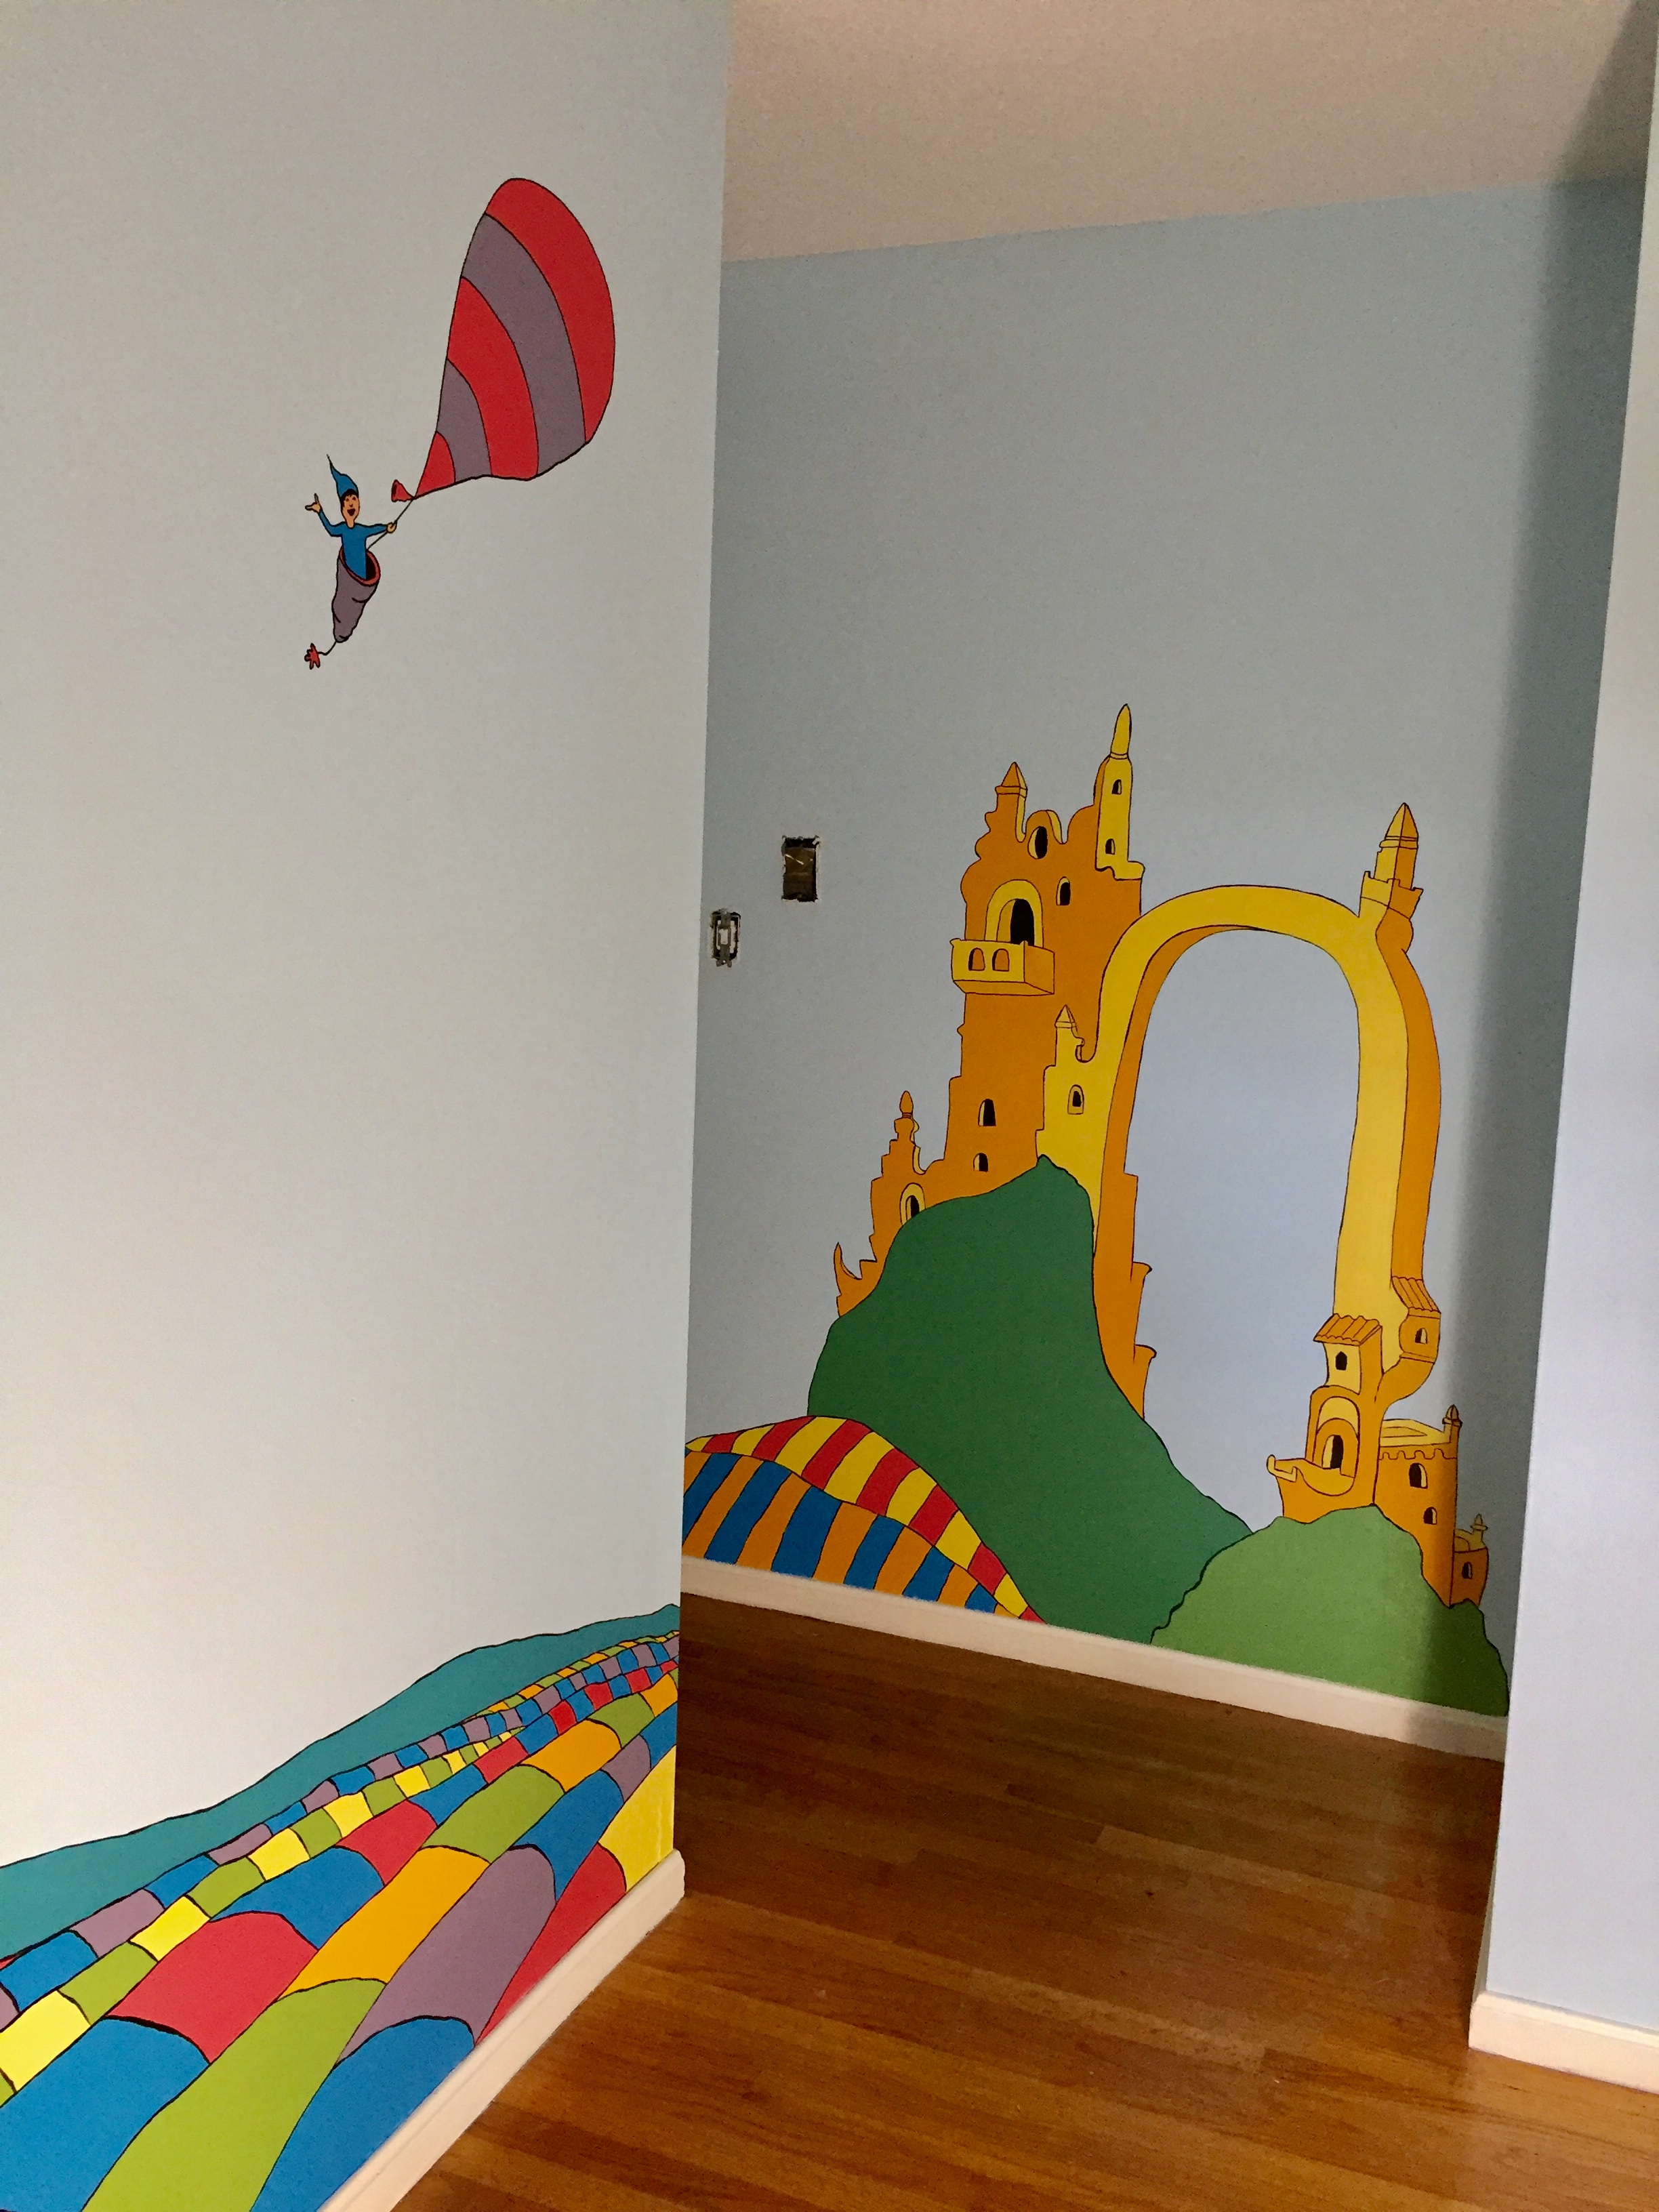
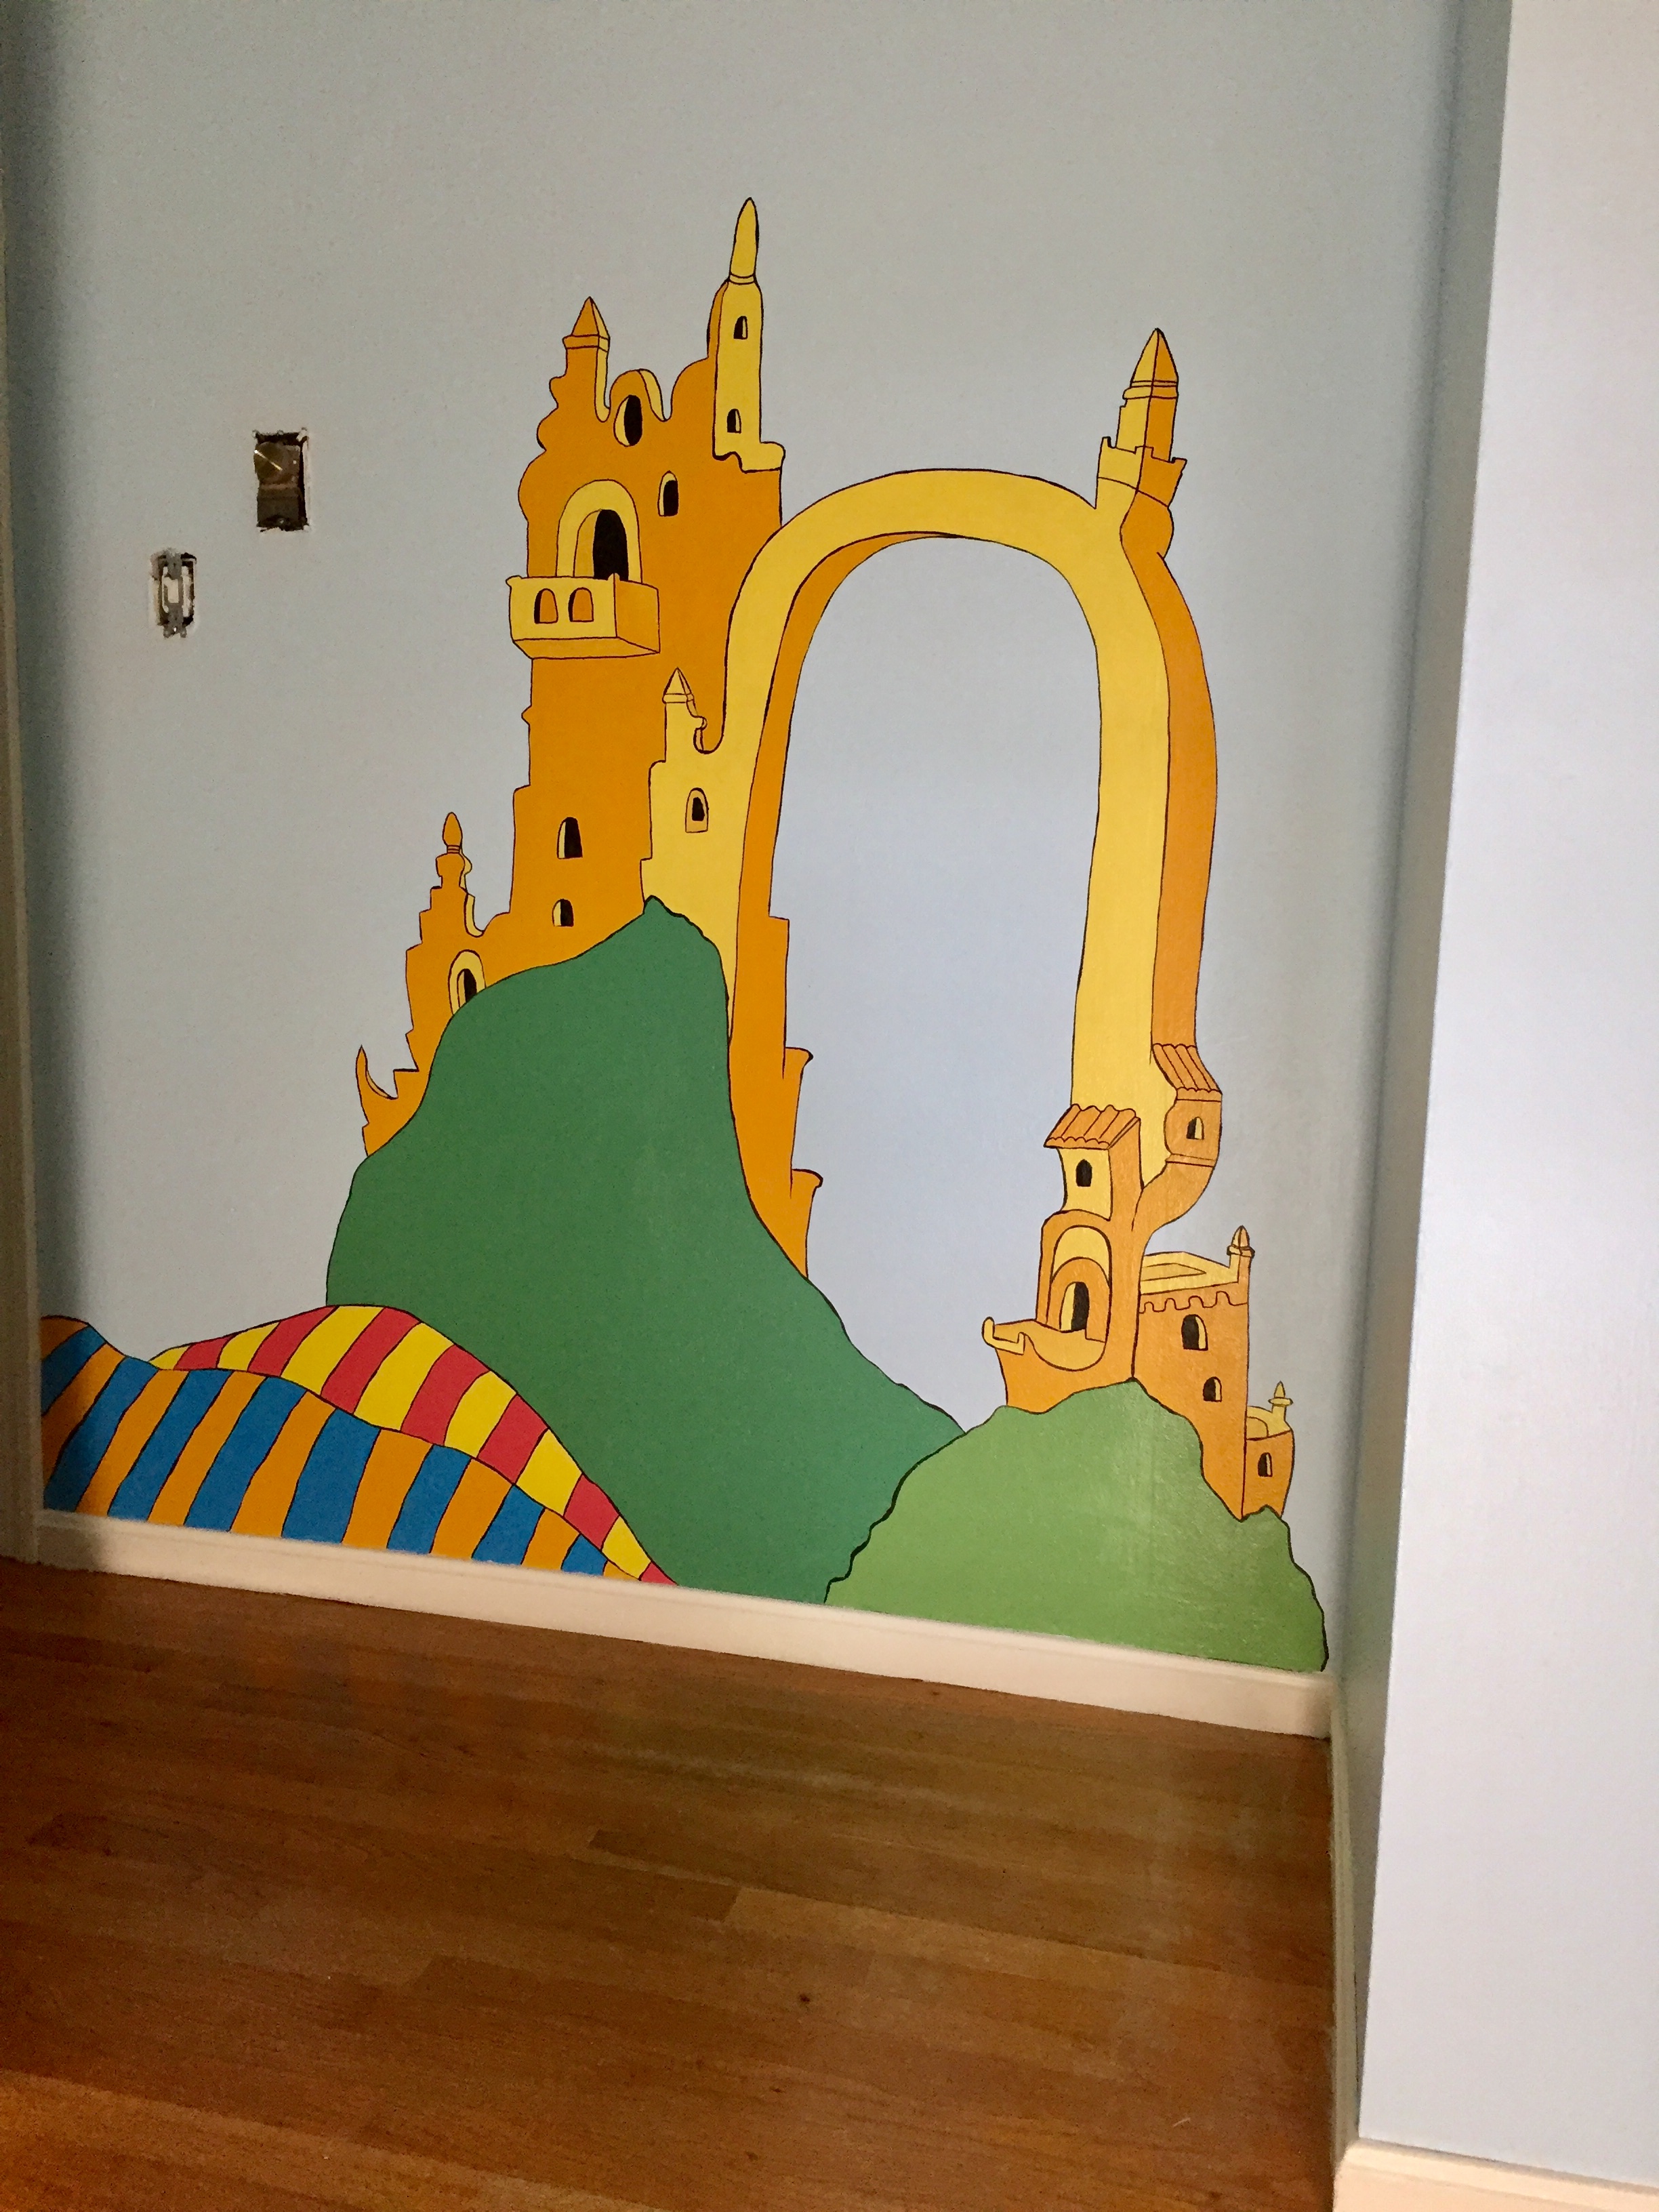
Painting a Dr. Suess mural was so much fun! I chose a mash up of two books I love, The Lorax and Oh The Places You’ll Go! This project took a few weeks because first I had to paint the entire room light blue, then paint the mural, and finish with repainting the horribly painted baseboards and heating system. It was definitely worth it in the end. Here are a few process shots and the final product. Best tip for painting a mural with really curvy outlines like these, buy an acrylic paint maker, it made the job so much easier than using a brush. I also made custom curtains with my happy thoughts fabric, which has a whimsical balloon pattern. It can be purchased by the yard in any fabric here….https://www.spoonflower.com/designs/7947029-happy-thoughts-by-rousehousedesign Once the furniture is placed I will finish off the design with The Lorax painted somewhere fun!
